Add your own custom field to a KYC form
The ready-made sections cover most of what a UAE KYC needs, but sometimes you want one extra question of your own, such as a LinkedIn profile or an internal reference. You can add your own field to any form, and IzzyTap saves it so you can reuse it next time.
Open the form builder
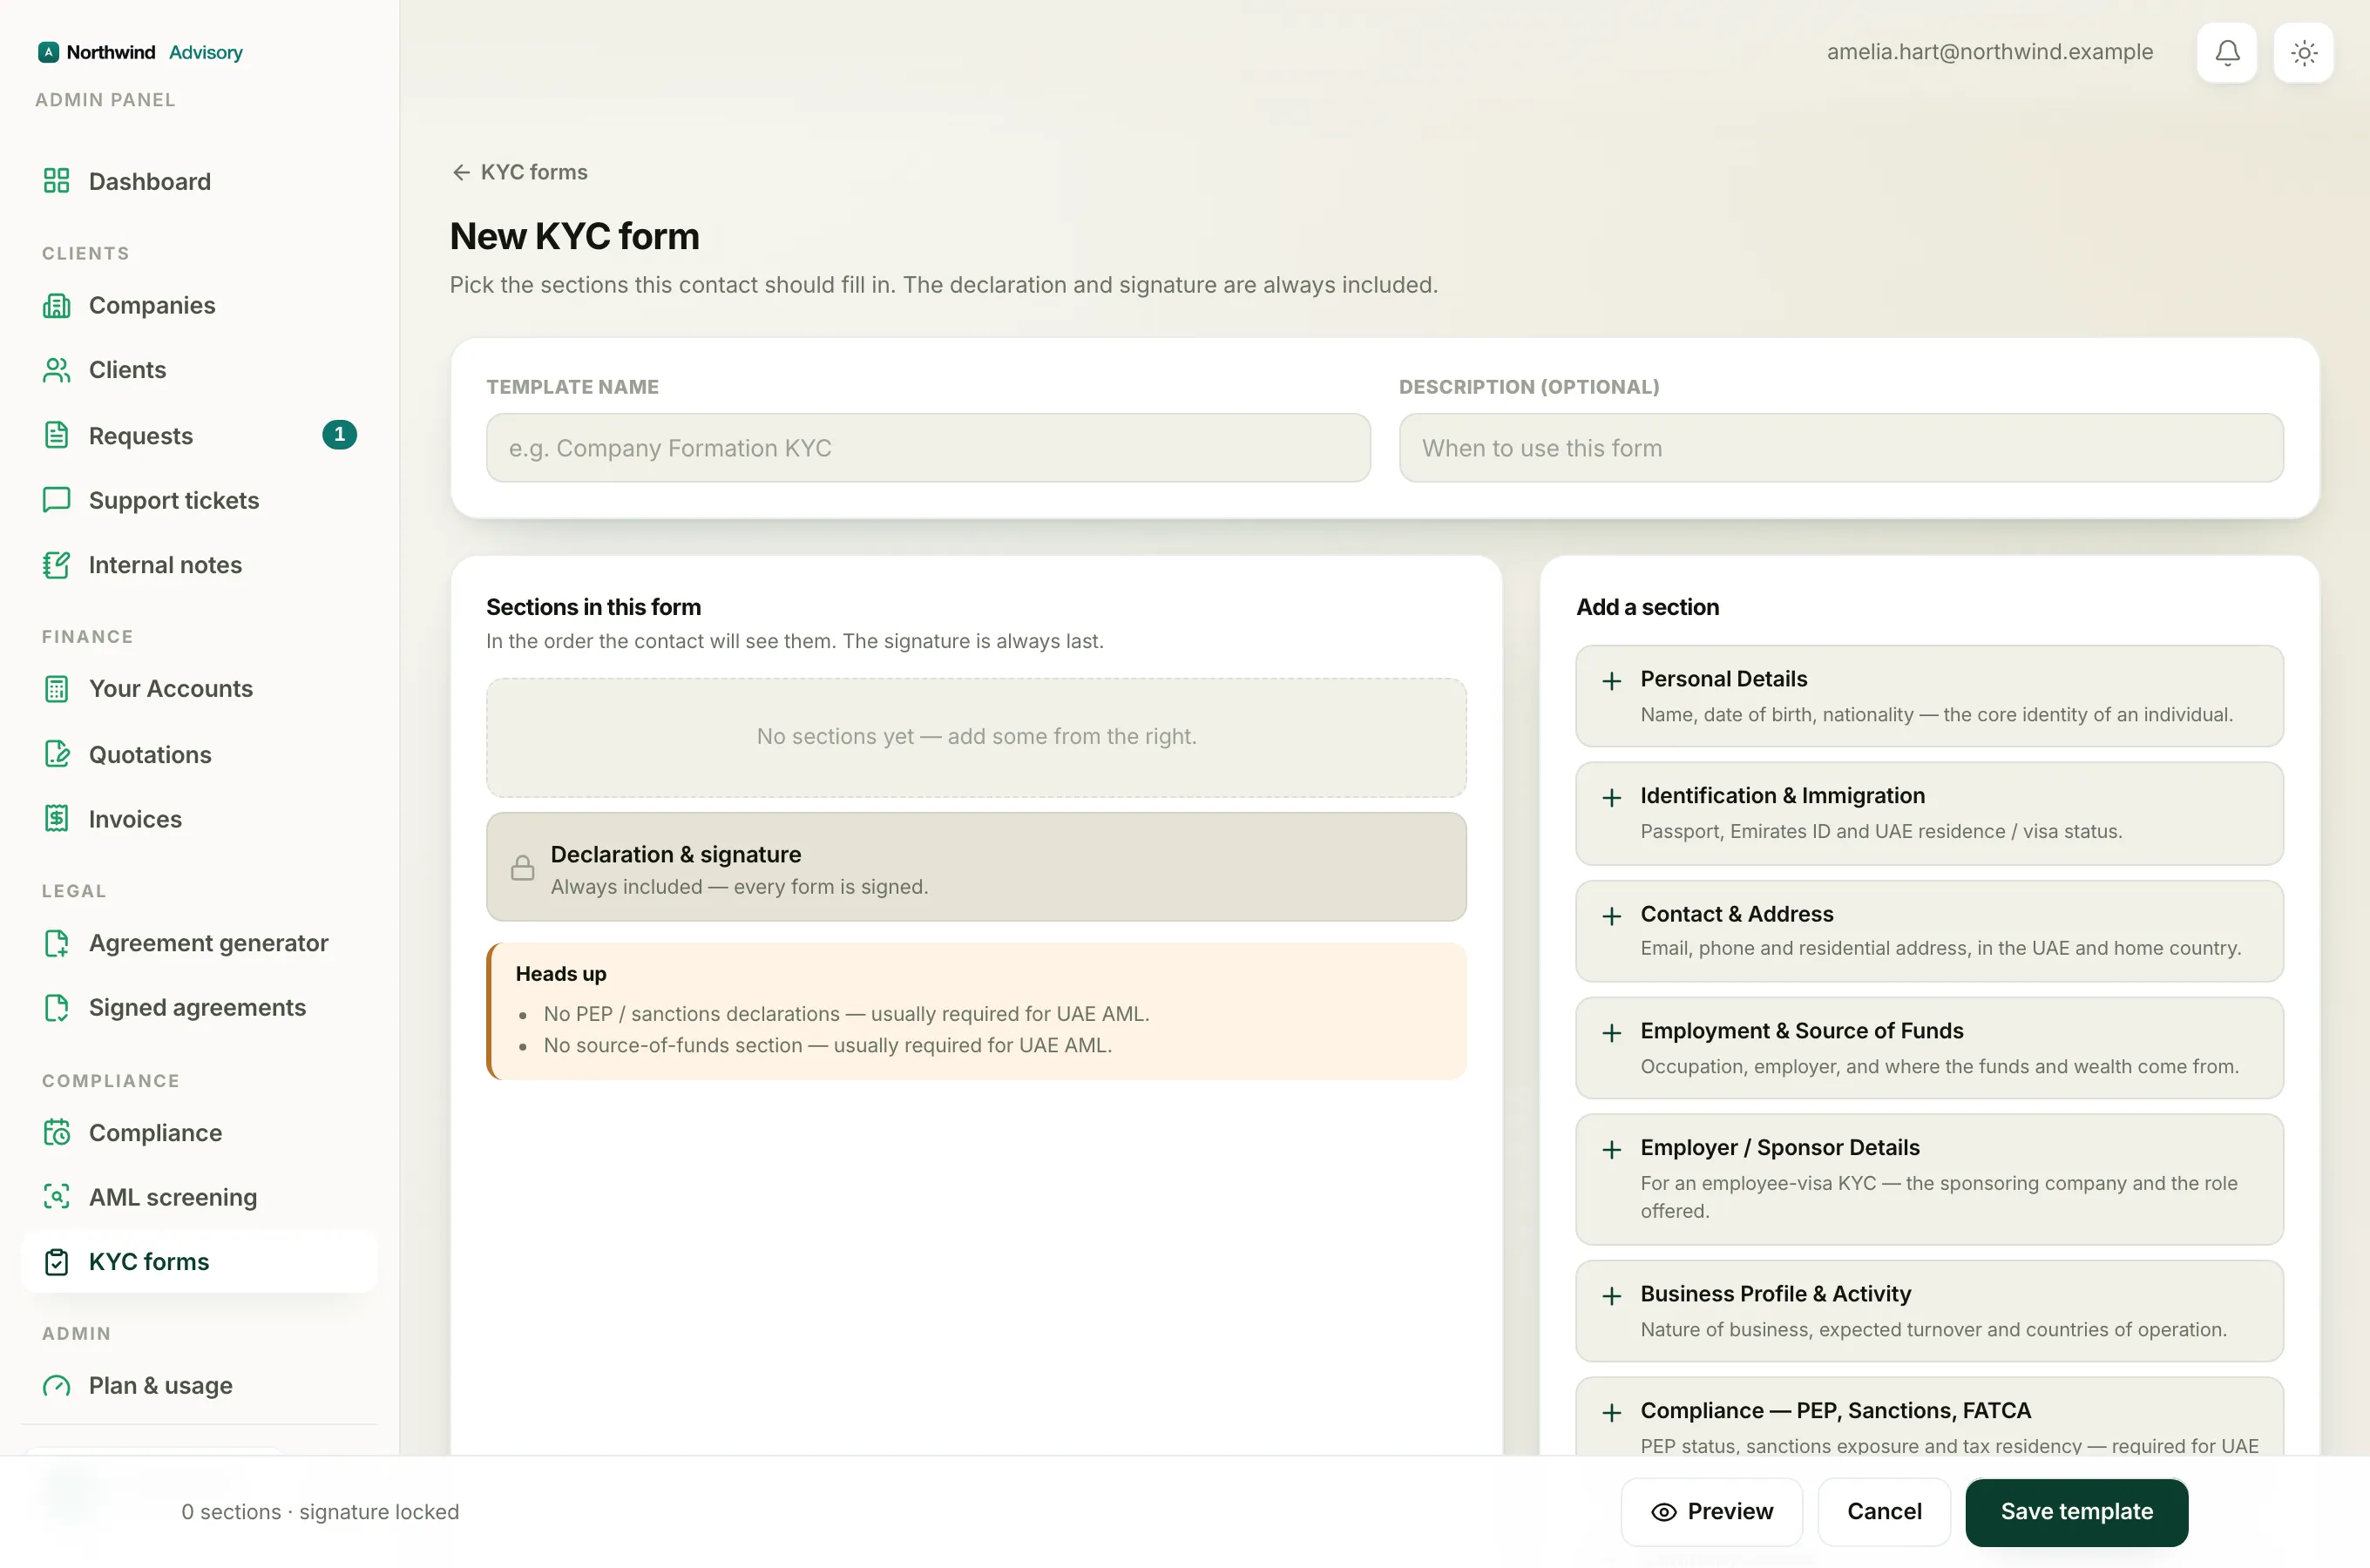
- Log in to your workspace.
- In the left menu, under Compliance, click KYC forms.
- Click New template, or Edit on an existing template.
On the right, below Add a section, you will see a box titled Custom field.
Add a field
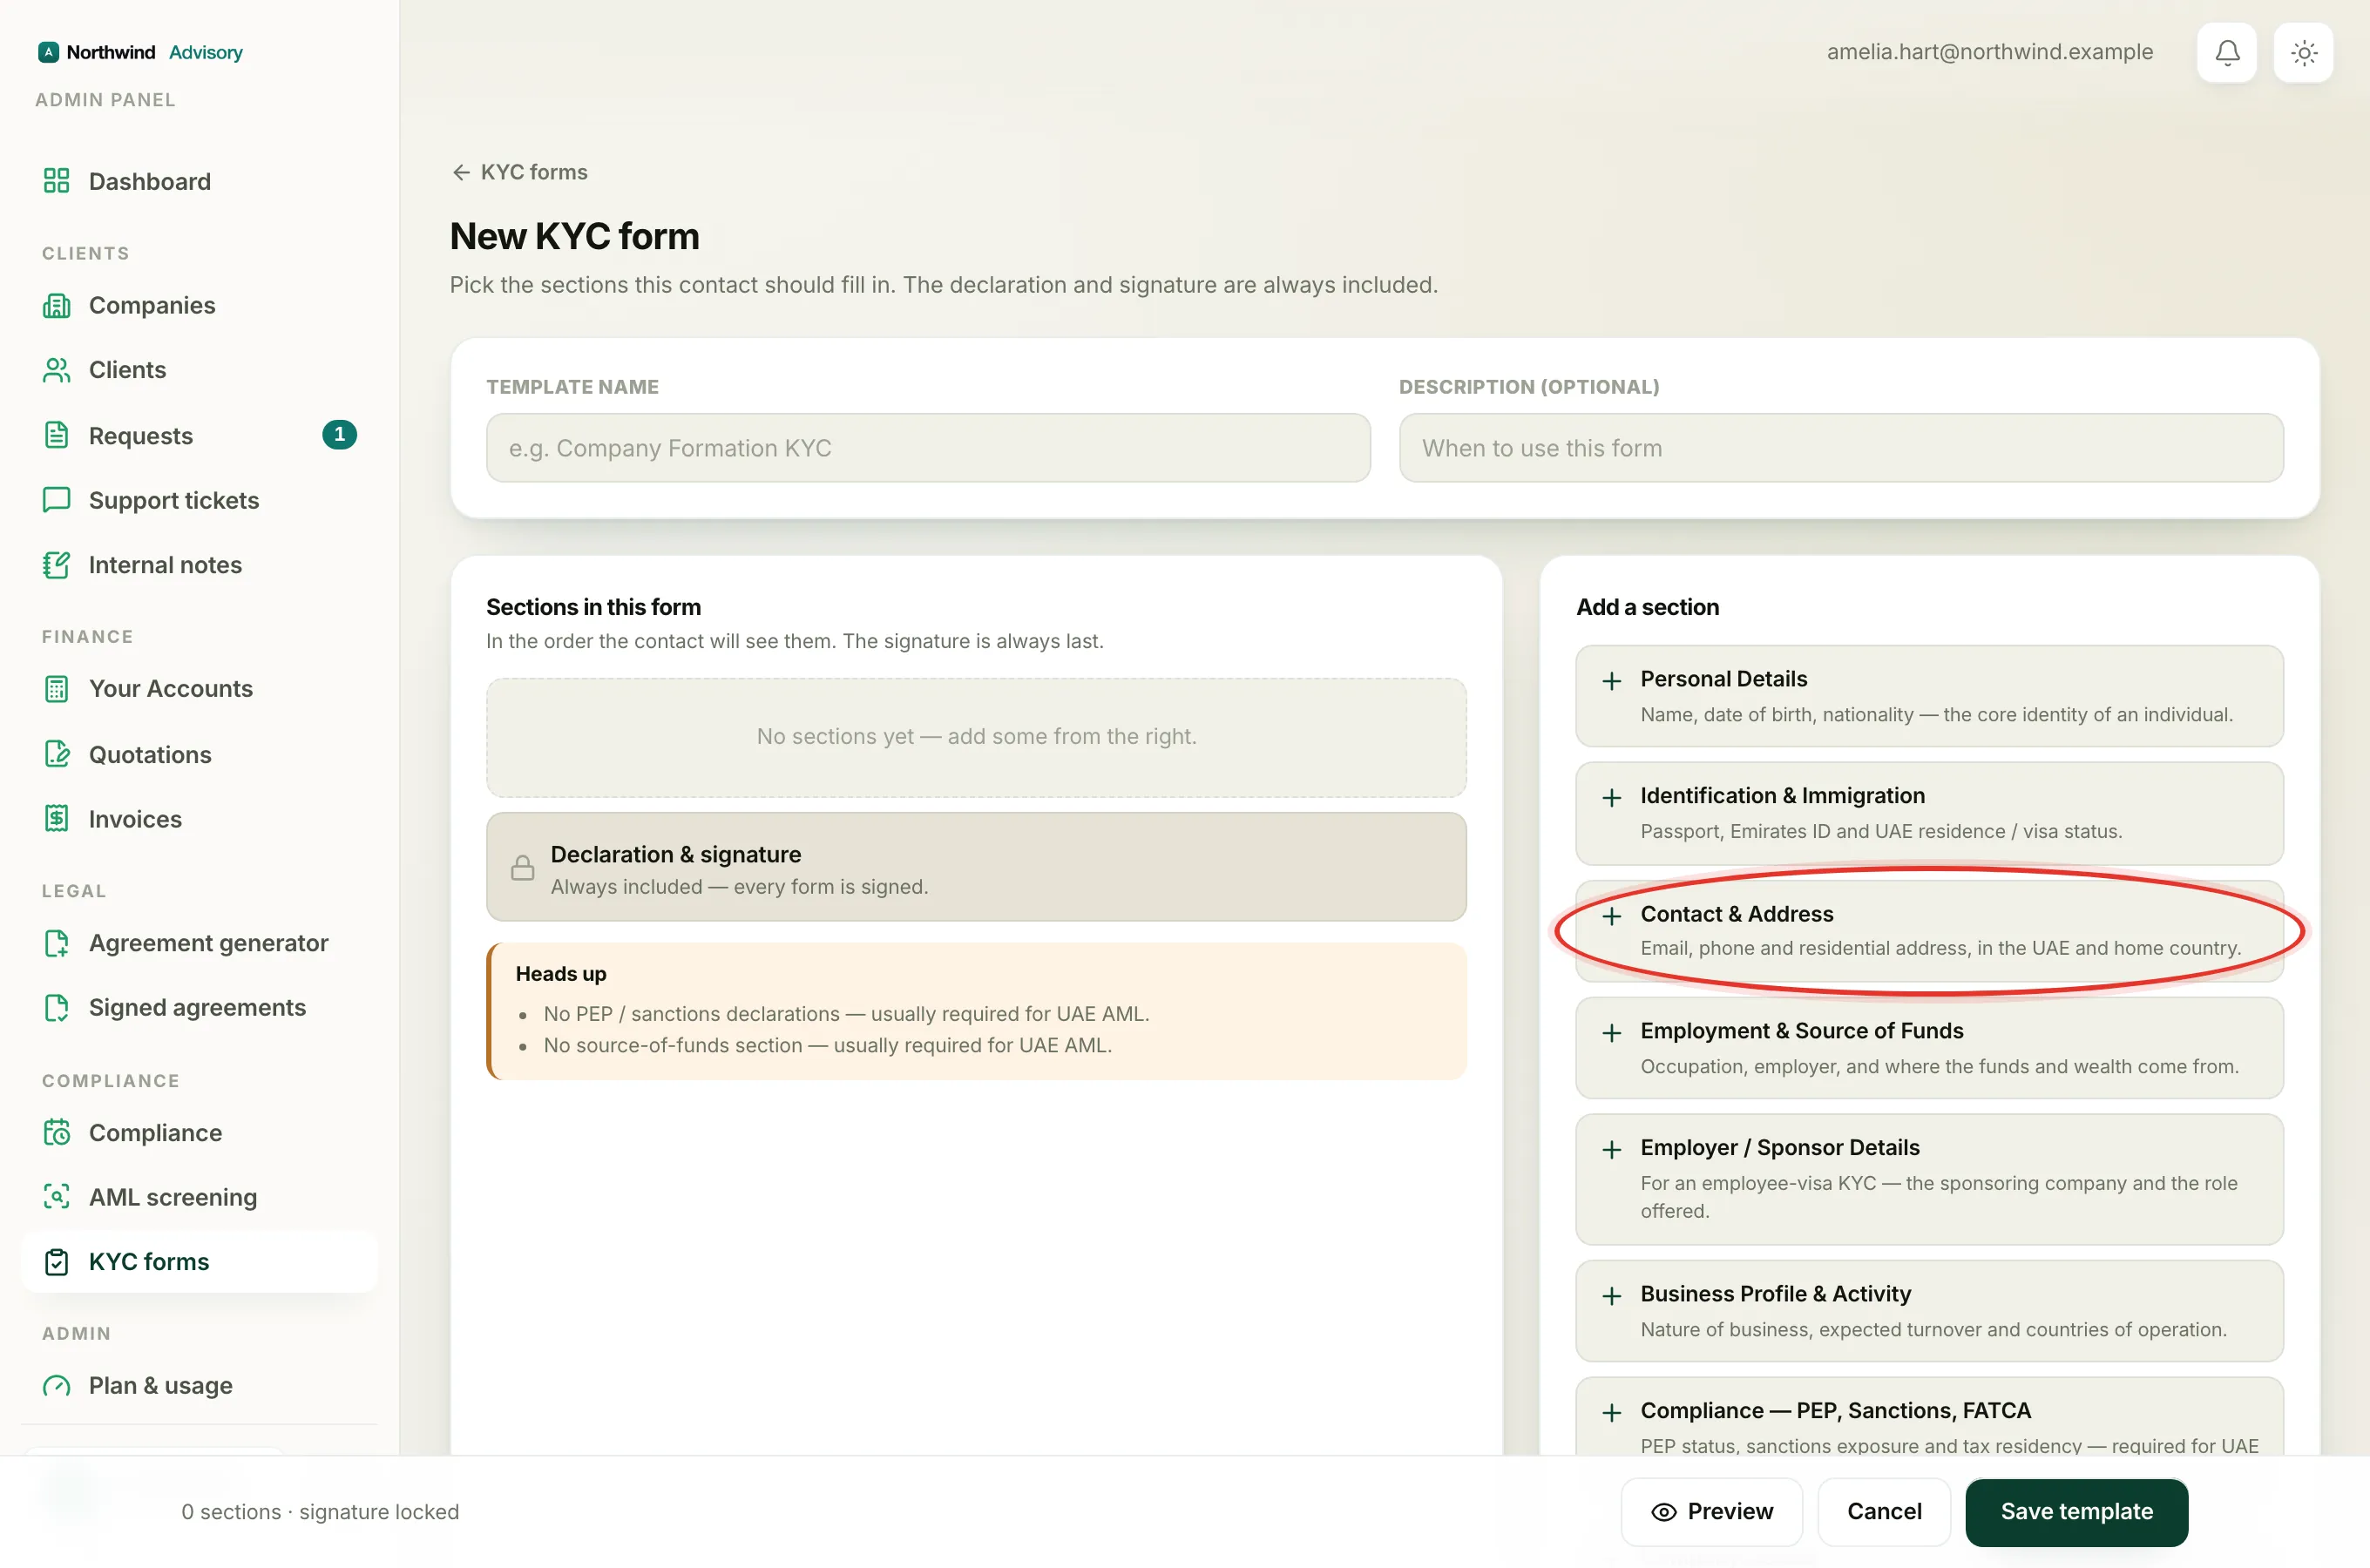
- In the Custom field box, type a clear label in the field-label box, for example LinkedIn profile or Introducer name.
- From the dropdown next to it, choose the answer type (see the list below).
- Click Add.
The field appears in your form inside an Additional details section, which sits just before the locked declaration and signature. You can add as many custom fields as you need.
To remove a custom field, click the small X next to it in the Additional details block.
The answer types
When you add a field you pick how the contact answers it:
- Text for a short line such as a name or reference.
- Long text for a paragraph.
- Date for a calendar date.
- Number for figures only.
- Phone for a phone number.
- Email for an email address.
- Dropdown for a list of choices.
- Yes / no for a simple yes-or-no question.
- Document upload for a file.
Your reusable field library
Every custom field you add is also saved to your firm's field library, so you never have to type it again.
- The next time you build a form, any saved fields appear under From your library in the Custom field box.
- Click a field there to add it straight to the form you are building.
Note
If you try to add a field whose label is very close to one you already have, IzzyTap shows the message "You've already added a field with a similar name." This stops you creating two fields that clash. Add it once from From your library instead of typing it again.
Tip
After adding custom fields, click Preview in the bottom bar to see exactly how the Additional details section looks to the contact. See Preview a KYC form before you save or send it.