What this does
Instead of typing an expense in by hand, you can upload a picture or PDF of the receipt and let IzzyTap read it for you. It pulls out the supplier name, the VAT and the total automatically. All you do is check what it found and confirm. This is the fastest way to record an expense.
Open the Expenses screen
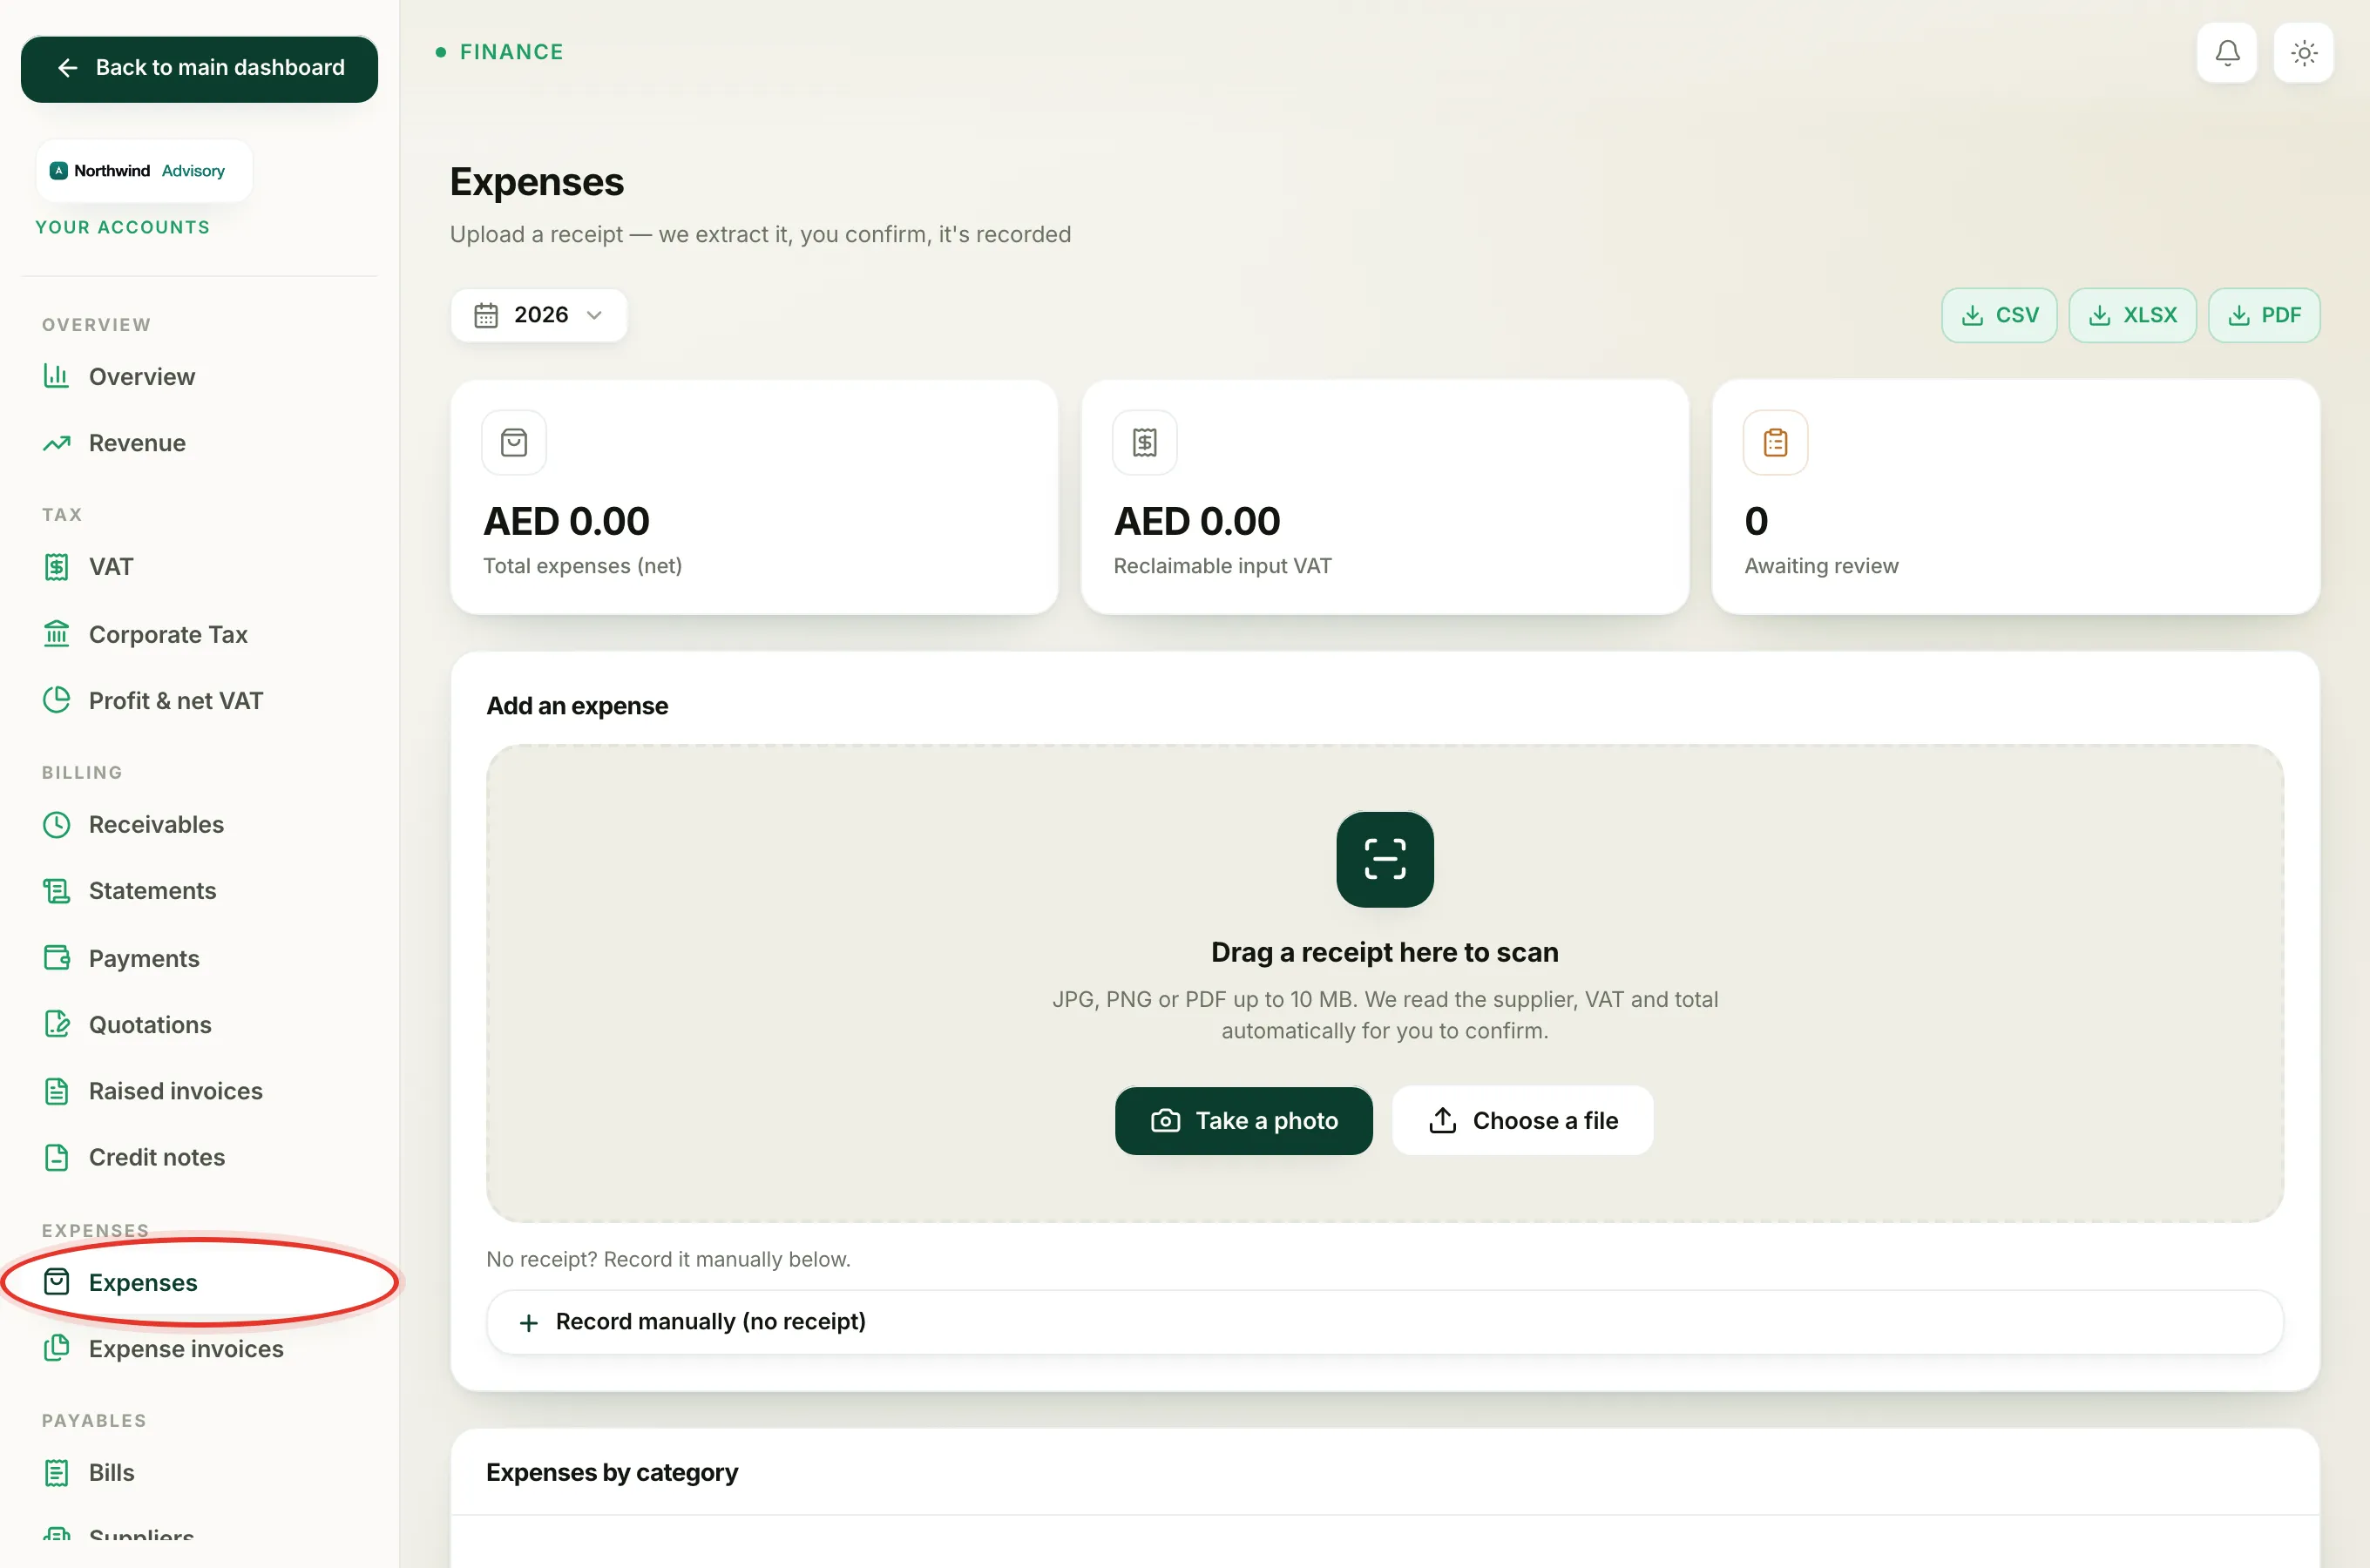
- Log in to your workspace.
- In the left menu, under Finance, click Your Accounts.
- In the accounts menu on the left, under Expenses, click Expenses.
At the top of the page is a box headed Add an expense with a scan area that says Drag a receipt here to scan.
Upload the receipt
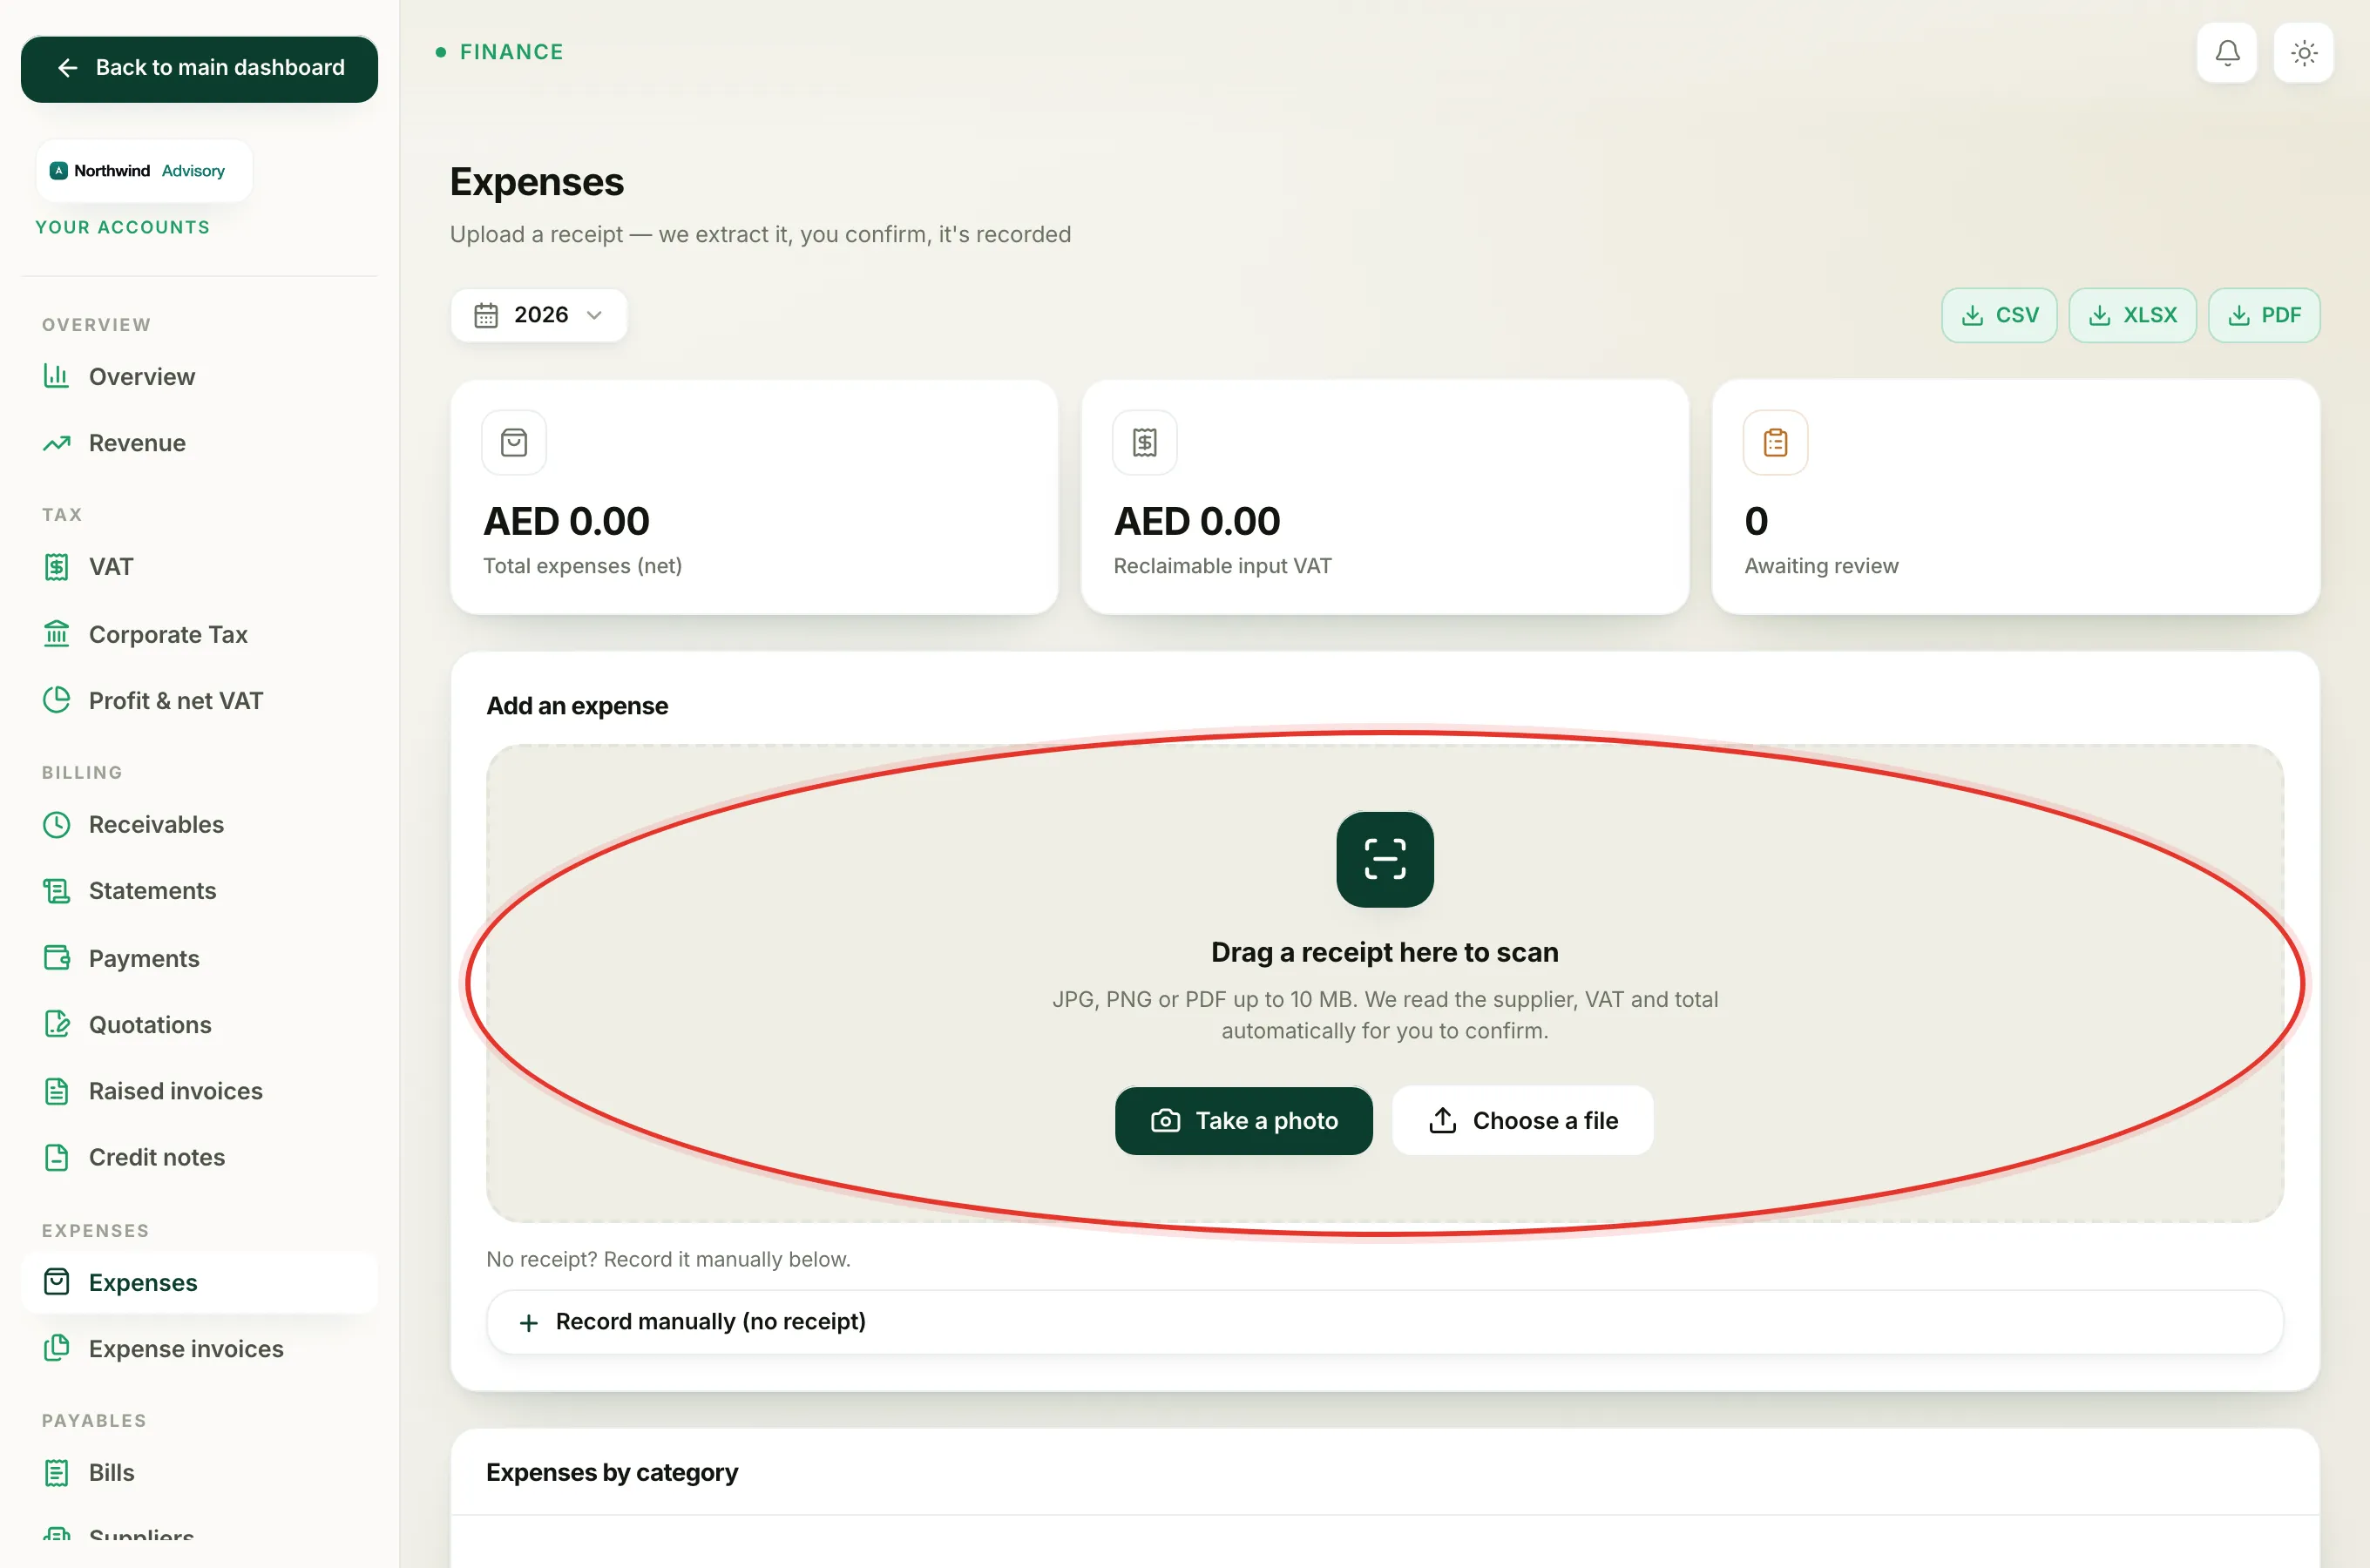
You have three ways to add the receipt:
- Drag a receipt here to scan by dropping the file straight onto the box.
- Click Choose a file to pick a photo or PDF from your device.
- On a phone, tap Take a photo to open the camera and snap the receipt there and then.
It accepts JPG, PNG or PDF up to 10 MB. If you take a photo on your phone, IzzyTap shrinks it automatically before uploading so it goes through quickly.
Tip
You do not need to press a save or upload button. As soon as you pick or drop a file, the scan starts on its own. You will see "Reading your receipt…" with a progress bar while it works.
Check and confirm
When the scan finishes, IzzyTap opens the Review expense page with the details it read already filled in: supplier, date, category, net, VAT and total, next to a picture of the receipt itself. Nothing is saved to your books until you confirm it, so this is your chance to fix anything the scan got wrong or to tag the expense to a client. For the full walkthrough of that step, see Review a receipt that is waiting.
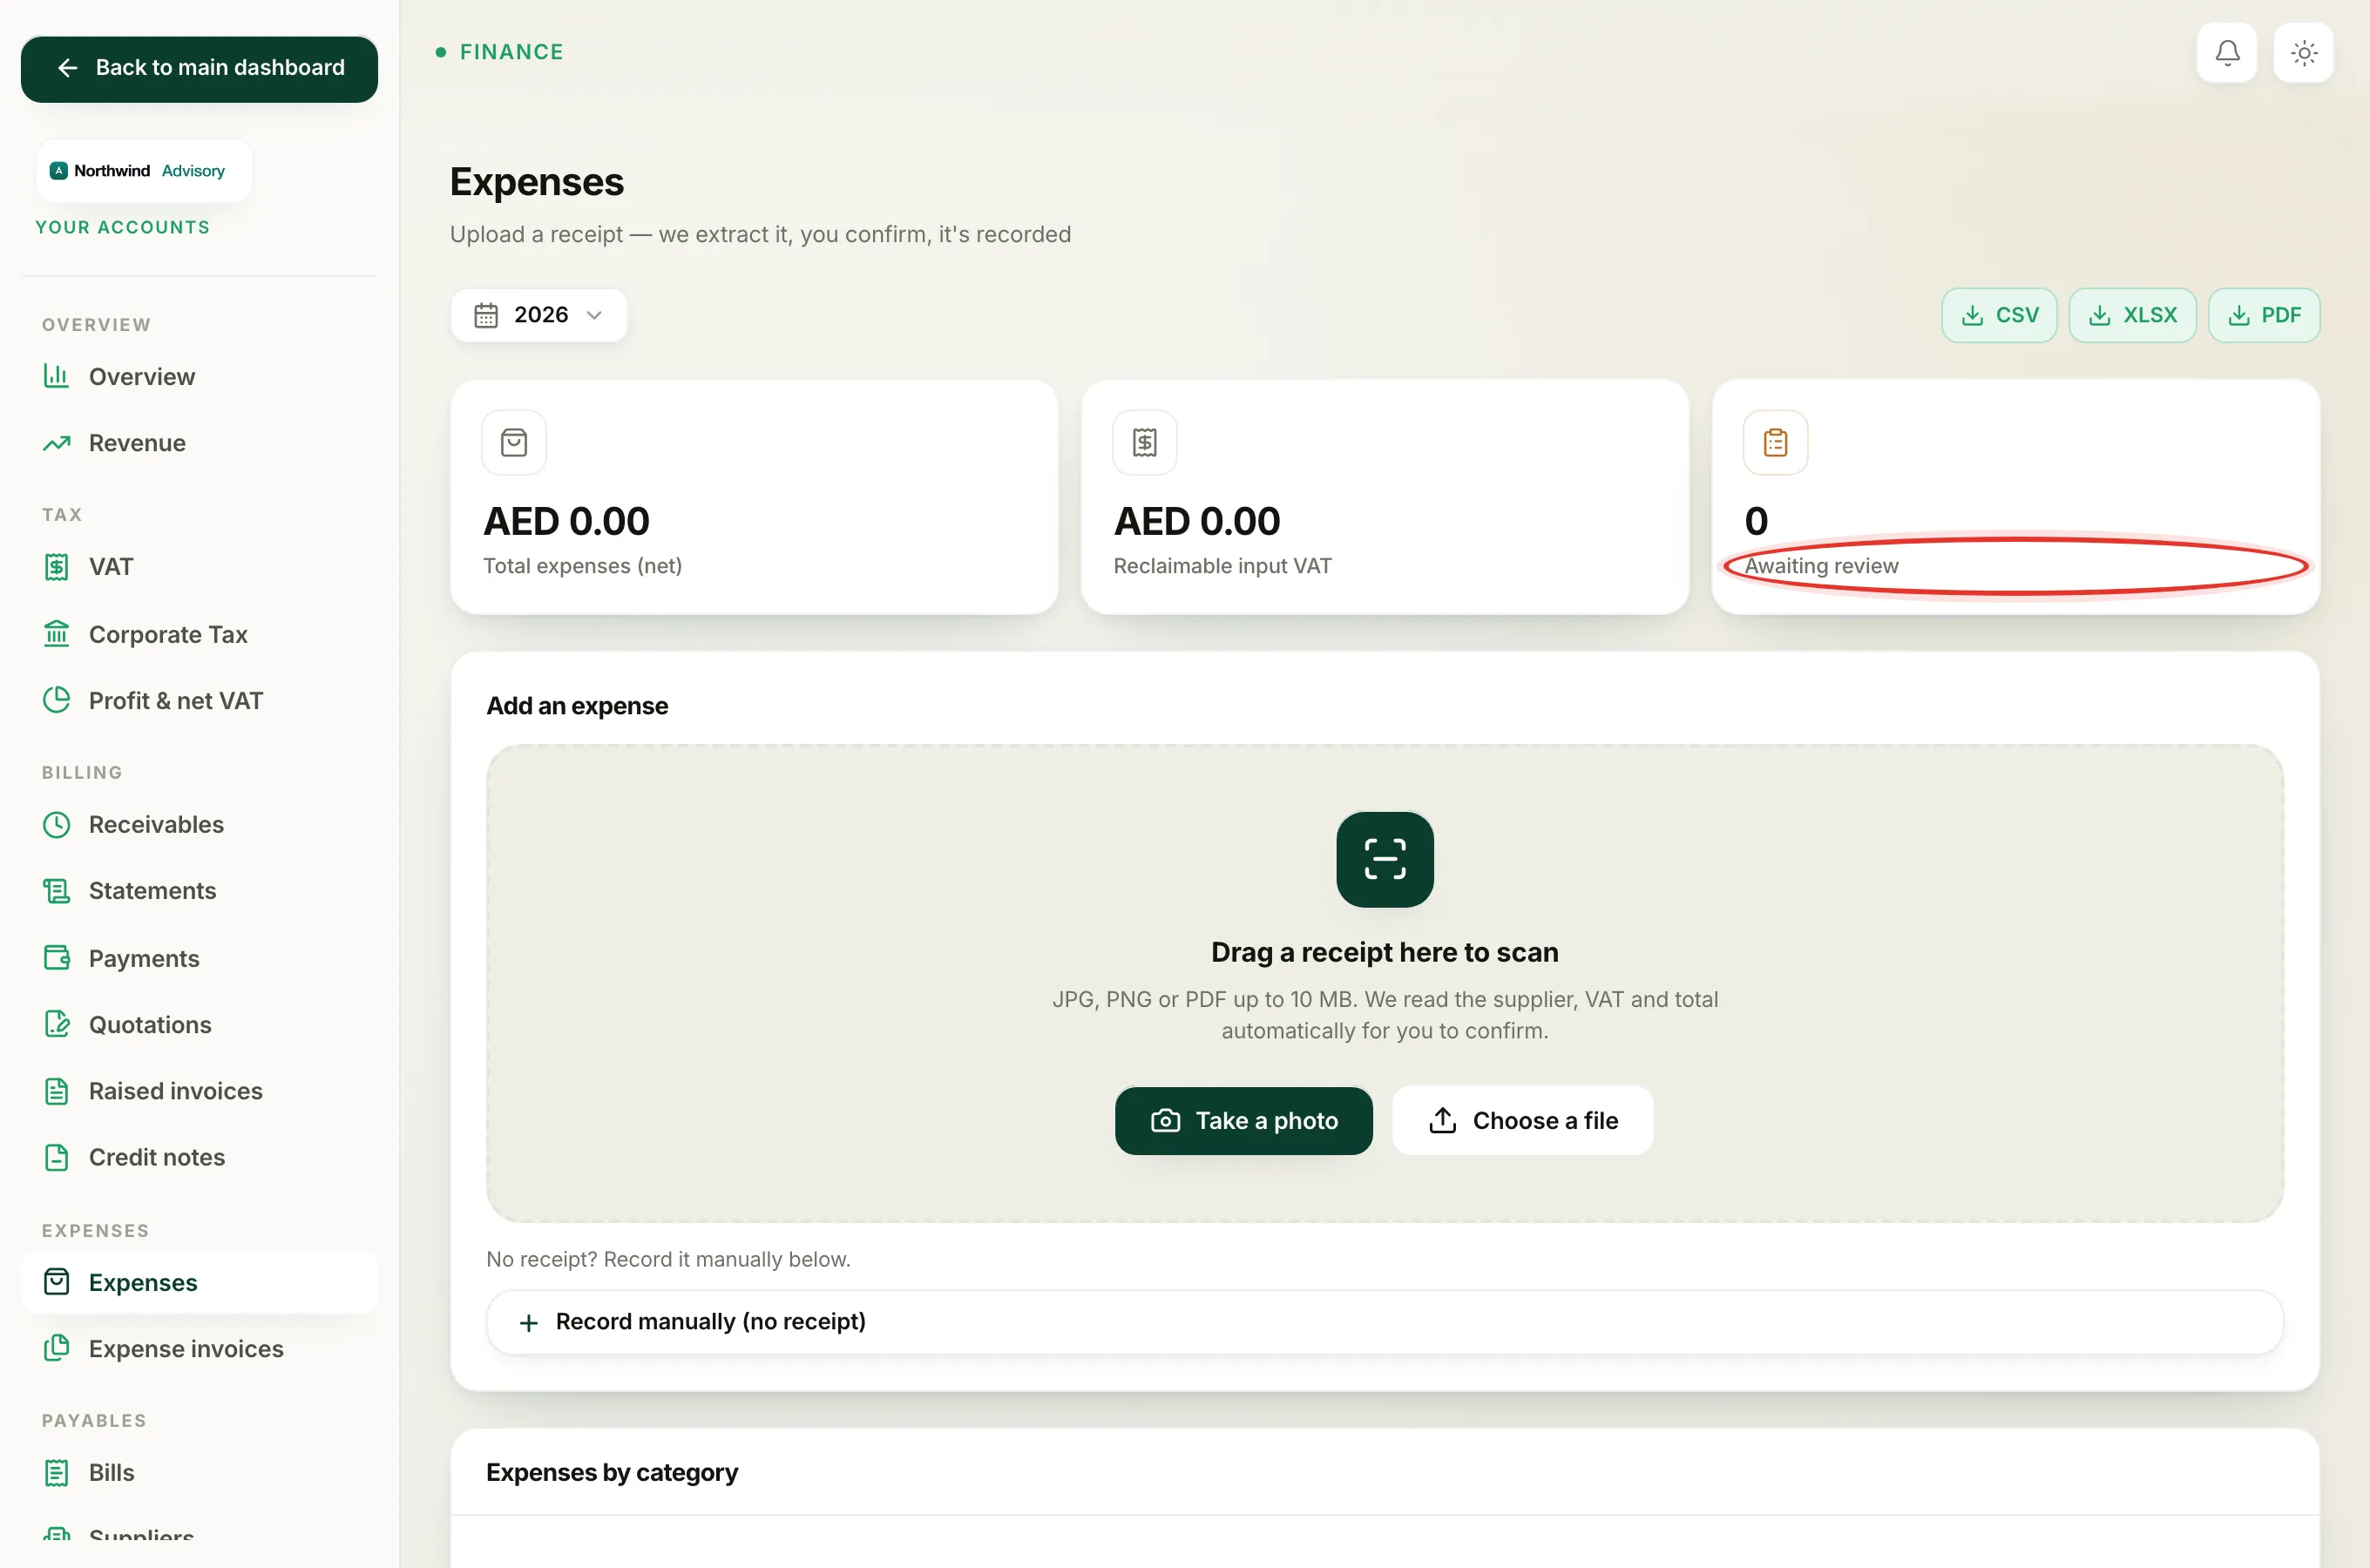
Back on the main Expenses page, the Awaiting review tile shows how many uploaded receipts are still waiting for you to confirm, and they are listed under Needs review with a Review link on each.
No receipt to scan?
If a cost never came with a receipt, you do not need to upload anything. You can type it in by hand instead. See Record an expense manually.