Reorder or remove sections in a KYC form
When you build a KYC form, the sections you add appear in a list called Sections in this form. The order in that list is the exact order the contact will fill them in. This page shows how to move and remove sections.
Open the form builder
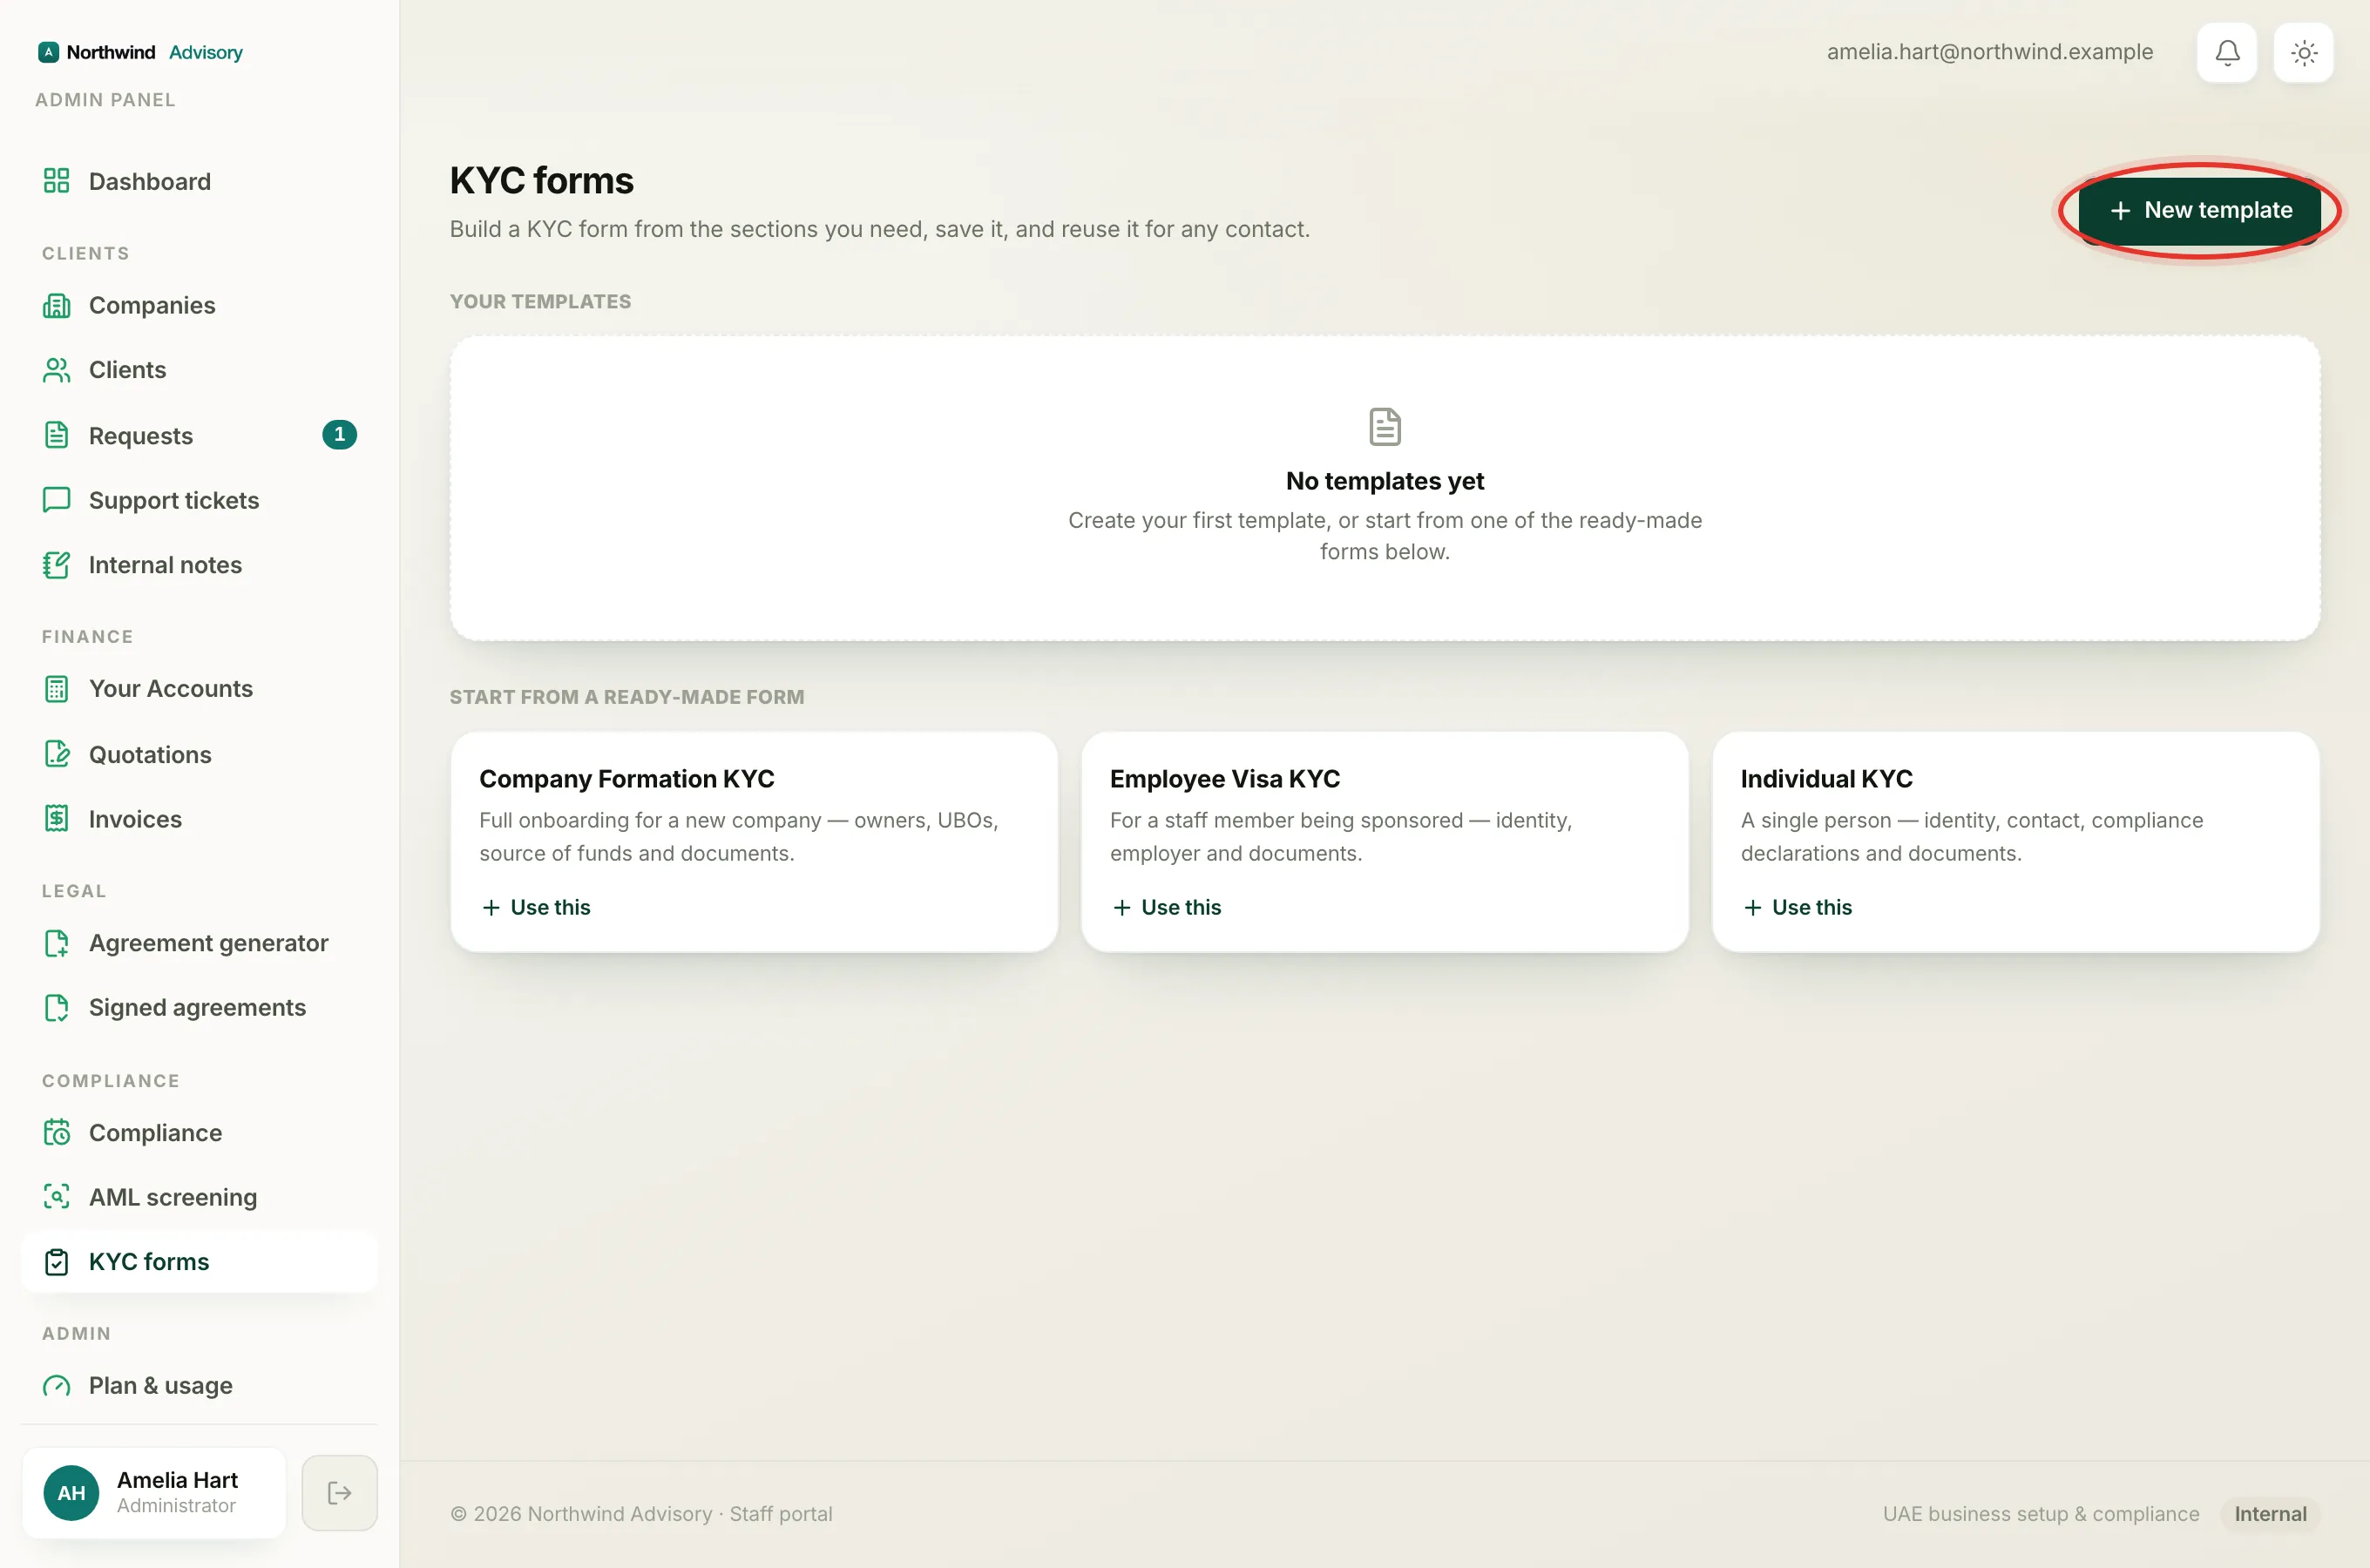
- Log in to your workspace.
- In the left menu, under Compliance, click KYC forms.
- Click New template to start a new form, or click Edit on one of Your templates to change an existing one.
The sections you have added are listed on the left under Sections in this form, in the order the contact will see them.
Change the order
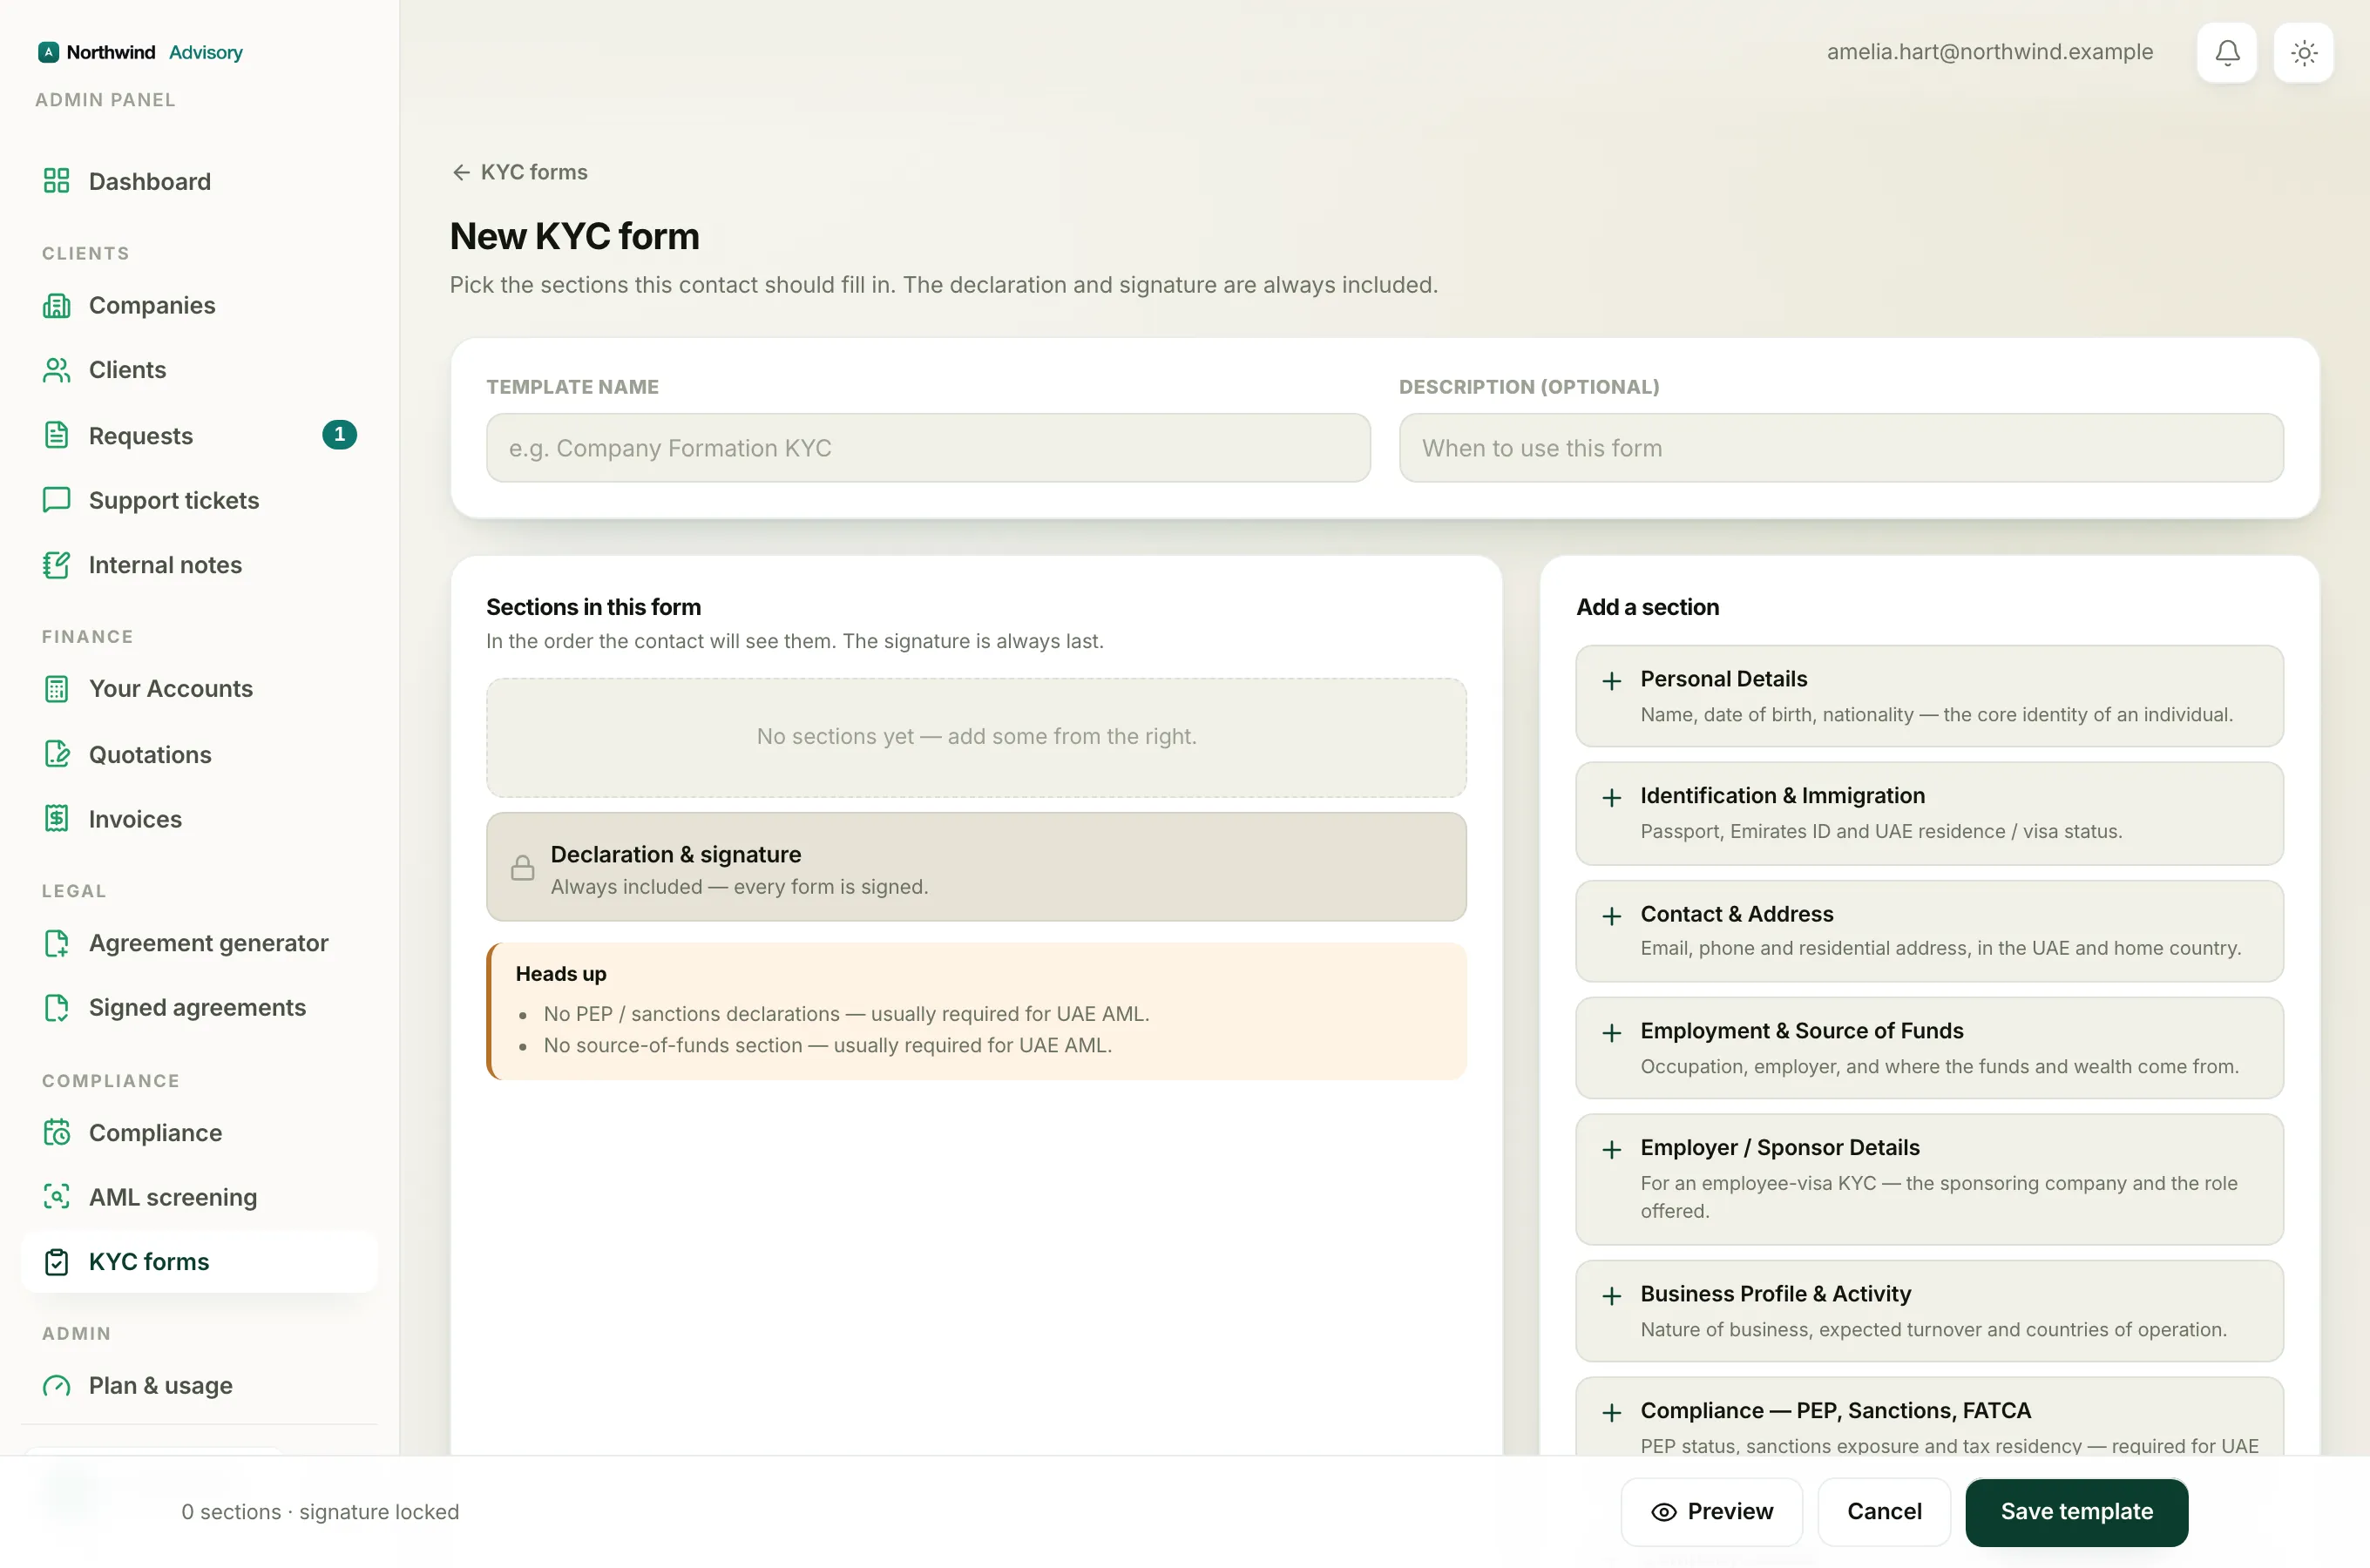
Each section row has a small up arrow and a small down arrow on the right.
- Find the section you want to move.
- Click the up arrow to move it one place earlier, or the down arrow to move it one place later.
- Repeat until the section is where you want it.
The up arrow is greyed out on the top section and the down arrow is greyed out on the bottom one, because they cannot move any further in that direction.
Tip
Put the sections in the order that feels natural to the person filling them in. A common order is personal details first, then identity, contact, then the business and compliance questions, with document uploads near the end.
Remove a section
Each section row also has a small X button on the right.
- Find the section you no longer want.
- Click the X to remove it.
The section moves back to the Add a section list on the right, so you can add it again later if you change your mind. Nothing is lost.
Add a section back
- On the right, under Add a section, find the section you want.
- Click it. It is added to the bottom of your Sections in this form list.
- Use the up arrow to move it into position.
The signature is always last
At the bottom of the list you will see Declaration & signature with a small lock icon. This is always the final section of every form and cannot be moved or removed. It is what makes each completed KYC legally signed. See The locked declaration and signature on every KYC form.
Check it before you save
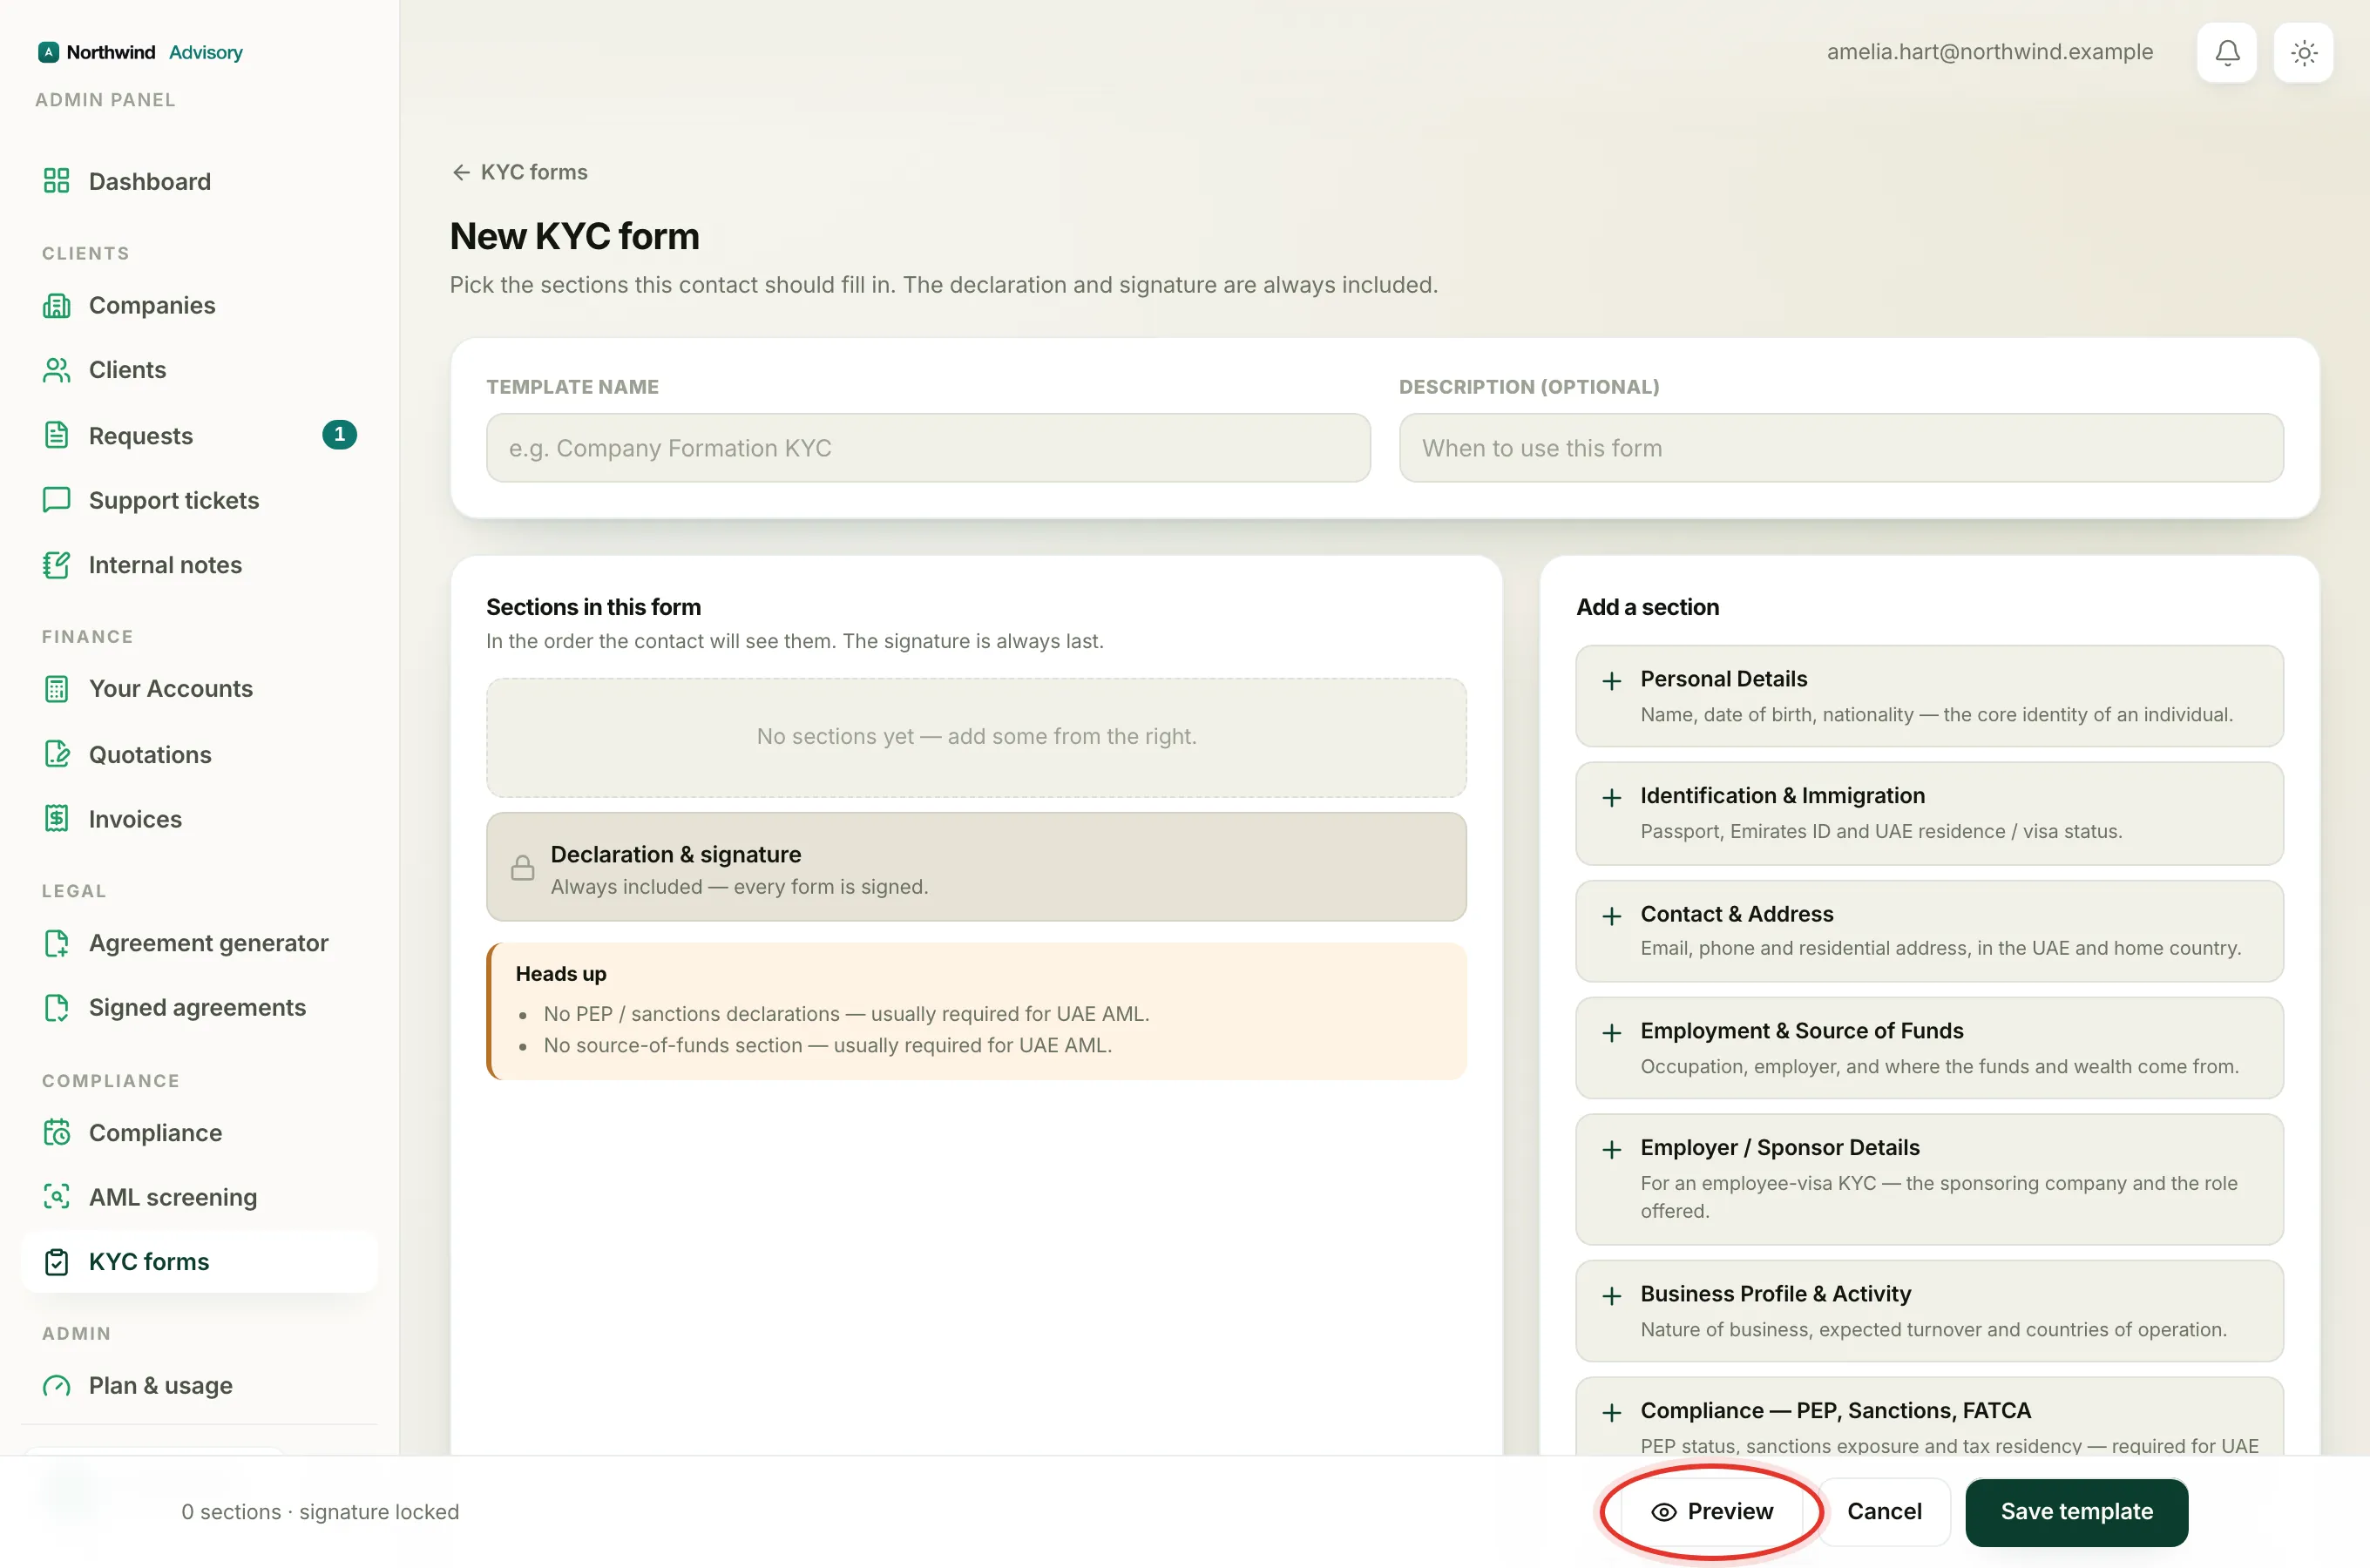
Before saving, click Preview in the bar at the bottom to see the exact form the contact will fill in, in the order you have set. See Preview a KYC form before you save or send it. When it looks right, click Save template.