What this does
A KYC form collects the identity and compliance details you need from a person. In IzzyTap, KYC is sent per contact. Each contact gets their own secure link. They fill in the form with no login, and the signed PDF comes back to you.
IzzyTap does not ship a built-in one-size-fits-all form. You send a KYC form that you have built and saved. So before you can send, you need at least one saved KYC form. To make one, see build your own KYC form.
You can send from two places:
- The company page, where you send to the people on one company. This is the everyday way.
- The KYC forms page, when you have a saved form and want to pick who gets it.
Both are covered below.
Note
Before you can send, the company needs at least one contact. If a company has no contacts, add them first. See manage the contacts on a company.
Send from the company page (the usual way)
- Log in to your workspace.
- In the left menu, under Clients, click Companies.
- Click the company you want to send a form to.
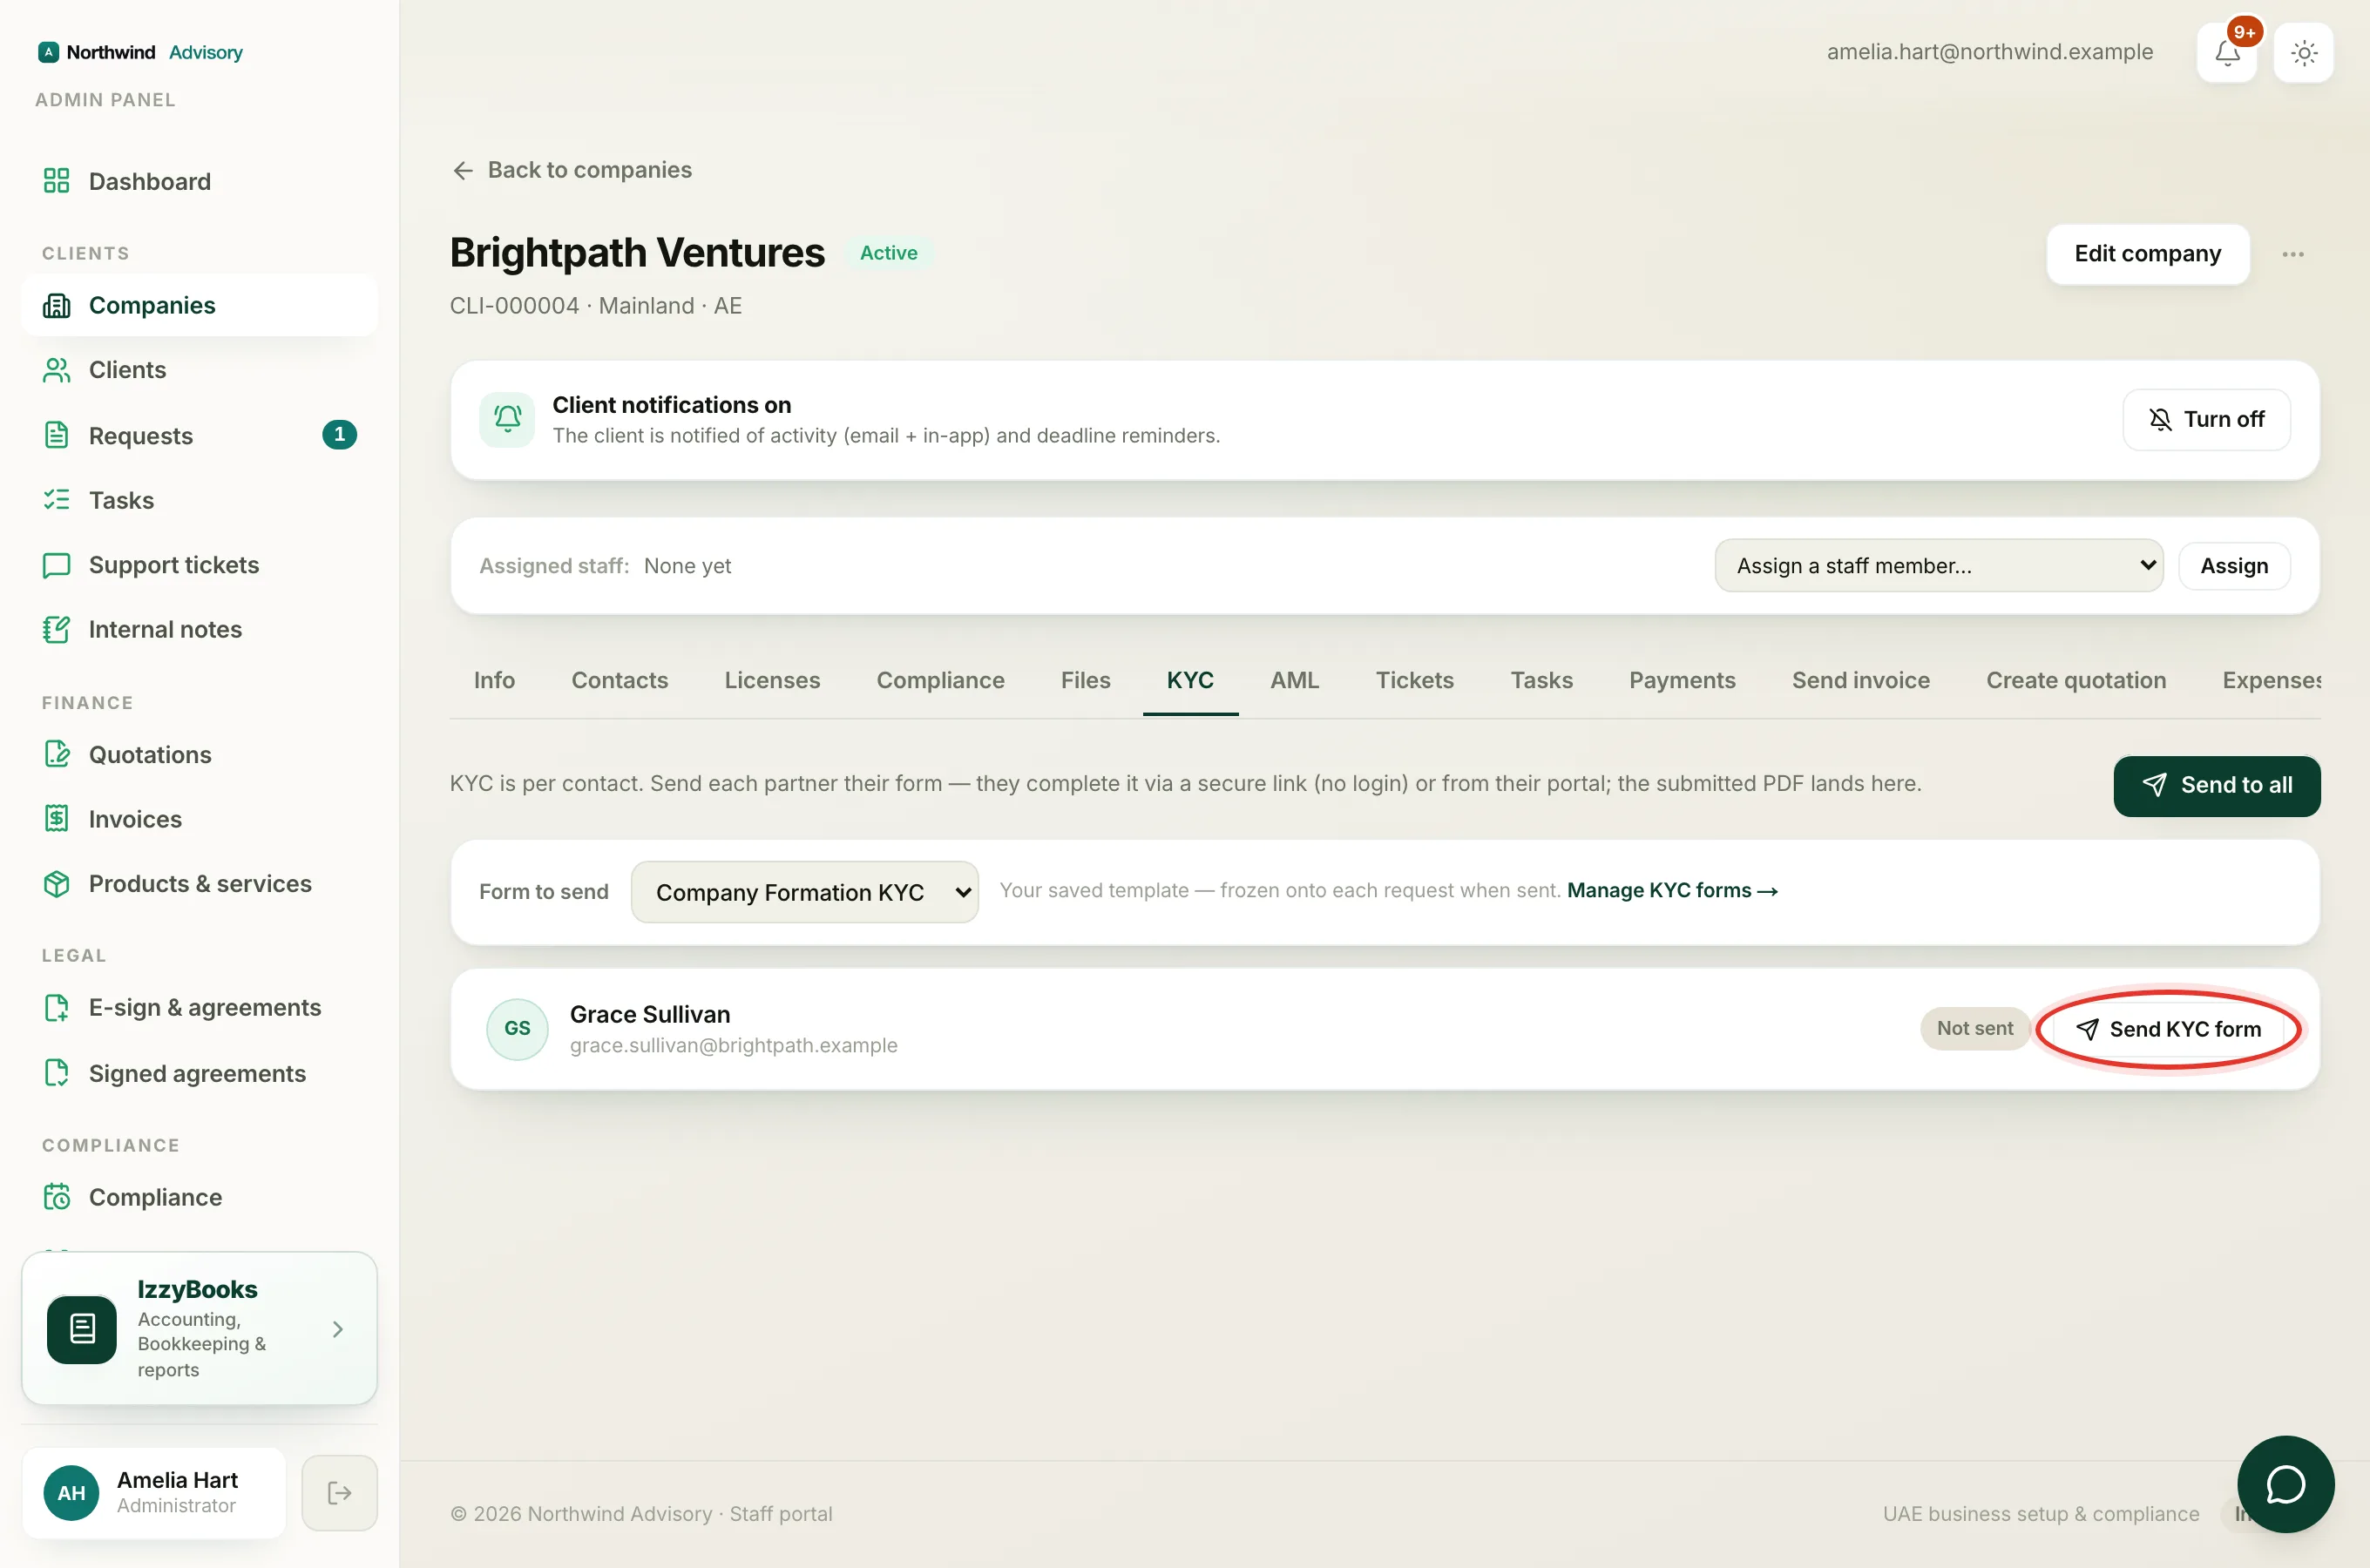
- On the company page, click the KYC tab.
- Find the Form to send box near the top. Click the dropdown and pick which of your saved forms to send. Every KYC form you built and saved appears in the list by its name. If your firm has more than one, the most recent one is chosen for you by default. To learn how to make your own, see build your own KYC form.
- To send to one person, find that contact in the list and click Send KYC form next to their name.
- To send to everyone on the company at once, click Send to all at the top right.
That is it. Each contact with an email on file is sent a secure link by email. The button changes and the contact's status chip moves from Not sent to Sent.
Tip
The form you pick in Form to send is used for every send on that tab, whether you send to one person or to all. Choose the right form first, then send.
If you have not built a KYC form yet
If your firm has no saved KYC form, the KYC tab does not show the Form to send box. Instead it shows a panel that reads Create your KYC form first, with a Build your first KYC form button. The Send KYC form buttons on each contact are greyed out until you have a form, and Send to all is hidden.
Click Build your first KYC form to go to the KYC forms page and make one. Once you have saved a form, come back to the company's KYC tab and the send buttons work. See build your own KYC form.
If a contact has no email
When you send, a Public link appears under that contact's row. This is their secure link. If the person has no email on file, copy this link and share it with them yourself, for example on WhatsApp.
Sending again
If someone was already sent a form but has not finished it, the button reads Resend. Clicking it makes a fresh link and sends it again. You cannot resend to a contact who has already submitted. Their status shows Submitted and you see a PDF button instead.
Send a specific saved form from the KYC forms page
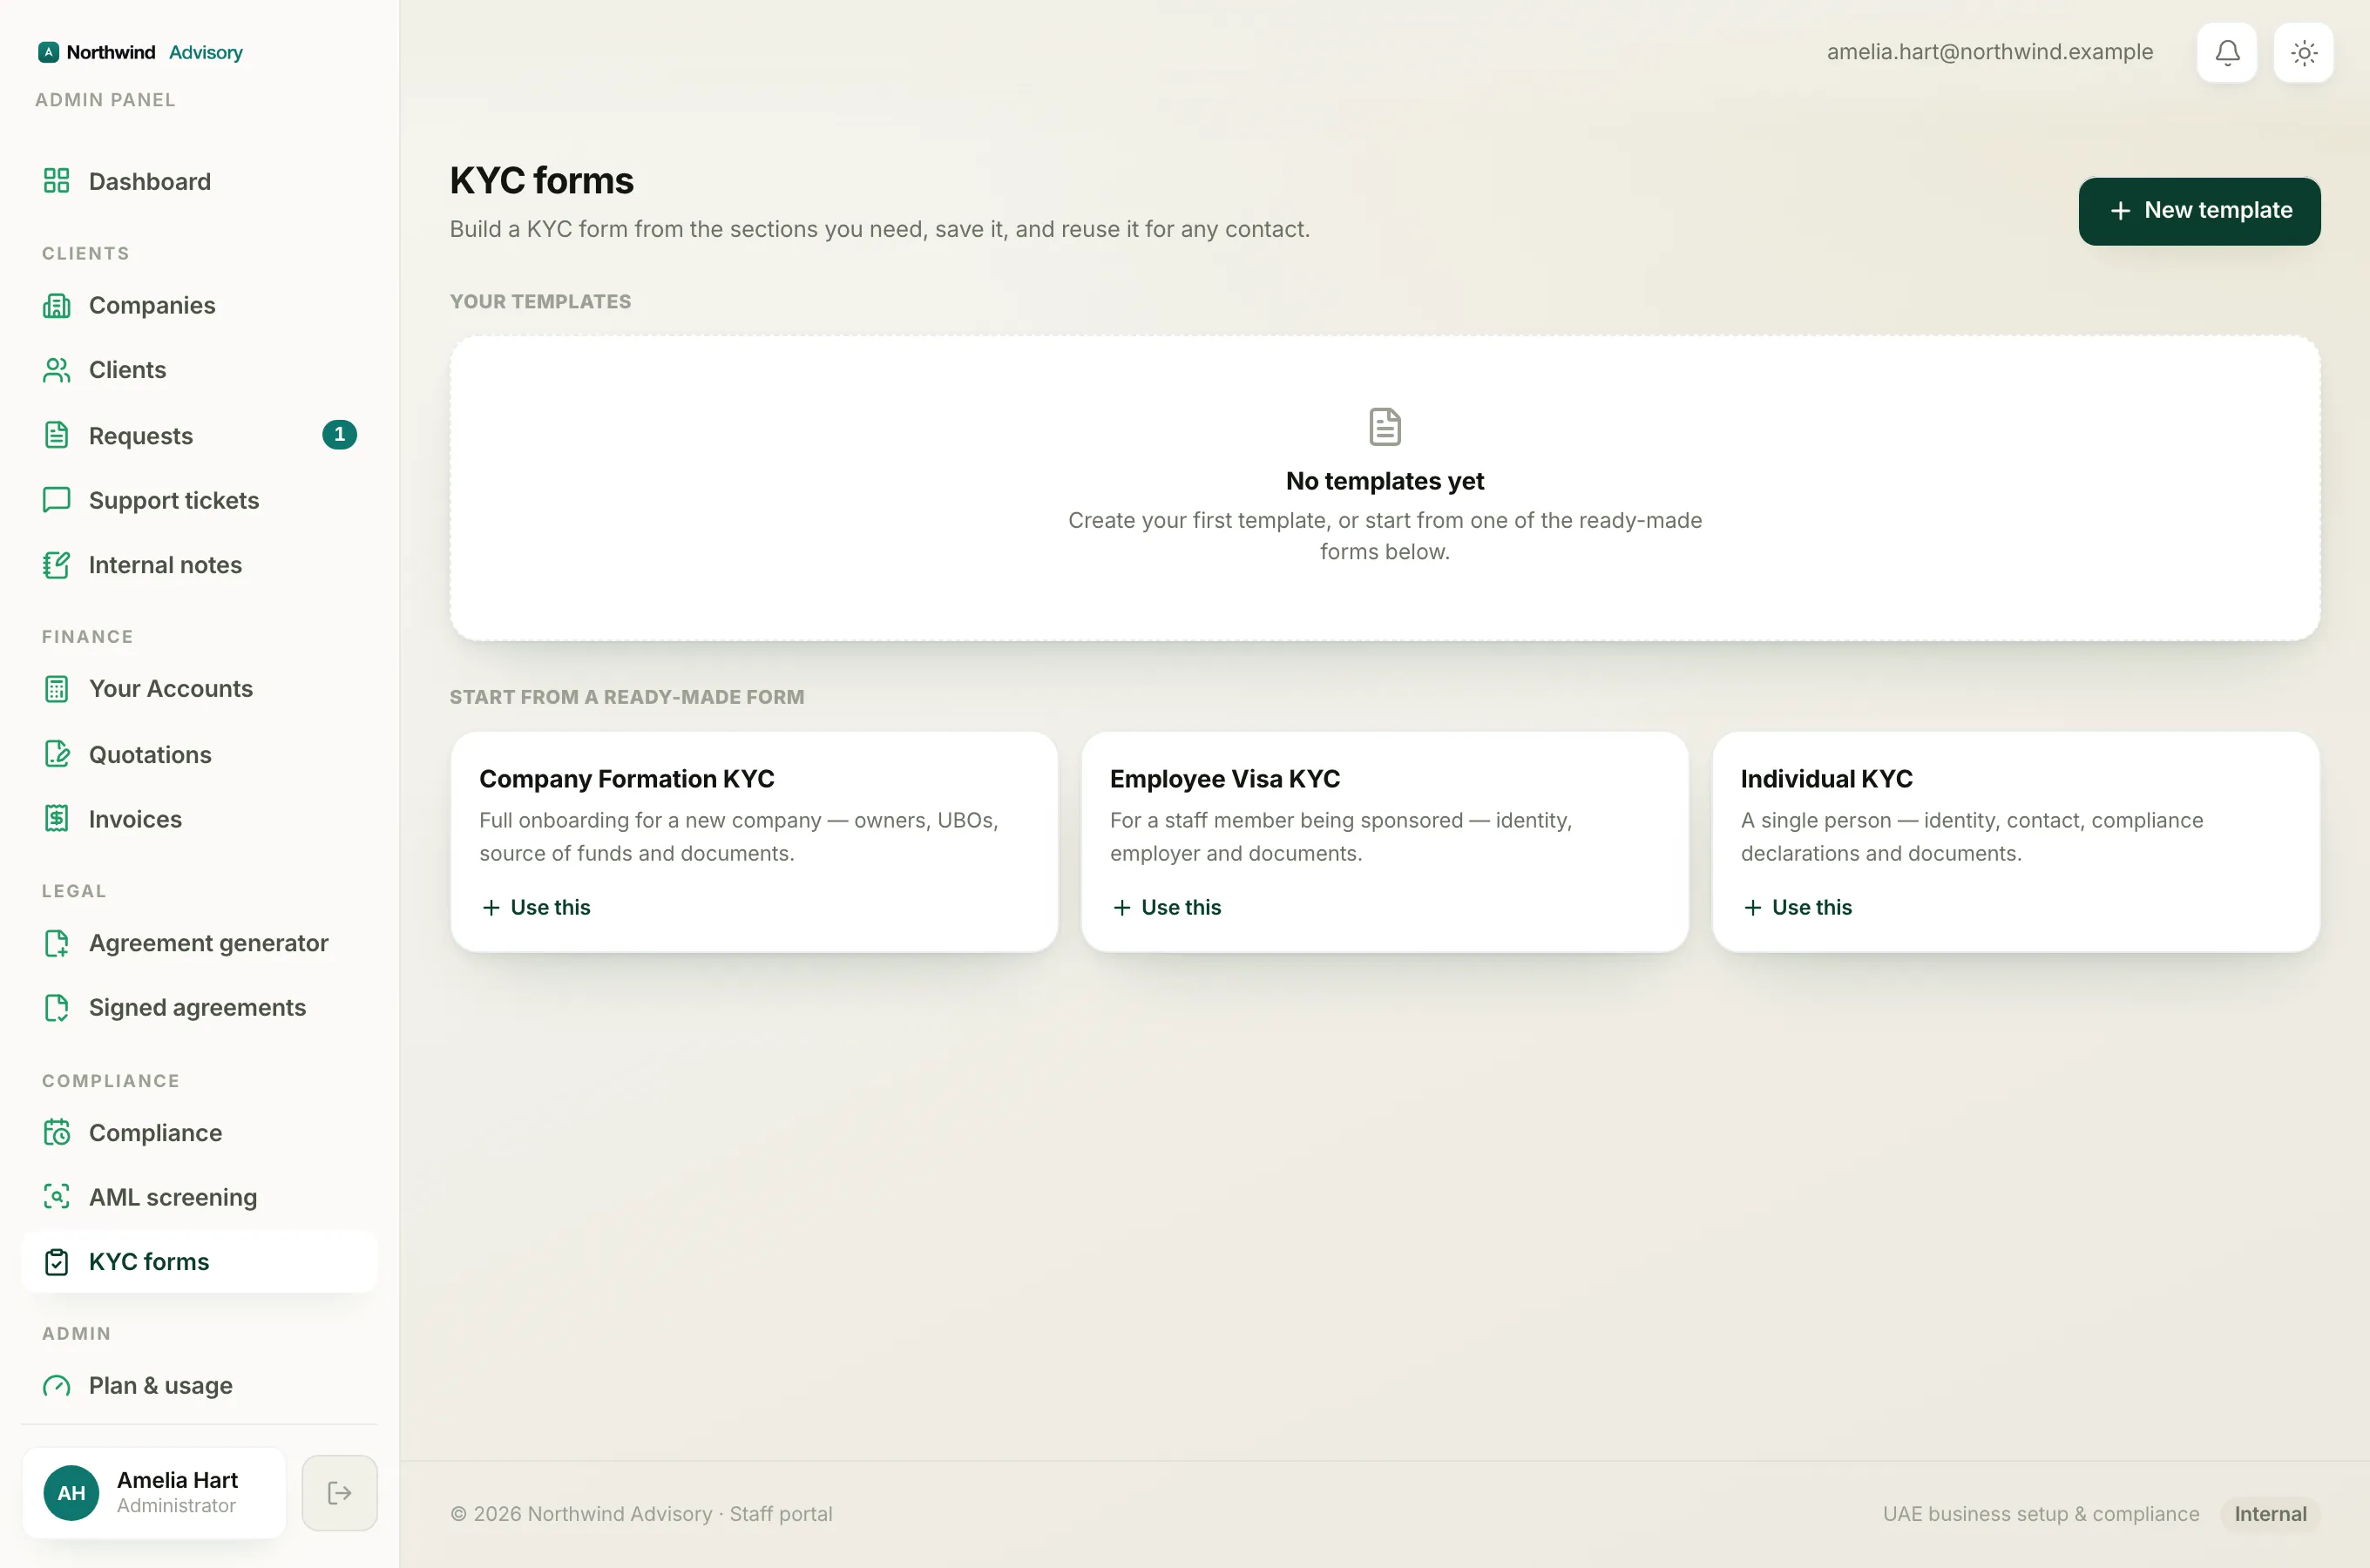
If you have already built and saved a form, you can start from the form and choose who gets it.
- Log in to your workspace.
- In the left menu, under Compliance, click KYC forms.
- Under Your templates, find the form you want and click Send.
- Step 1, Choose the company. Type in the search box to find the company, then click it.
- Step 2, Choose the contact. Click the person who should complete the form. You can search by name or email.
- Check the bar at the bottom. It reads Sending [form name] to [contact name].
- Click Send KYC form.
When it is sent you see a green confirmation. If the contact has an email, it reads Sent to [name] and the link goes out by email. If they have no email, it reads Ready for [name] and shows the secure link for you to copy and share.
To send the same form to someone else, click Send to another contact. To finish, click Back to KYC forms.
Important
A contact who has already submitted KYC shows KYC submitted and the send button is disabled. You cannot send a new form over a finished one.
The secure link and how long it lasts
Every link is single-use and expires after 14 days. The contact opens the link, fills in the form step by step, signs it, and submits. No account or password is needed.
What happens next
Once the contact submits, their status turns to Submitted and the signed PDF lands back on the company's KYC tab. To read what they sent and download the PDF, see review a completed KYC form.
KYC pairs well with a background check on the same people. See run an AML screening.