When to use this
Sometimes you want to invoice someone before they are a client. A new enquiry agrees to a job over the phone, and you want to send them a proper invoice and a pay link right away, without first creating a company for them. IzzyTap lets you do exactly that. You type the person's details onto the invoice, and only when they actually pay does IzzyTap create their account and company for you, automatically. To learn what happens on payment, see What happens automatically when a lead pays your invoice.
Note
If the person is already a company on your books, invoice them from inside their company page instead so it links to their record. See How to create an invoice.
Send the invoice
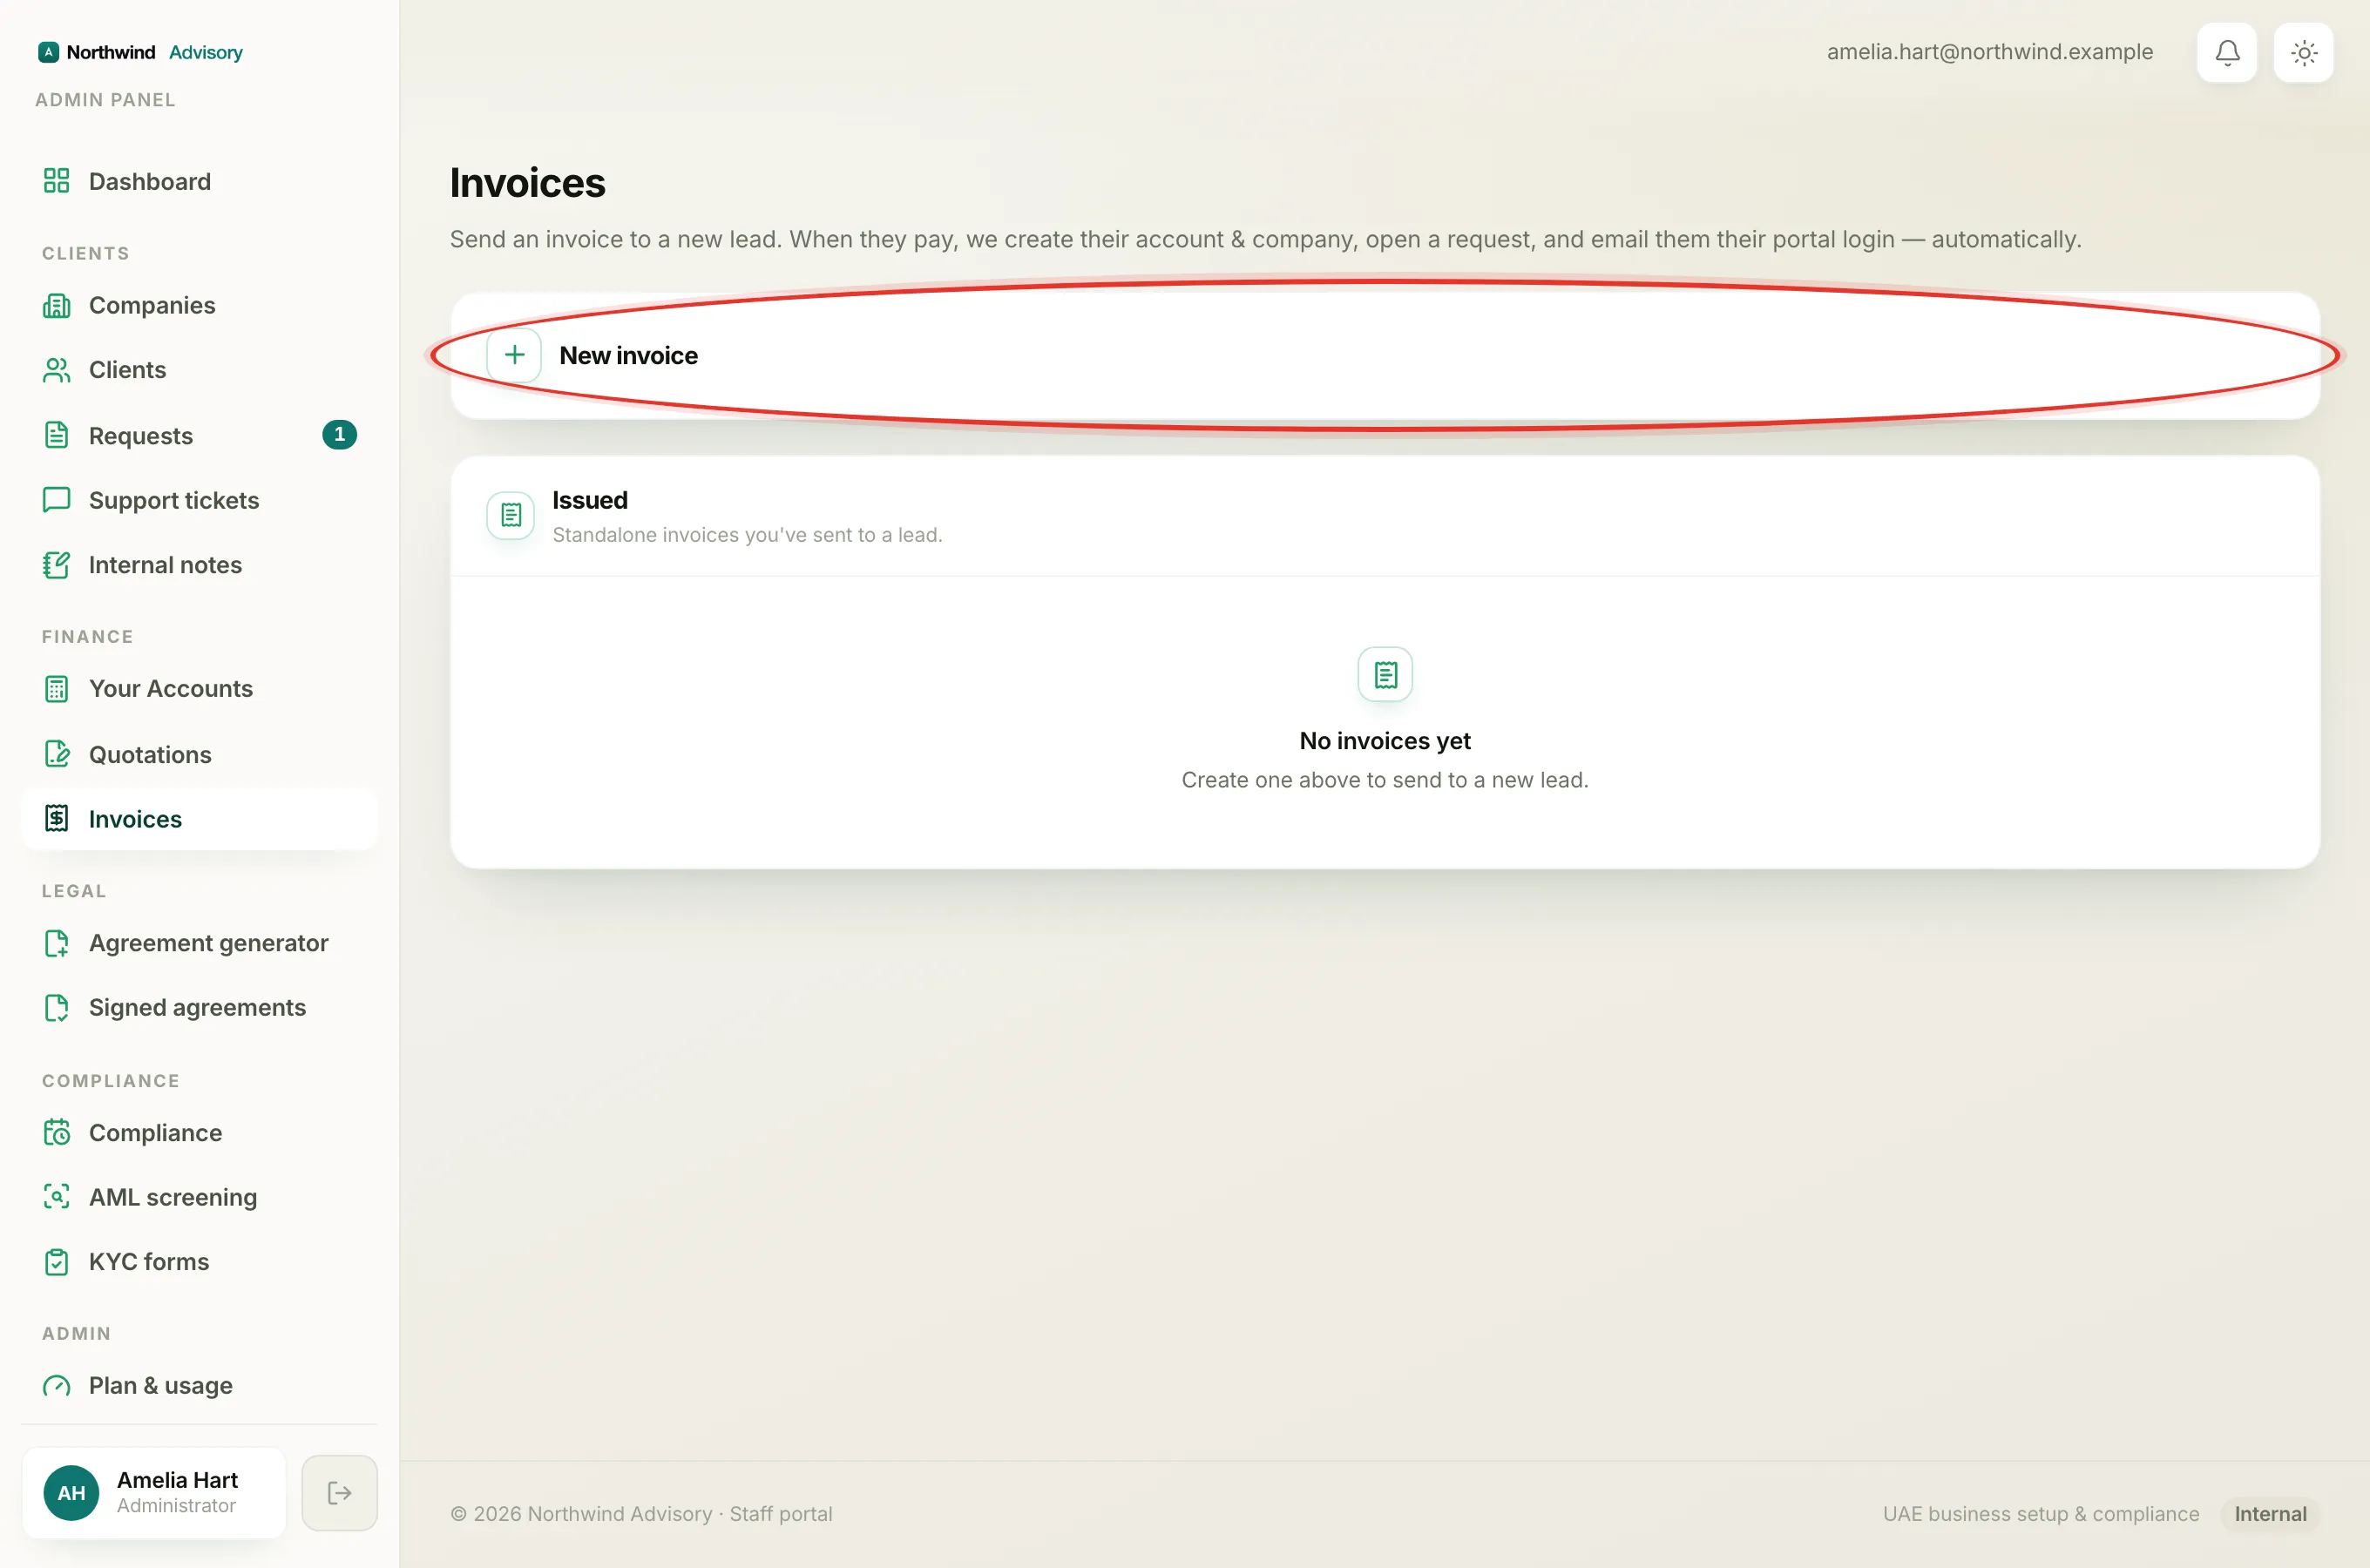
- Log in to your workspace.
- In the left menu, under Finance, click Invoices.
- Click New invoice to open the invoice builder.
- Fill in who it is going to:
- Client name (or a Company name, one of the two is required)
- Email. This is required. It is where the invoice and the pay link are sent, and it becomes their login later, so type it carefully.
- VAT / TRN, Mobile and Company address are optional.
- Pick a Service from the dropdown. This is optional, but choosing one means that when they pay, the request that opens for them is already labelled with the right service.
- Add your line items. For each line, type a Description, the Qty and the Rate. Then choose the line type:
- Government fee for a fee you pass straight through.
- Service charge for your own fee. Choosing this ticks +5% VAT for you.
- Other for anything else. You can also tick or untick +5% VAT yourself, and add a per-line discount. Click Add line for more rows.
- Check the running Subtotal, VAT (5%) and Total shown underneath.
- Set the Invoice date if it should not be today, add an optional note, and change the three-letter currency if it is not AED.
- Click Preview invoice to see the exact PDF the client will get. See Preview an invoice before you send it.
- From the preview, click Send invoice. The button shows the total so you can double-check it before you commit.
What happens next
The moment you send, the lead gets an email with the invoice PDF attached and a Pay now link. Their new invoice appears in the Issued list on the same page, showing as Sent. You have not created a company or a login for them yet. That only happens when they pay.
Important
Send is instant and cannot be undone. Always use Preview first to check the figures and the recipient's email. If you spot a mistake after sending, you can cancel the invoice while it is still unpaid. See Cancel an invoice.
Tracking it afterwards
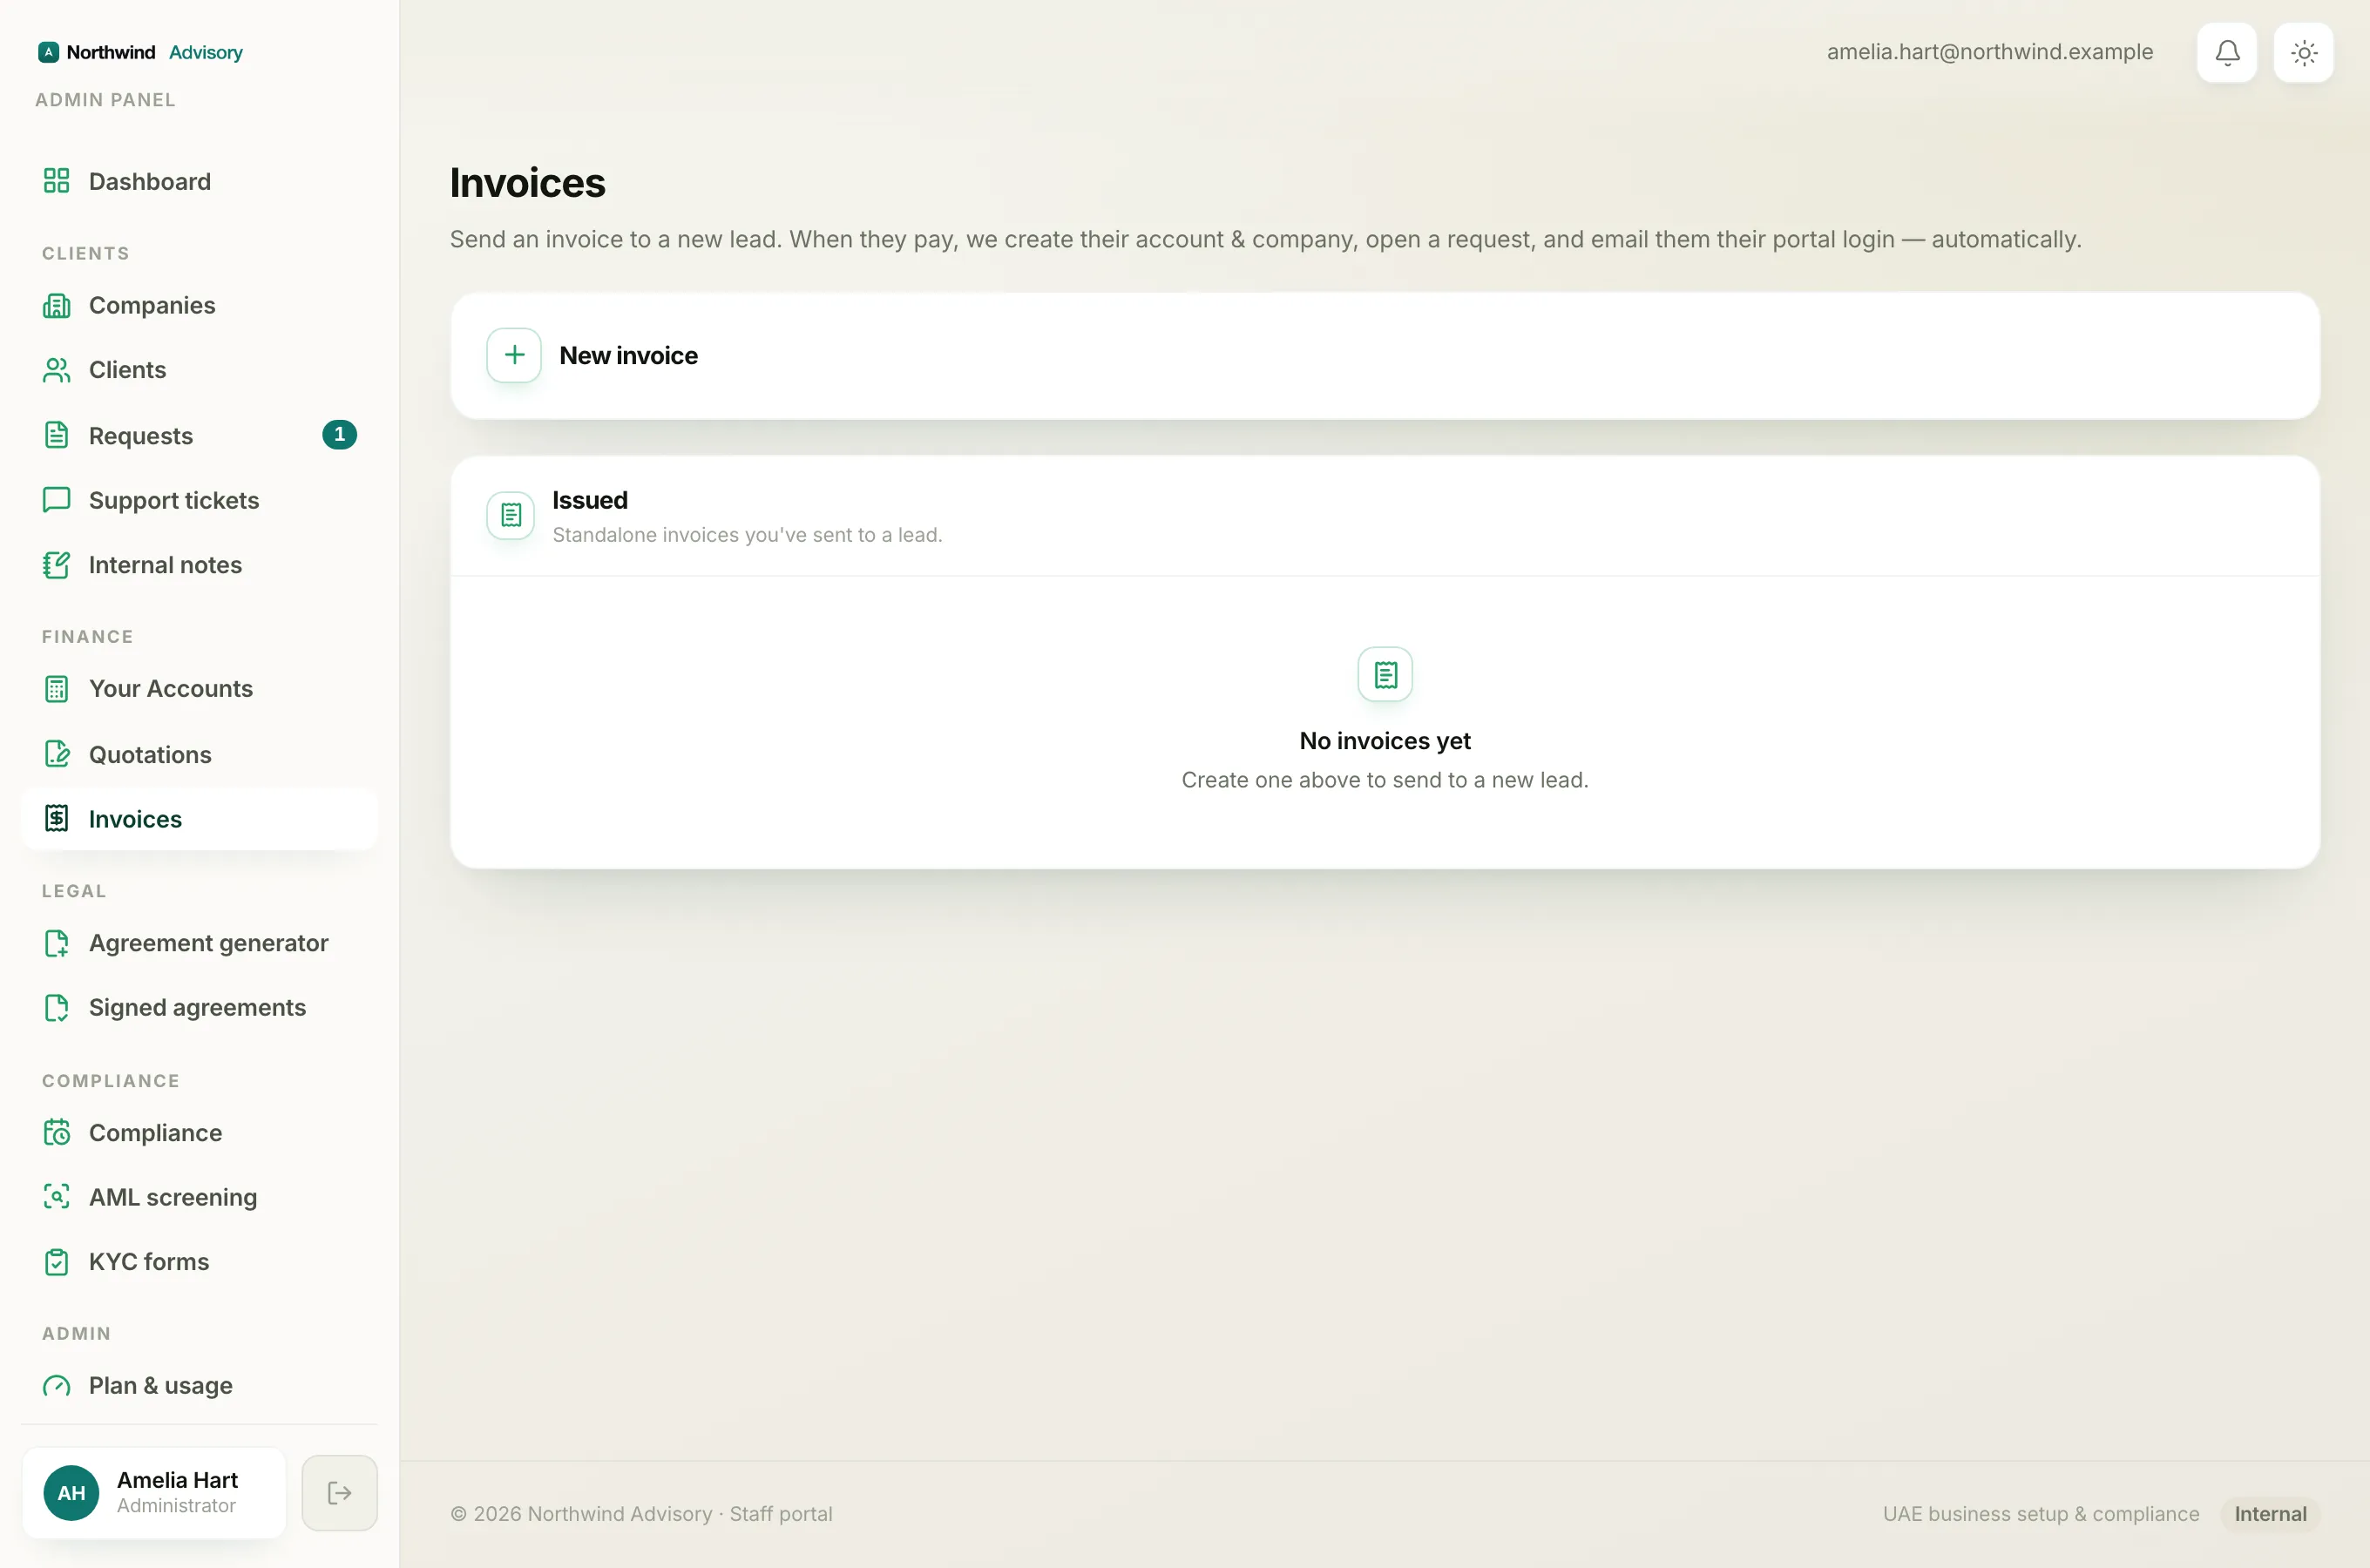
The invoice stays in the Issued list. When the lead pays, a green Account created chip appears on the row and an Open profile button lets you jump straight into their new company page. You can download the PDF at any time with the PDF button on the row.