Once you are on a paid plan, you manage the money side of it yourself: your card, your invoices, and whether the plan carries on. This guide walks you through it from login.
Open the billing controls
- Log in to your workspace.
- In the left menu, under Admin, click Subscription.
- Scroll to Add-ons and billing, then to Manage subscription.
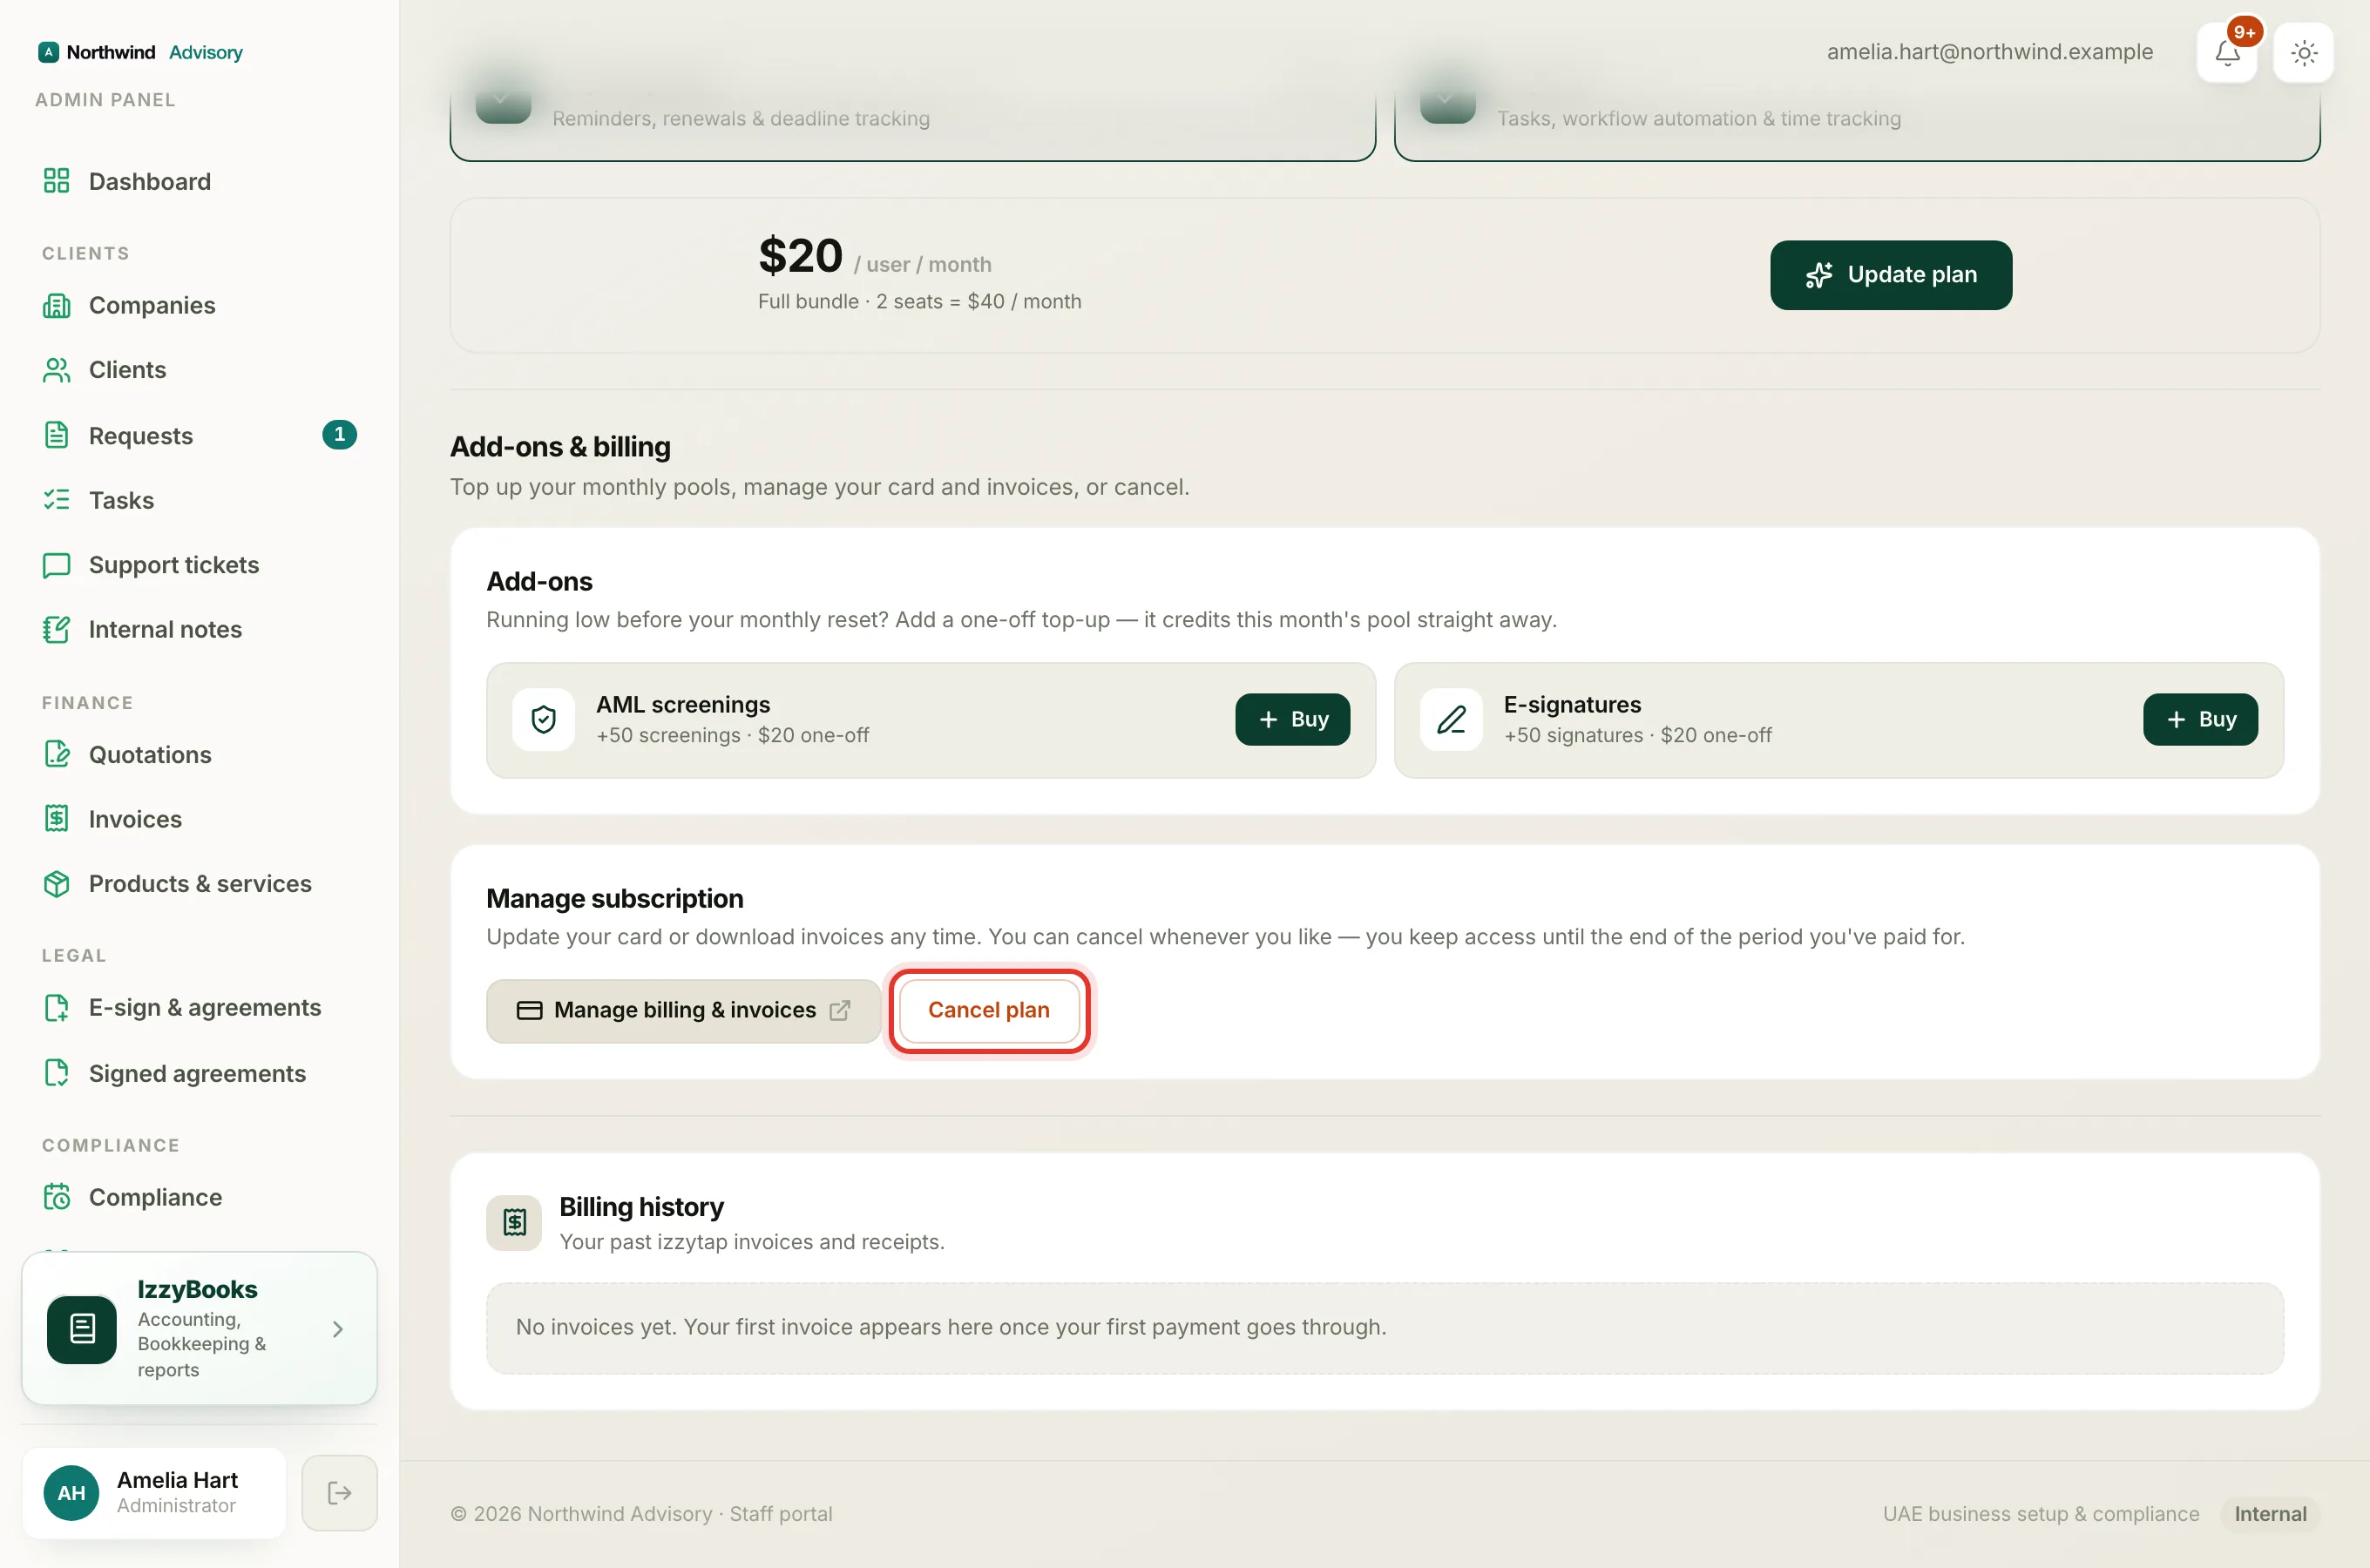
Update your card or download invoices
Click Manage billing and invoices. This opens your secure billing portal, where you can update the card on file and download any past invoice or receipt.
Note
You also have a Billing history section further down the Subscription page. It lists your past payments, so you can open a receipt without leaving the app.
Cancel your plan
- Click Cancel plan.
- A box explains what happens: you keep full access until the end of the period you have already paid for. After that, your paid features pause until you start a plan again, so you cannot create new invoices, quotations, KYC forms, AML screenings, e-signatures or tasks. Everything you have created stays safe, including your clients, documents, invoices and books, and adding clients and storing documents keep working.
- To go ahead, click Yes, cancel at period end. To stop, click Keep my plan.
After you cancel, a note shows the date your plan will end. You are not charged again.
Resume a plan you cancelled
If your plan is set to cancel, the page shows a banner with the end date and a Resume plan button. Click it any time before the end date to carry on with no break, and no new charge beyond your normal billing.
Important
Cancelling never deletes your data. Once the paid period ends it pauses your paid features until you start a plan again, and everything you have created stays exactly as it is. You can resume, or start a new plan, whenever you like.
Related
- Change what your plan includes. See Choose or change your plan.
- Add more AML screenings or e-signatures for the month. See Understand usage and top-ups.