IzzyTap lets you build an agreement, fill in the details, and send it to your client to sign online. Your firm is signed onto it first, and each signing party gets their own private link. Here is how to make one from start to finish.
Before you start
You will need the client's signing details ready: the full name and email address of each person who must sign.
Open the agreement generator
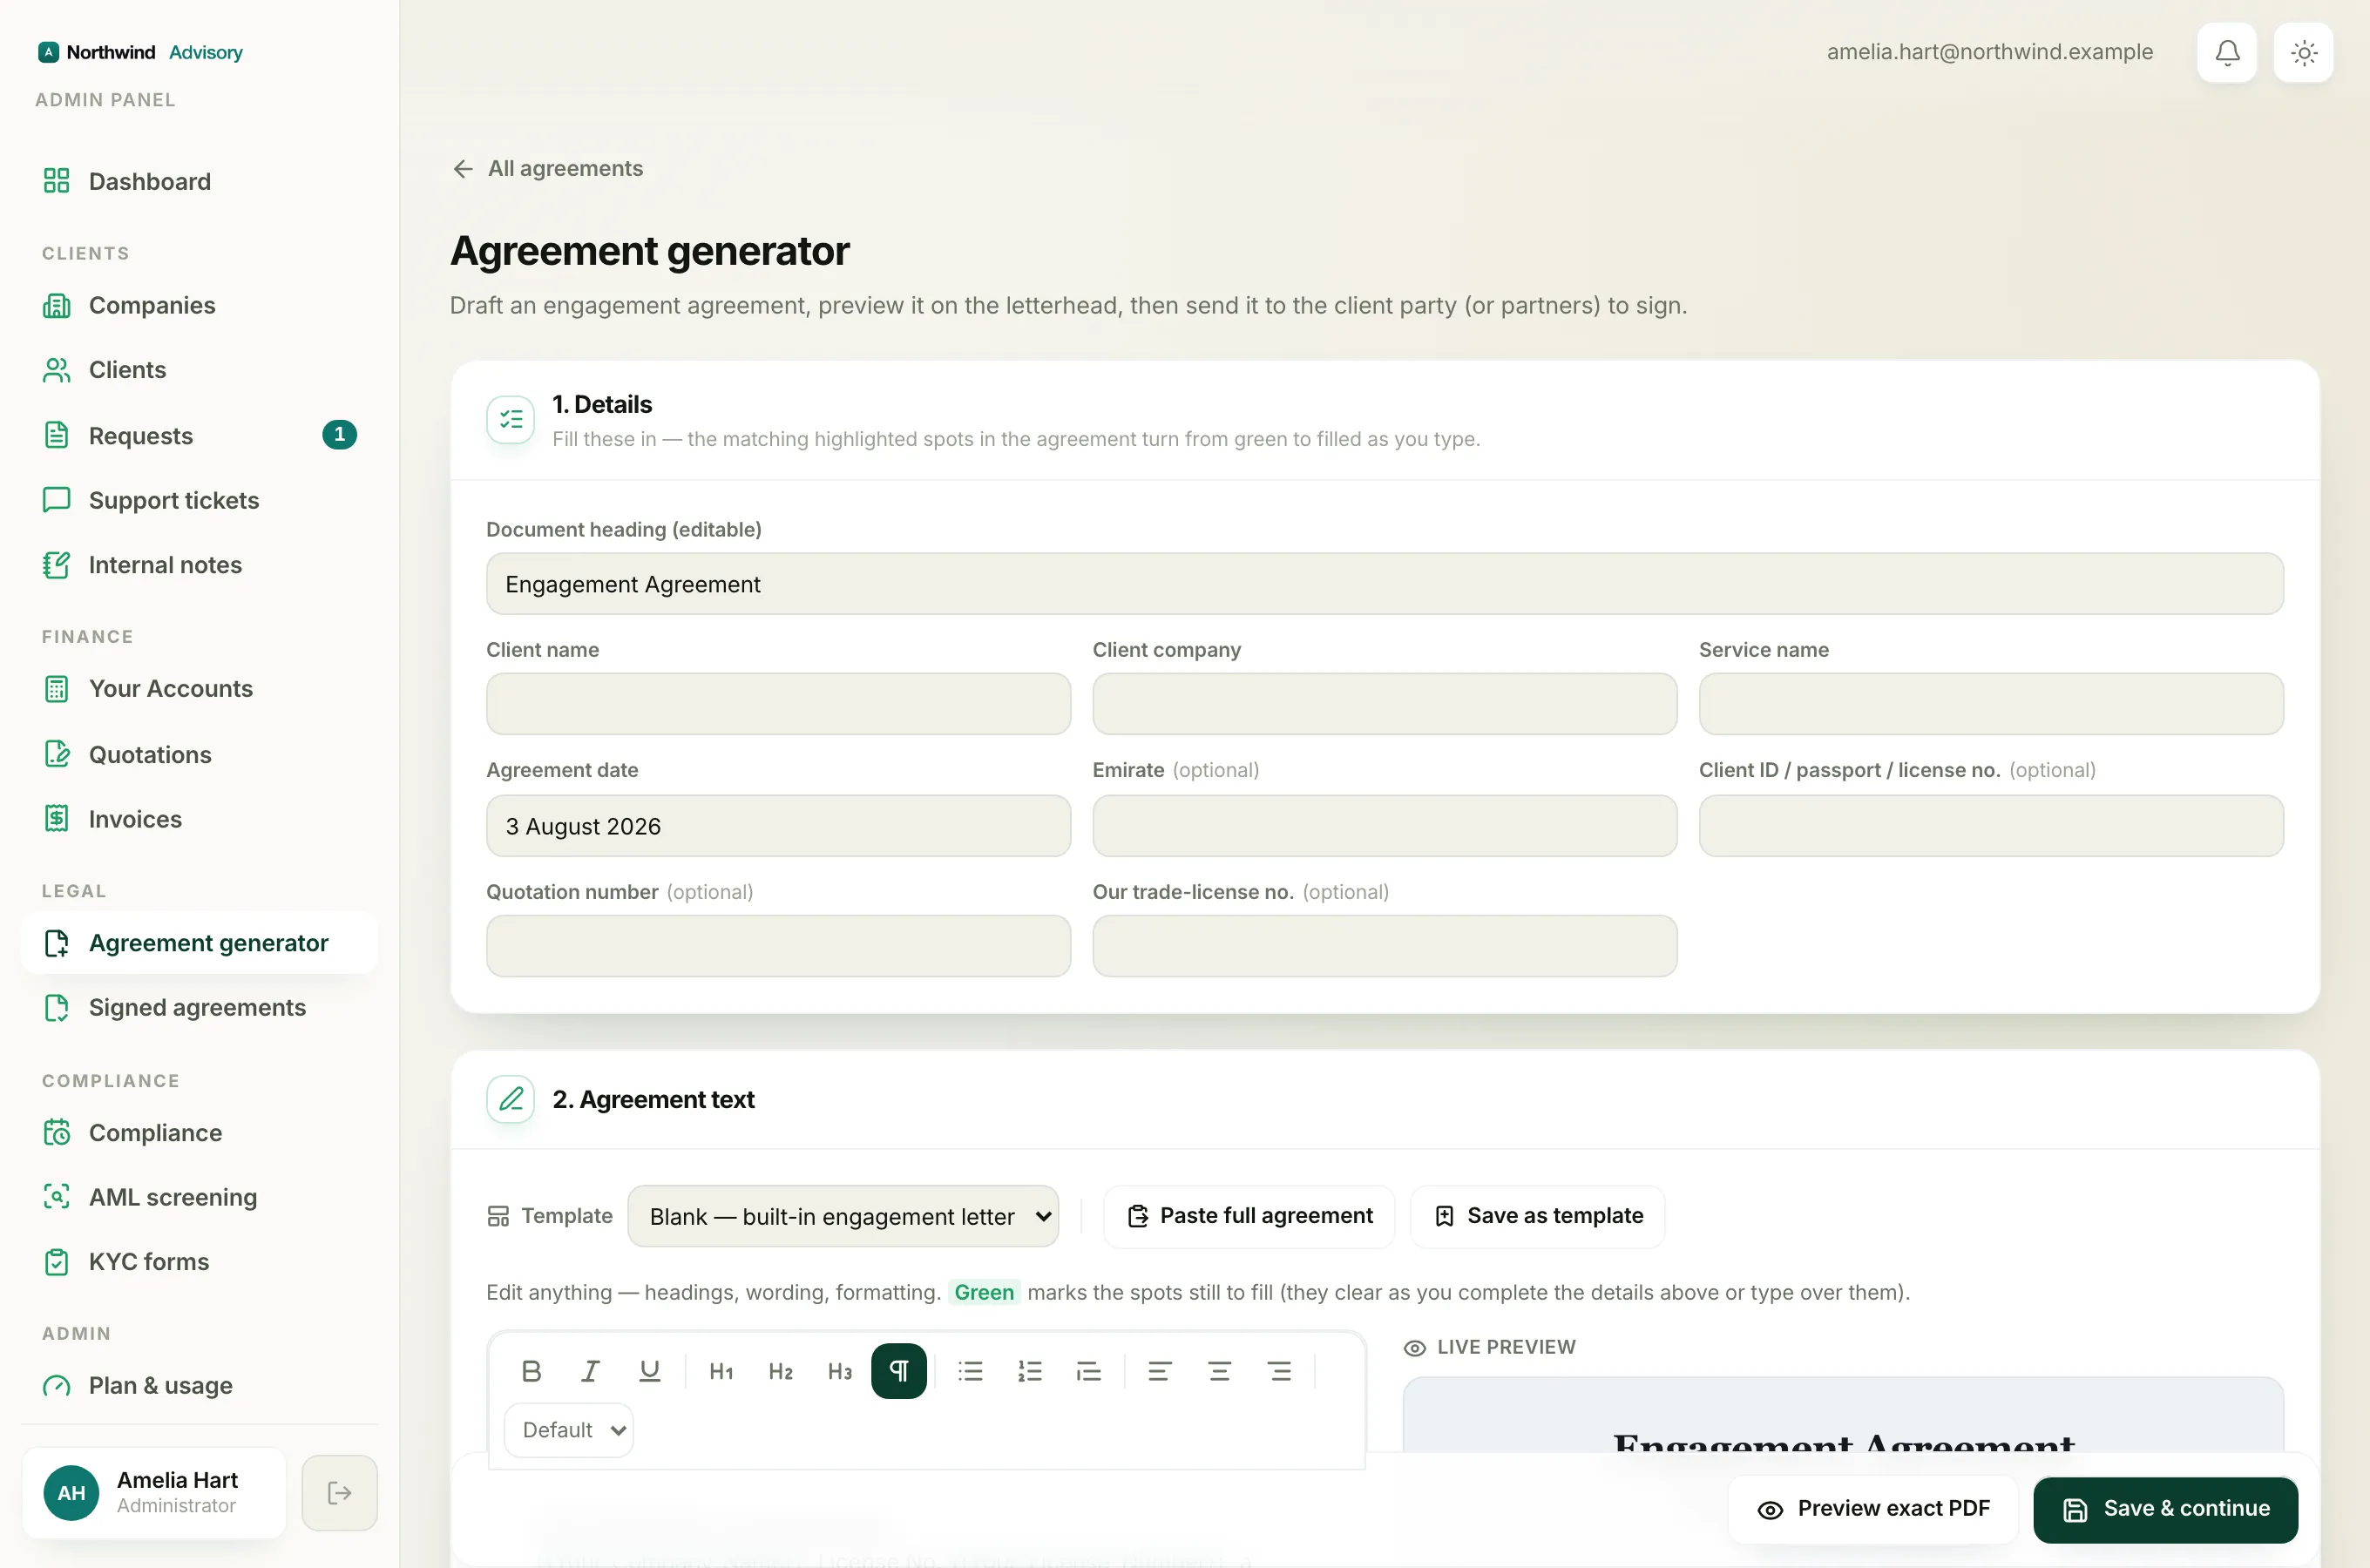
- Log in to your workspace.
- In the left menu, under Legal, click Agreement generator.
- If you have saved templates, you will see a page titled Create an agreement with two choices. Click Draft a new agreement (the Start blank button) to write one from scratch. If you have not saved any templates yet, IzzyTap takes you straight to the blank builder.
Tip
Want to reuse wording you have set up before? Click Start from a saved template instead, then pick a template and click Use this template. It fills the builder with your saved text, ready to edit. See How to save and reuse agreement templates.
Step 1: Fill in the details
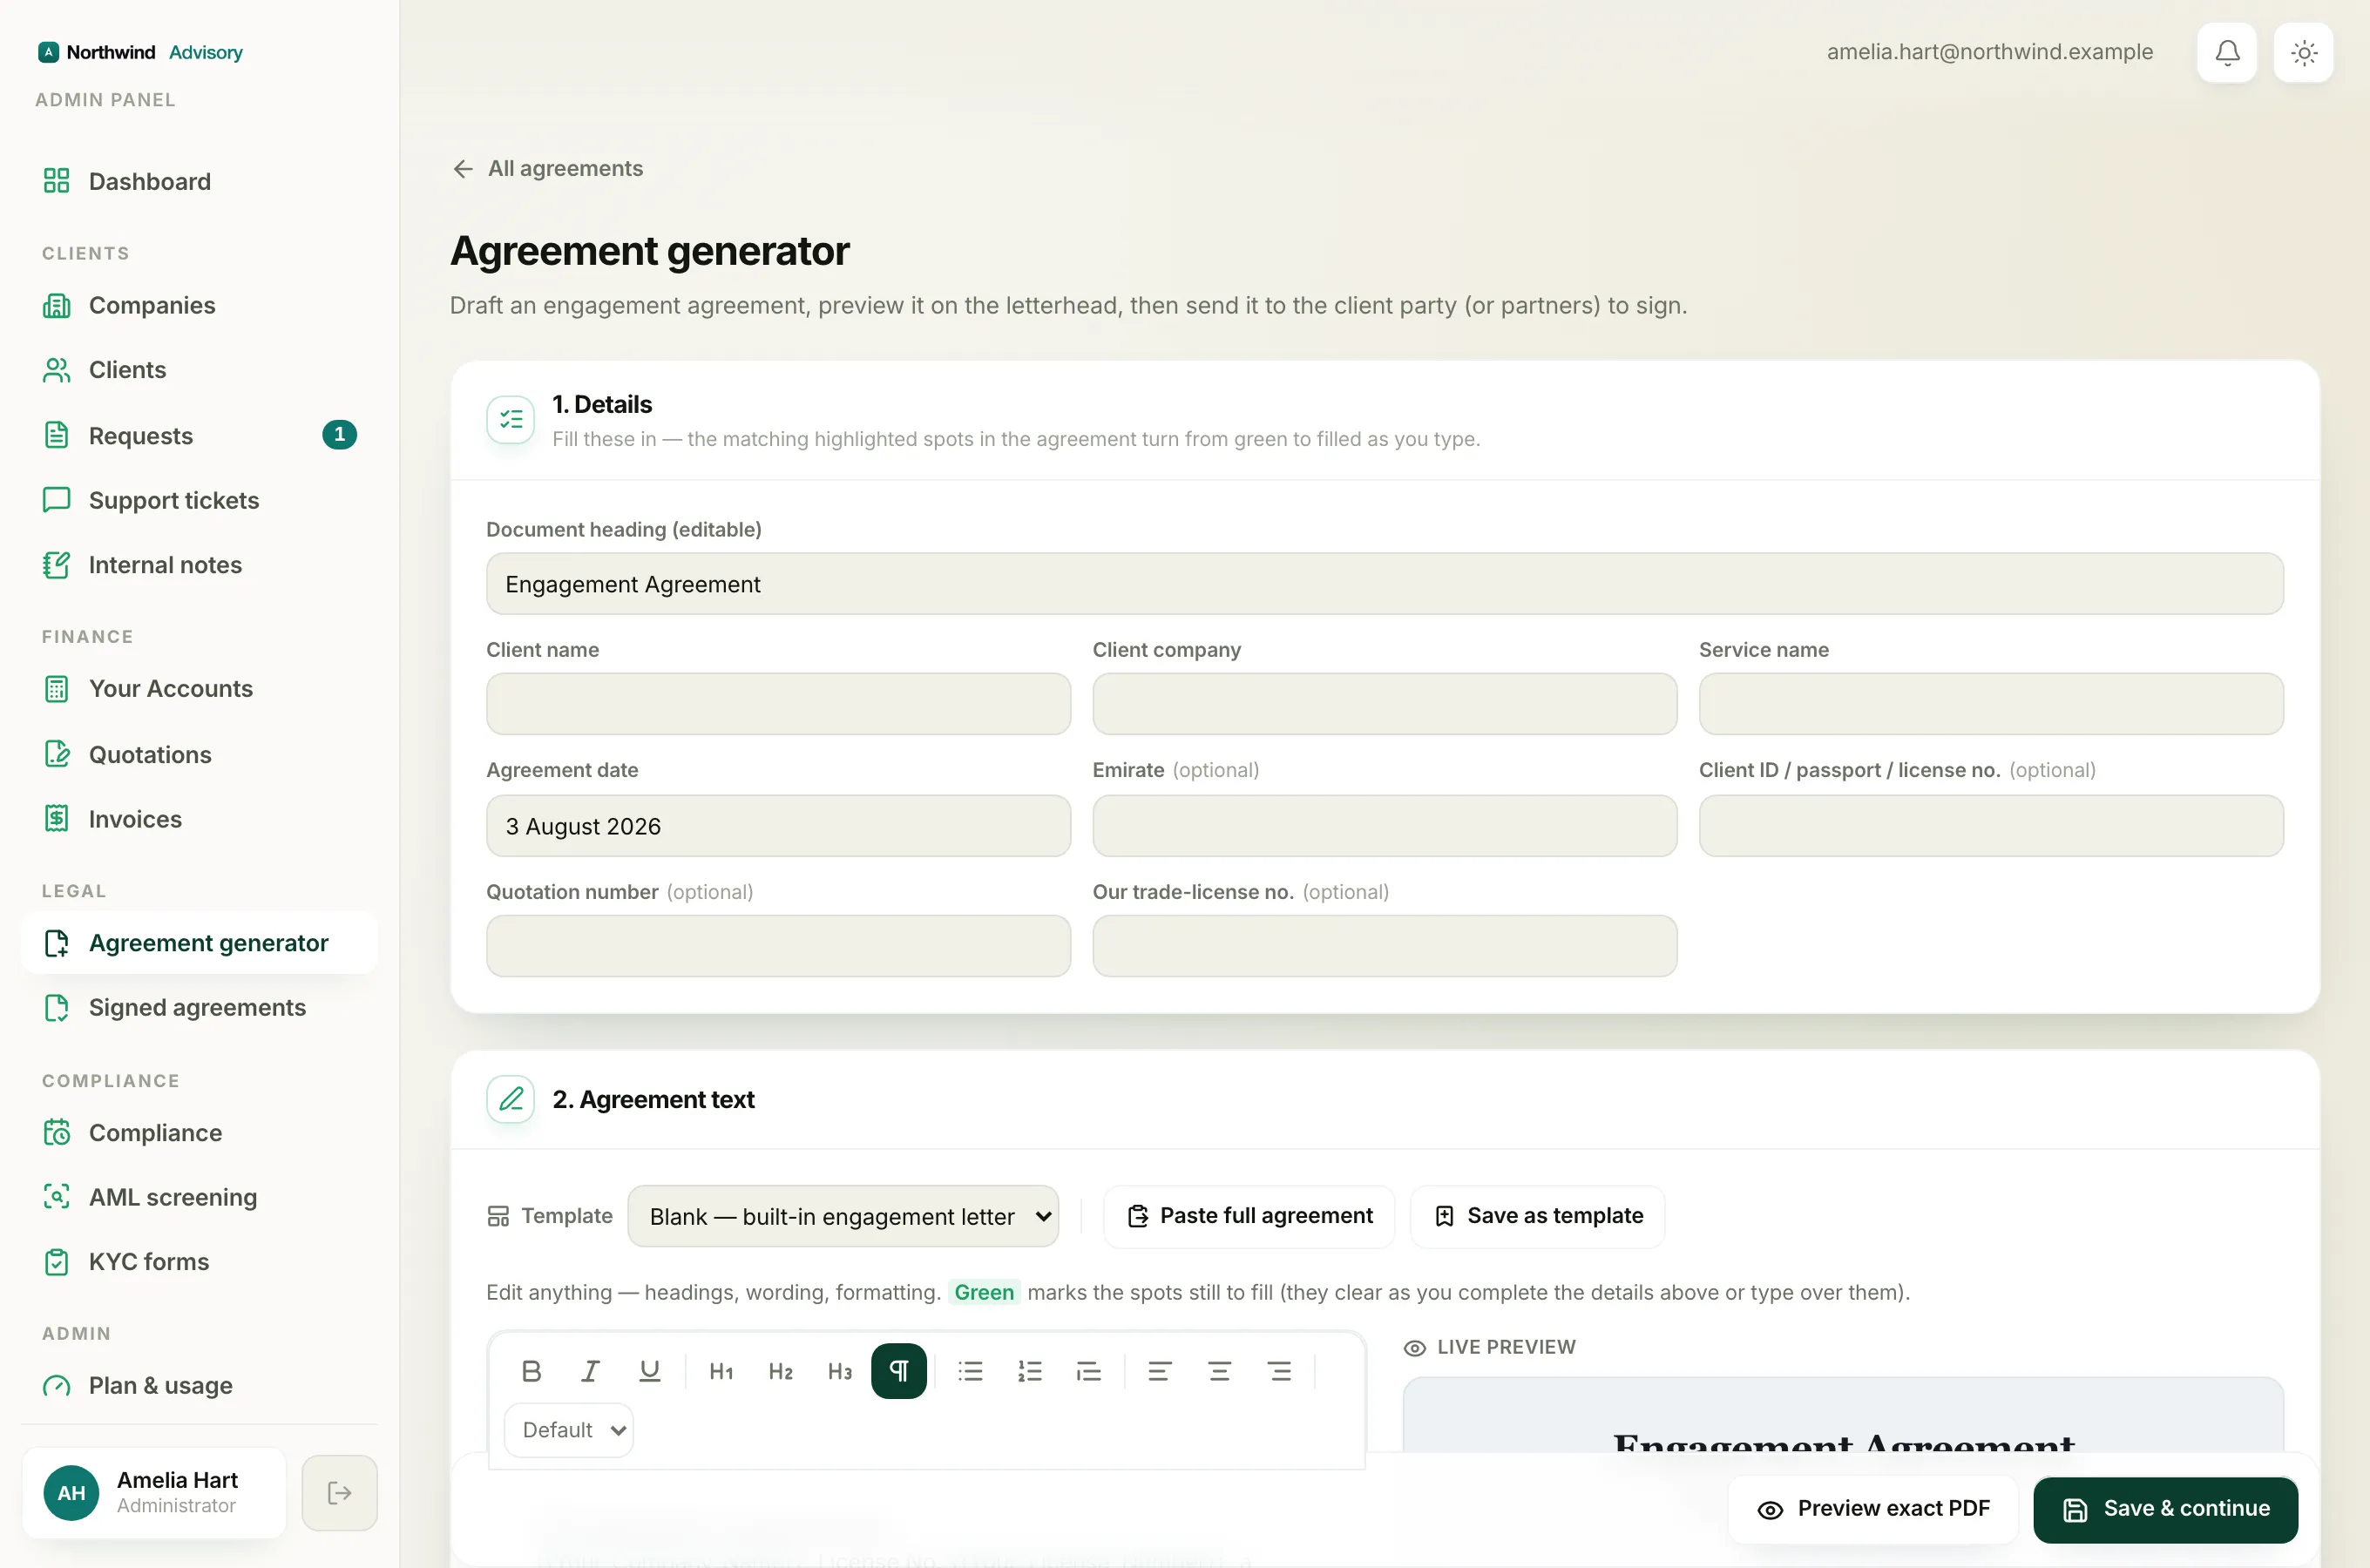
The builder opens with three numbered sections. The first is 1. Details.
- In Document heading (editable), type the title of the agreement, for example Engagement Agreement. This is the heading that shows at the top of the document.
- Fill in the other boxes below it, such as the client and service details. As you type, the matching highlighted spots inside the agreement text change from green to filled in.
Note
Boxes marked (optional) can be left blank if they do not apply.
Step 2: Write or adjust the agreement text
Scroll down to 2. Agreement text. This is where you shape the words of the document.
- By default the box starts with the built-in engagement letter. To swap in a saved template instead, use the Template dropdown and choose one from the list. The dropdown's first option, Blank, built-in engagement letter, brings back the default text.
- To paste in your own wording from Word or anywhere else, click Paste full agreement, paste your text into the box, then click Format into our design. IzzyTap reformats it into styled headings and clauses and keeps your numbers exactly as written.
- Edit anything you like directly in the editor on the left: headings, wording, and formatting. The panel on the right, marked Live preview, shows how the document will look as you go.
Important
Any text still highlighted in green marks a spot that is not filled in yet. Green spots clear as you complete the details in Step 1 or type over them. Clear them all before you send.
Step 3: Add the signing parties
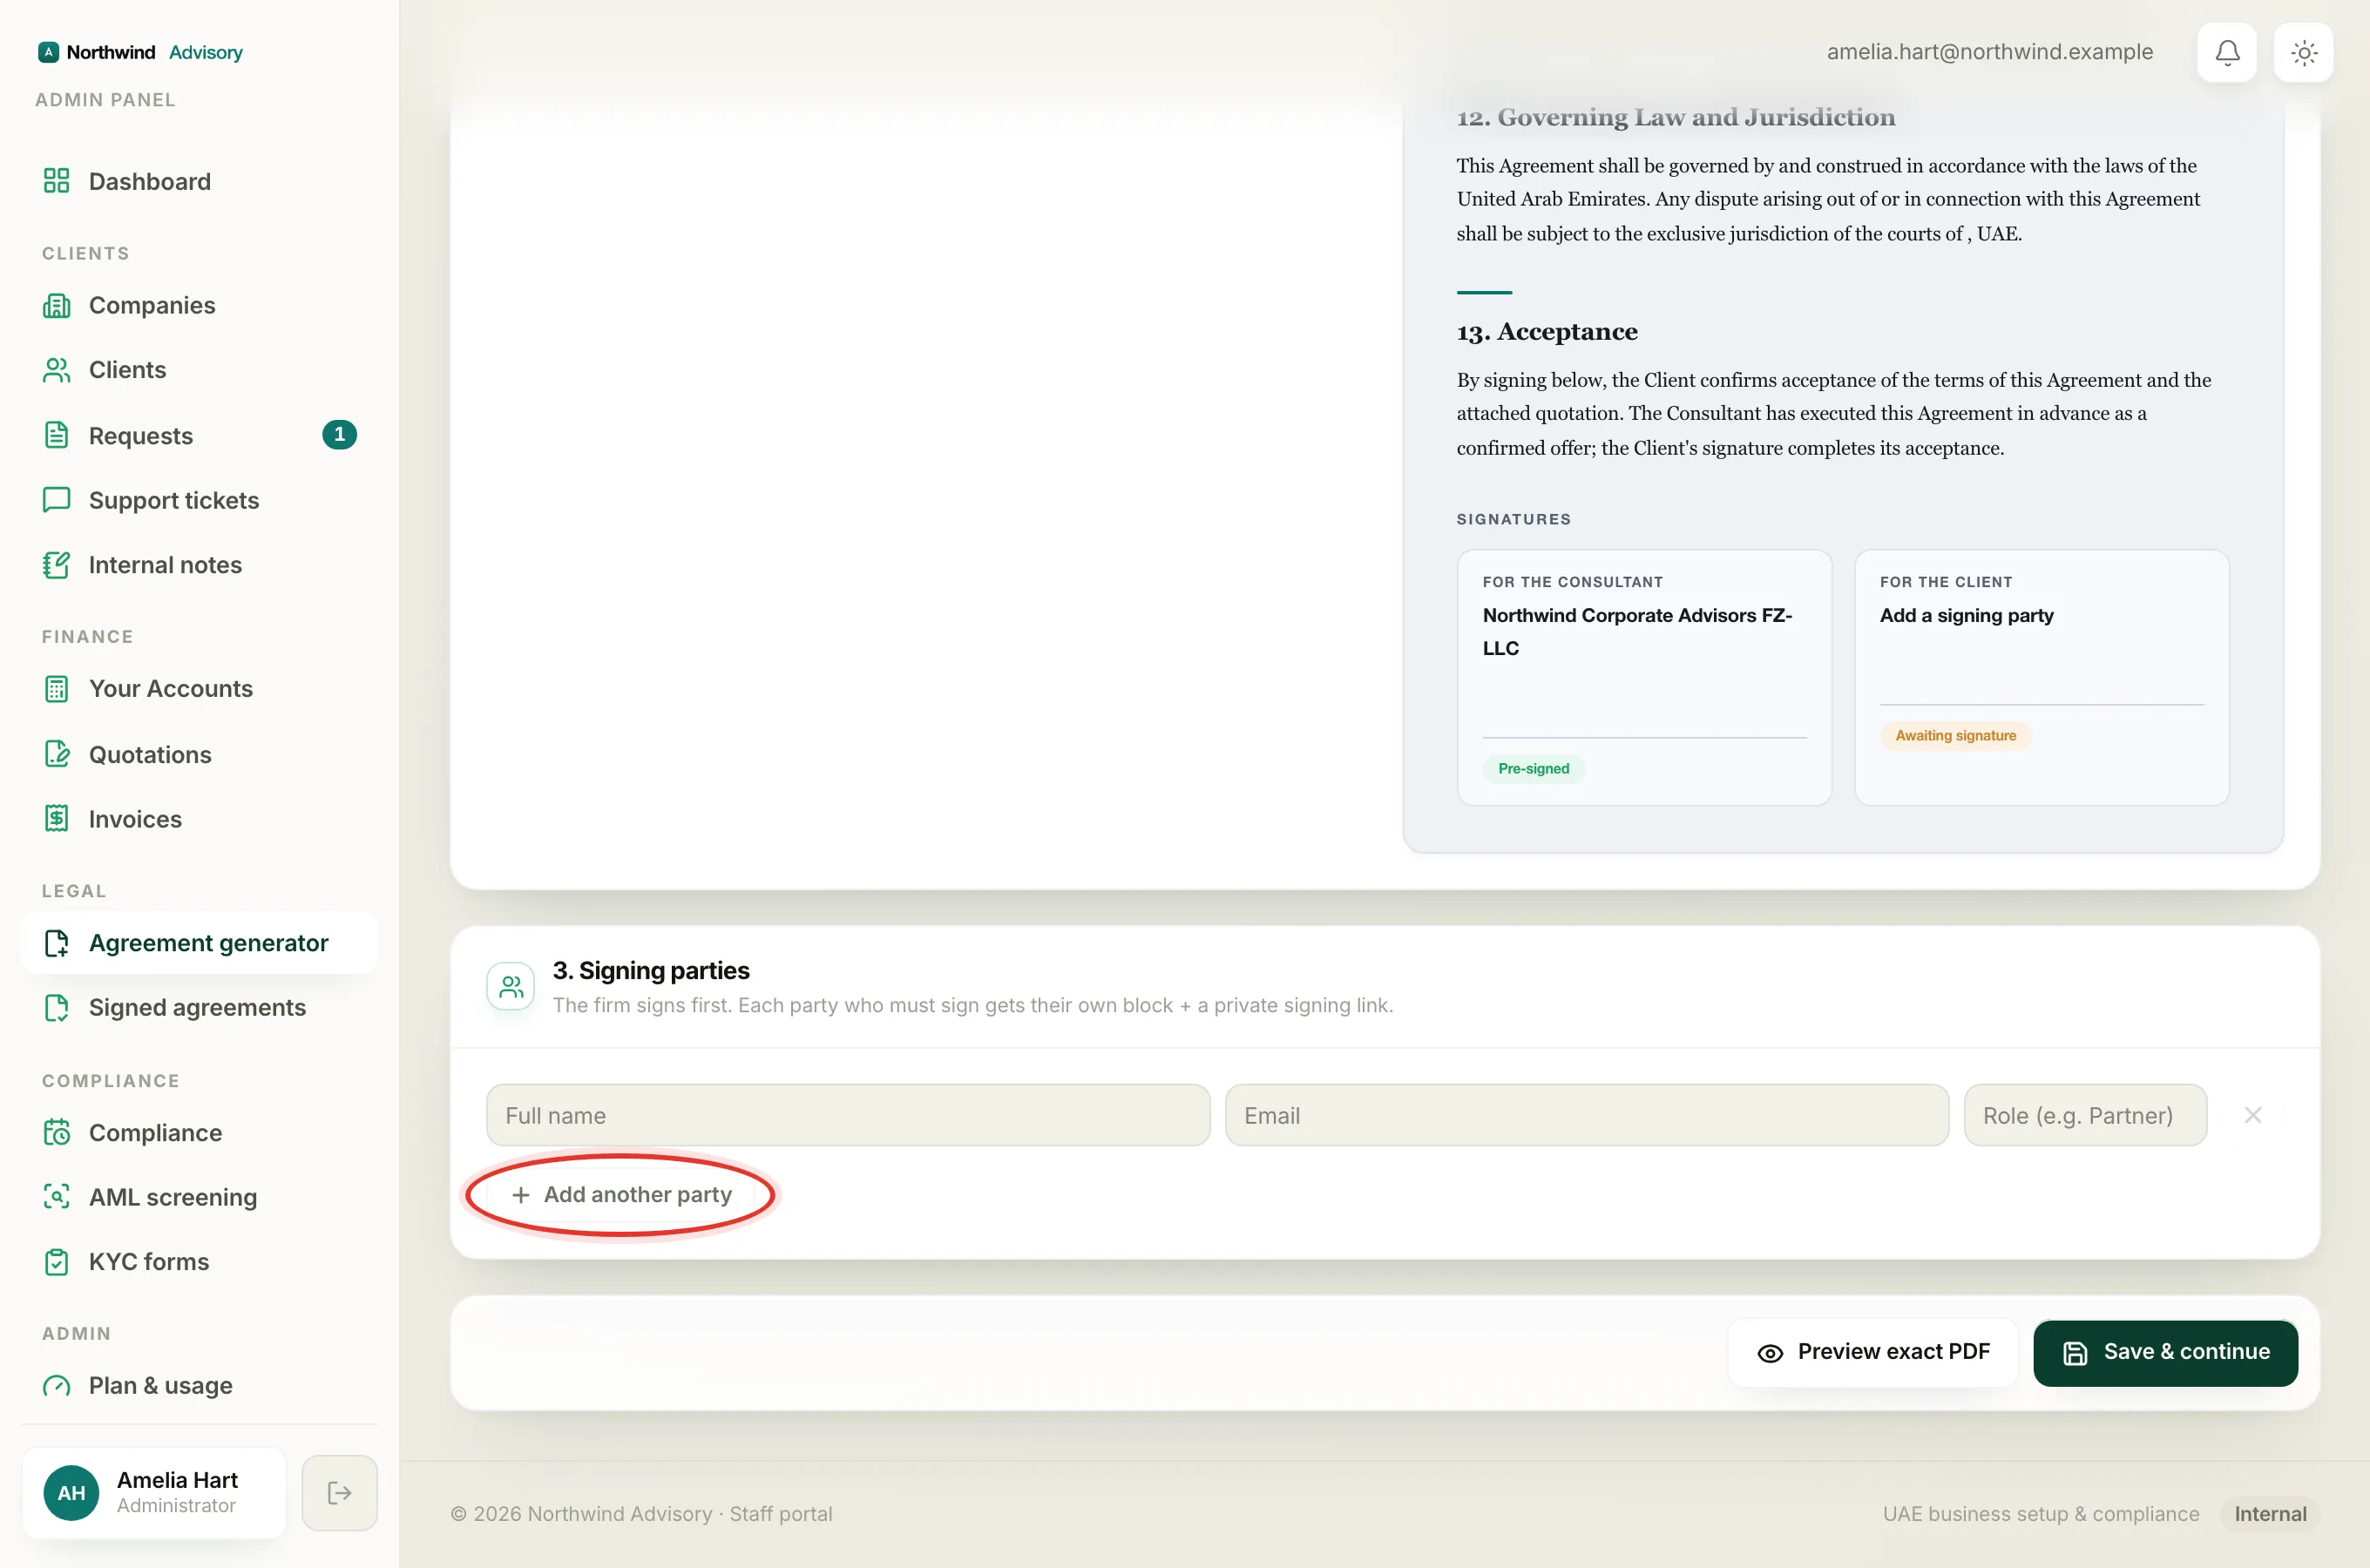
Scroll down to 3. Signing parties. Your firm signs first automatically, so here you add the other people who must sign.
- In the first row, type the person's Full name and Email. You can also add a Role, for example Partner.
- To add more signers, click Add another party and fill in the new row.
- To remove a row, click the small X at the end of it.
Note
Each party you add gets their own private signing link and a one-time code sent by email, so only they can sign their part.
Step 4: Preview the exact PDF
At the bottom of the page there is an actions bar that stays in view as you scroll.
- Click Preview exact PDF. A window opens showing the finished document exactly as the client will receive it, on your letterhead.
- Check the wording and details. Close the window with the X when you are done.
Step 5: Save the agreement
- In the bottom actions bar, click Save & continue.
- IzzyTap saves the agreement and opens its page. At this stage its status is Draft.
Important
You must add at least one signing party with a name and email, or IzzyTap will not let you save.
Step 6: Send it for signing
On the agreement's page, while it is still a Draft, you will see a green panel on the right.
- Click Send for signing.
- IzzyTap signs on your firm's behalf, keeps a copy, and emails each party their private link and one-time code. The status changes to Out for signing.
While it is out for signing, the page shows a Signing links panel. If someone did not get the email, you can copy their link from here and share it yourself.
What the statuses mean
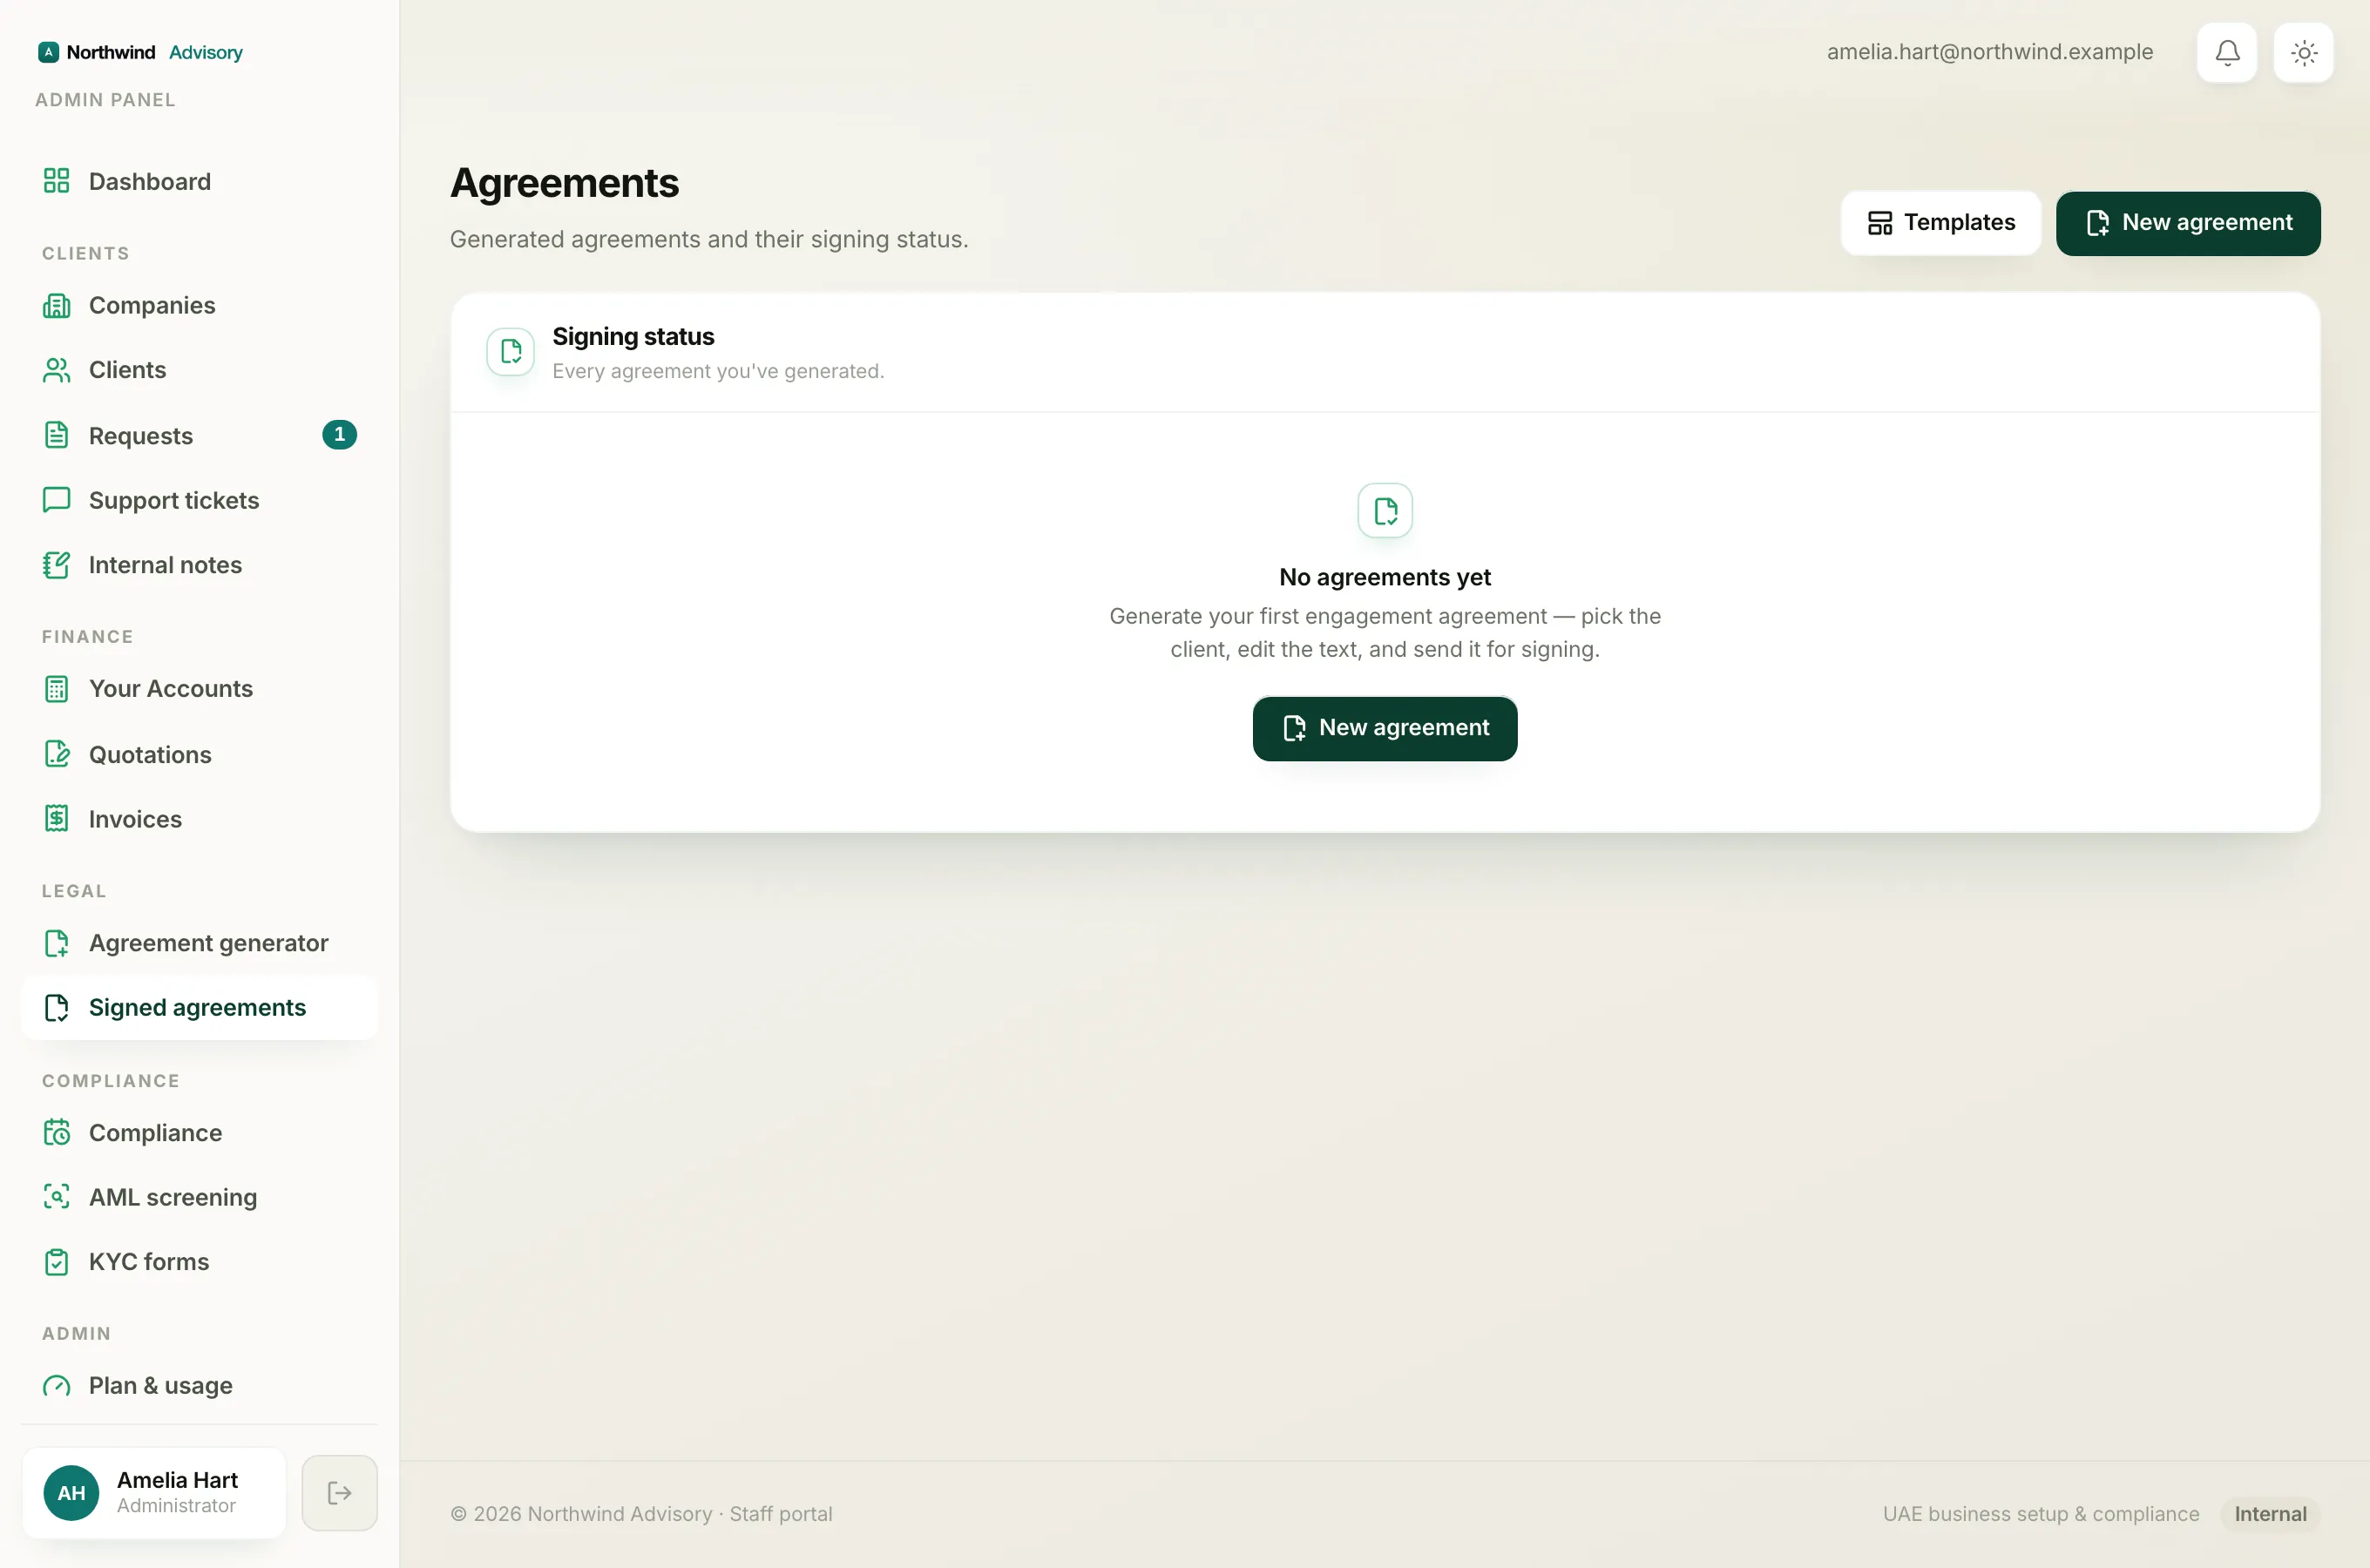
- Draft: still yours to finish and send.
- Out for signing: sent, waiting on one or more parties to sign.
- Signed: everyone has signed. You can now click Download signed agreement to save the final PDF.
- Voided: cancelled.
You can see every agreement and its status at any time. In the left menu, under Legal, click Signed agreements.
Download the finished document
On any agreement's page, click Download PDF at the top right to save a copy. Once everyone has signed, use Download signed agreement to get the fully signed version.