Where your logo lives
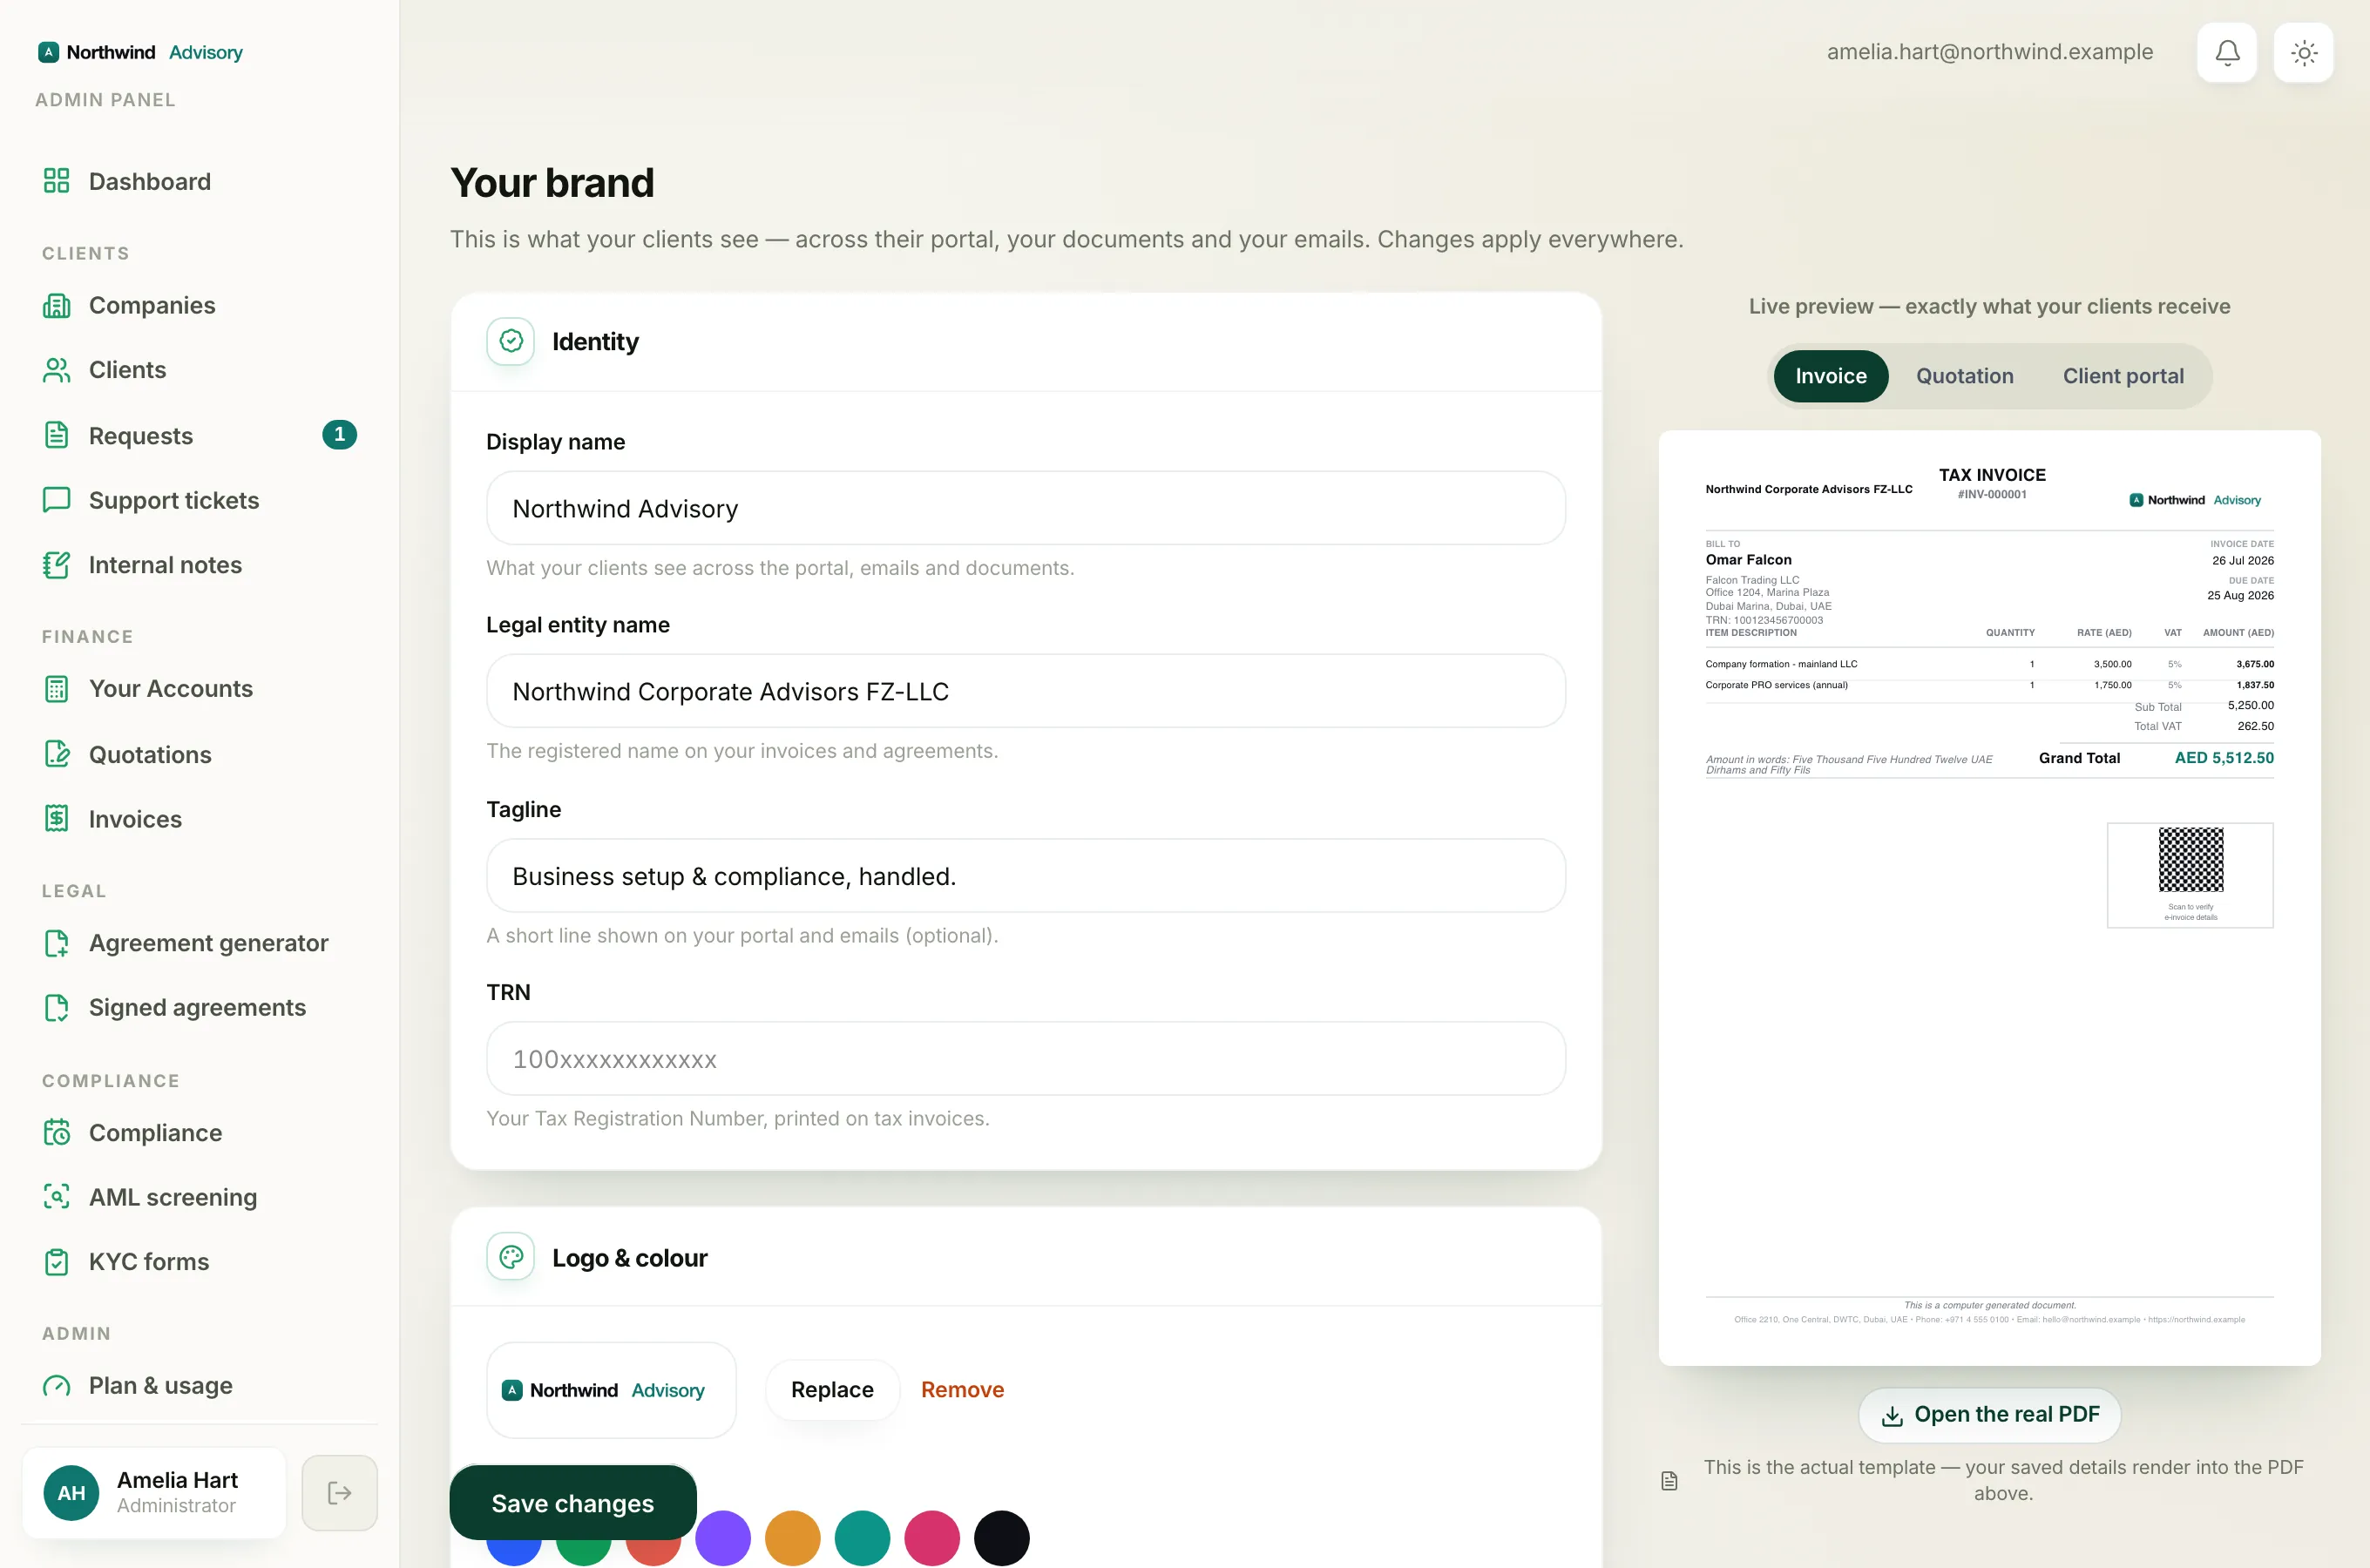
Your logo is part of your brand. Once set, it appears across your clients' portal, on your documents (invoices, quotations and agreements) and on the emails your clients receive. You set it on the Brand page.
Note
The Brand page is an admin setting. If you do not see it in the menu, your staff role does not include brand access. An owner or admin can set it up for the whole firm.
Open the Brand page
- Log in to your workspace.
- In the left menu, under Admin, click Brand.
- You land on the Your brand page. Find the Logo & colour section.
Upload a logo
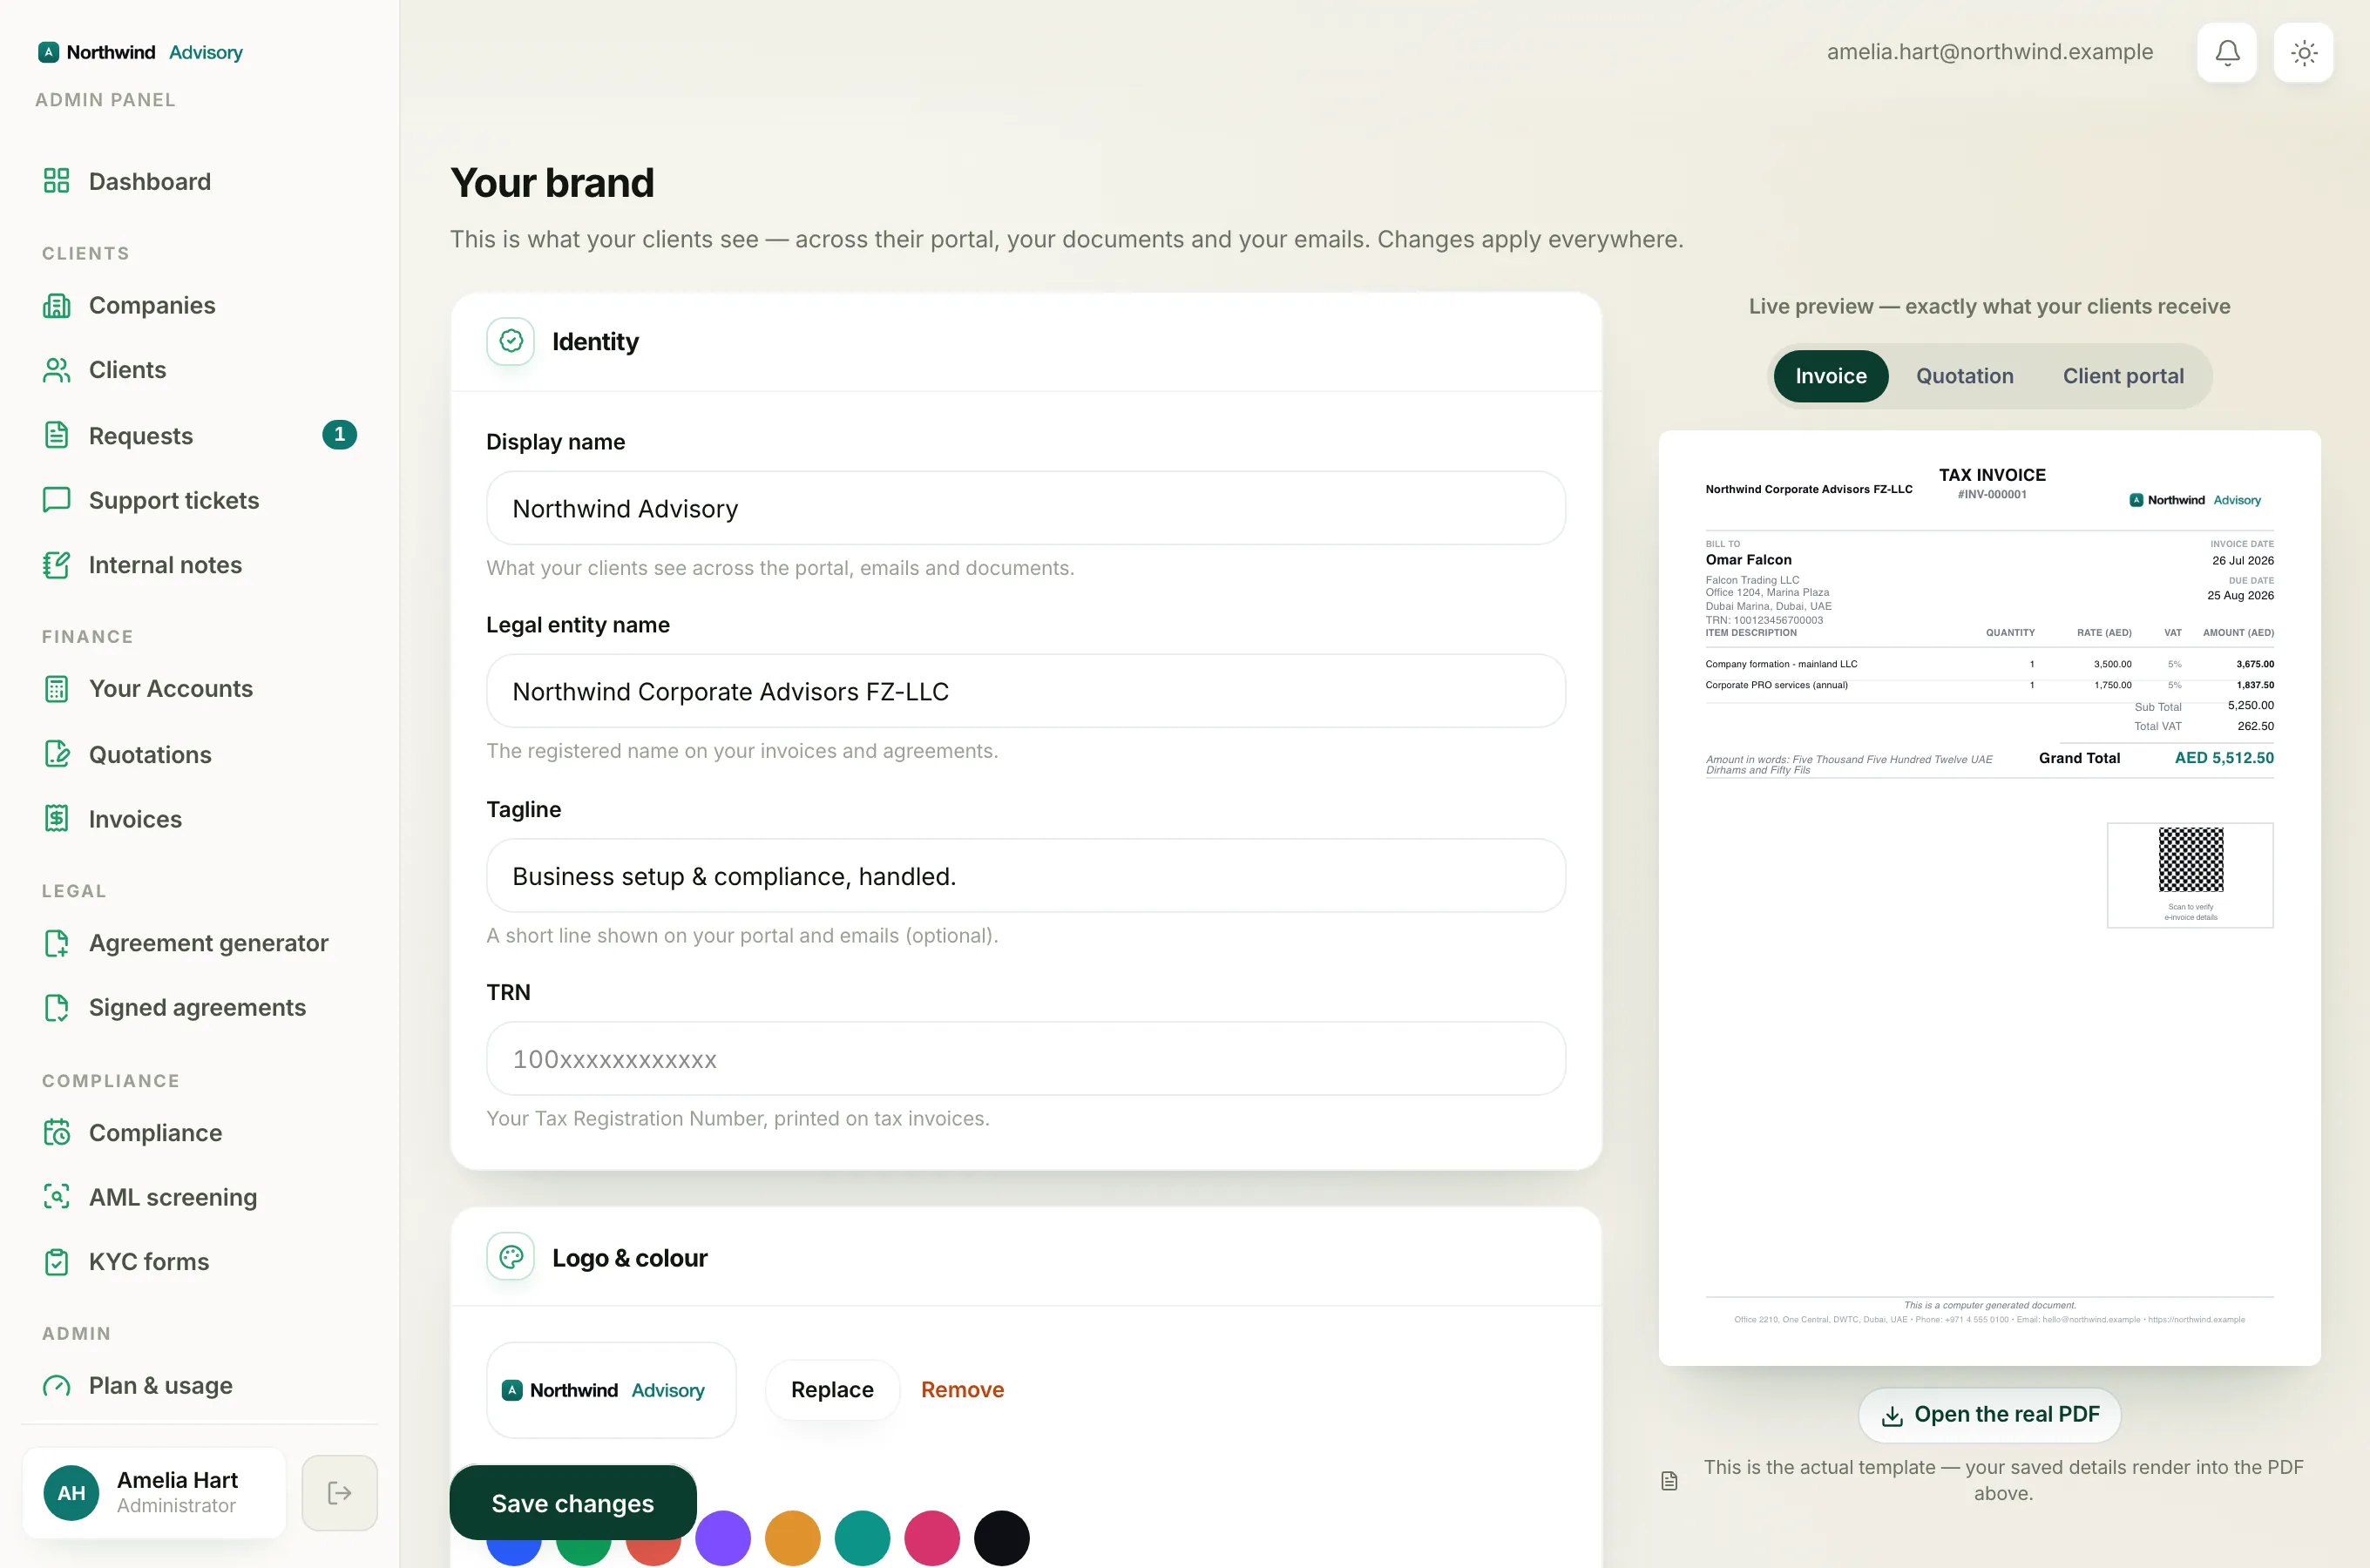
- In the Logo & colour section, click Upload logo.
- Choose a PNG or JPG image from your device. The file must be under 2 MB.
- The Frame your logo window opens. Drag the image to position it and use the zoom slider (Zoom out and in) to fit it neatly.
- Click Use this logo.
Your logo is placed into a fixed, uniform slot so it sits in the same spot everywhere, and it is saved straight away. There is no separate save step for the logo.
Replace or remove your logo
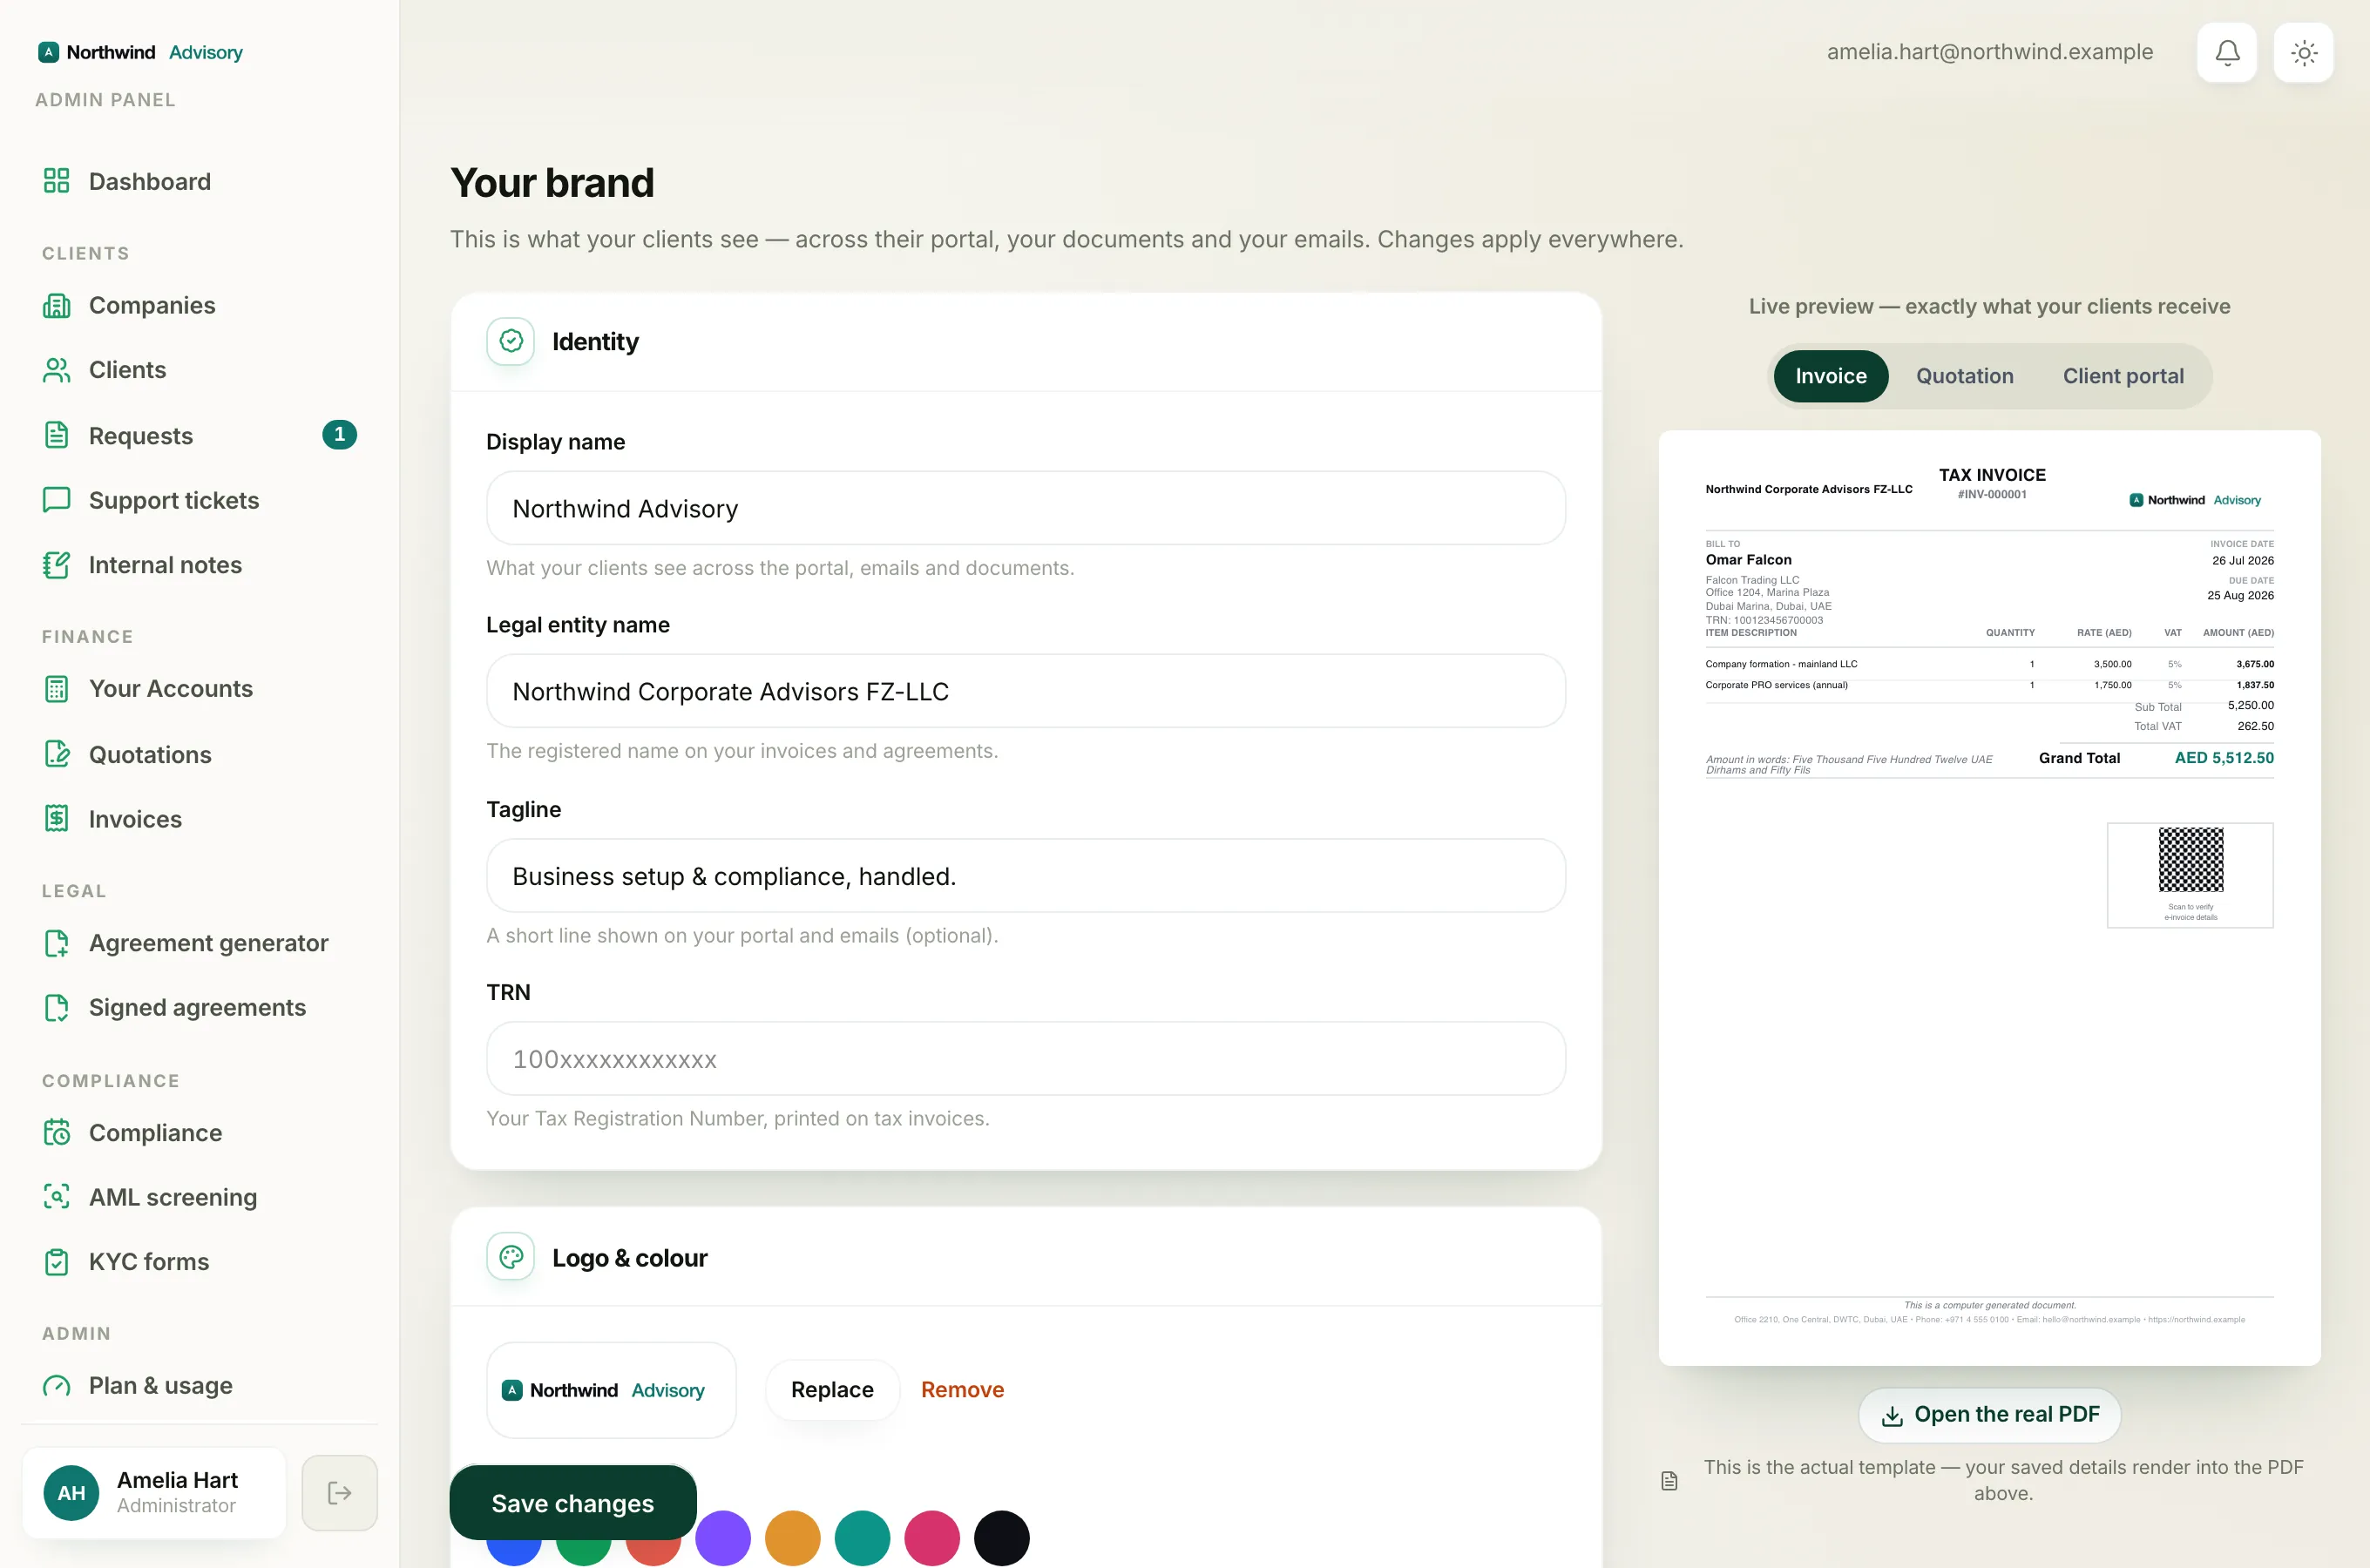
- To swap it, click Replace (the button that was labelled Upload logo now reads Replace), then pick a new image and frame it again.
- To take it off entirely, click Remove next to the logo. Your documents and portal then fall back to your firm name in text.
If the upload is refused
You may see one of these messages:
- "Please choose a PNG or JPG image." The file is another format. Save it as a PNG or JPG first.
- "That image is over 2 MB, please use a smaller one." Use a smaller version of the image.
For more on these, and why a transparent or oddly shaped logo can look wrong on a document, see Fix a logo that will not upload.
Tip
A logo that is wider than it is tall works best, because it is framed into a wide slot. A plain, high-contrast version reads more clearly on white documents than a busy or very pale one.
While you are here, you can also set your accent colour. See Choose your brand colour and where it shows, or review everything together on Set your brand.