izzytap runs quietly in the background and puts your firm's brand front and centre. The client portal, your emails and every document you send carry your name, logo and colours. You set that brand on one page, and it applies everywhere your clients see.
This guide shows you how.
Note
Only administrators can change the brand. If you do not see the Brand page in your menu, you do not have admin access. Ask an administrator at your firm. See Understanding staff roles and permissions.
Step 1: Open the Brand page
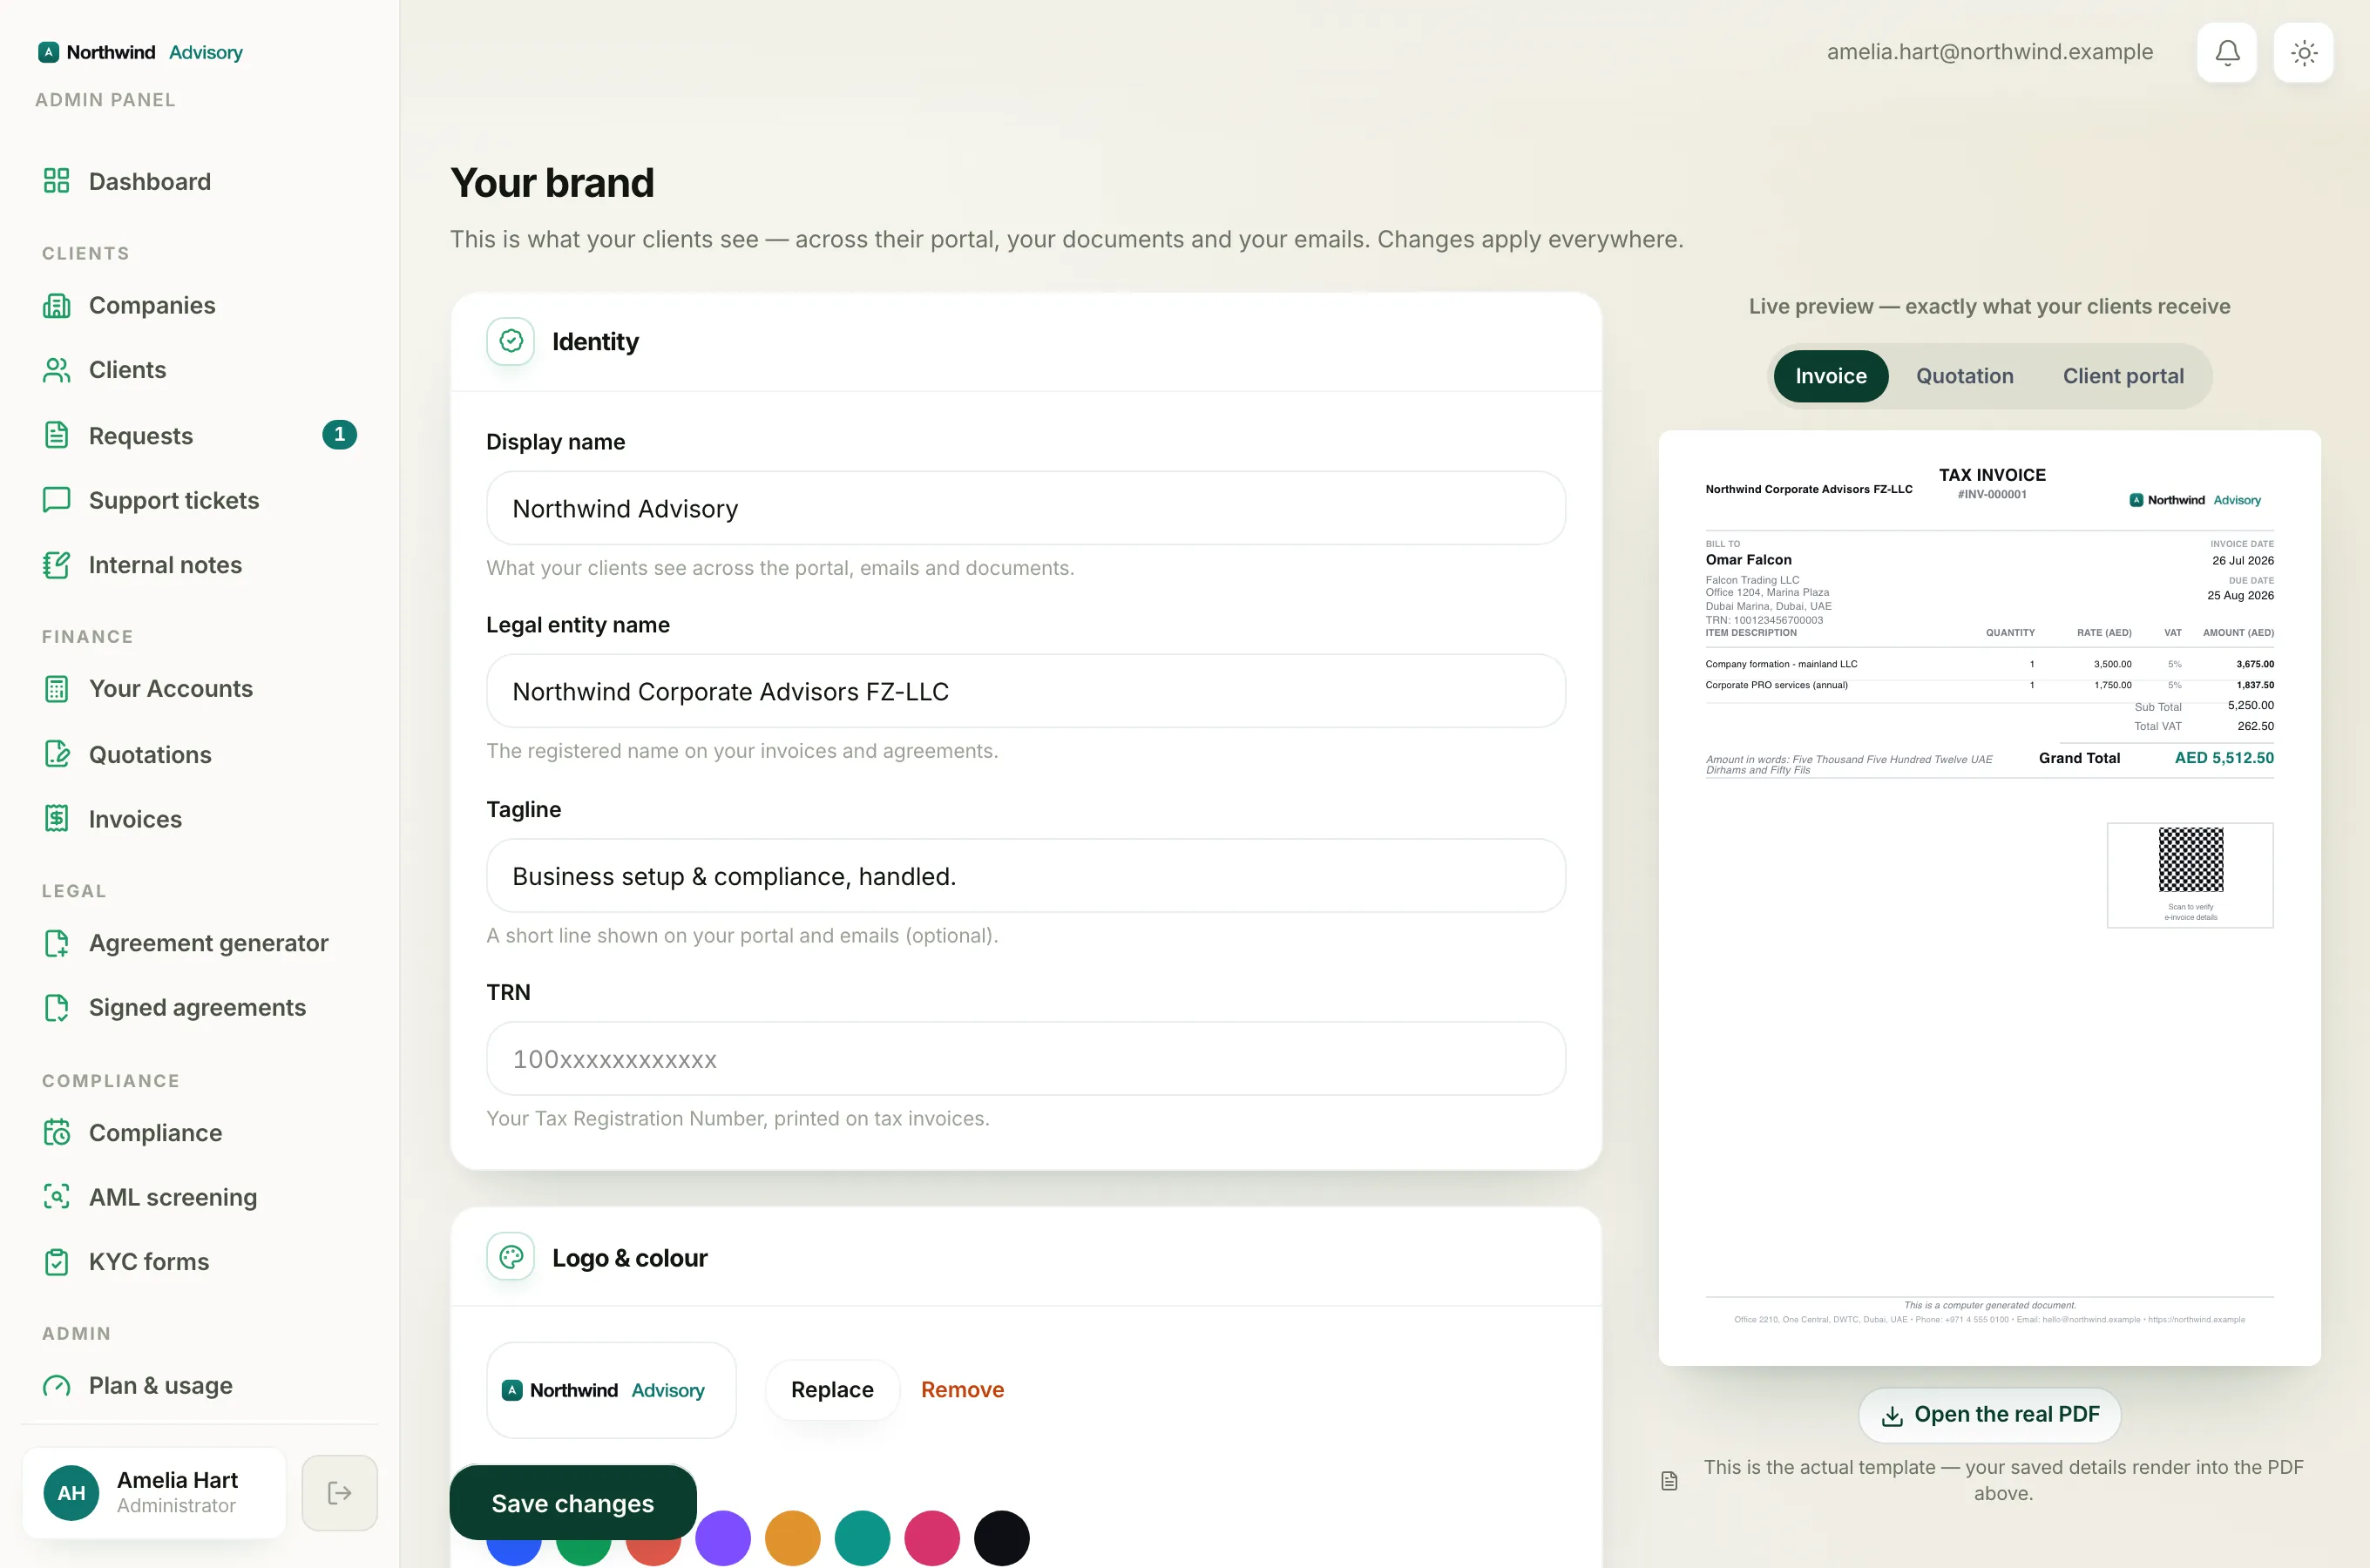
- Log in to your workspace.
- In the left menu, under Admin, click Brand.
The page is headed Your brand. On the left are the fields you edit. On the right is a live preview that updates as you type, so you can see your changes before you save.
Step 2: Set your identity
In the Identity card, fill in:
- Display name: what your clients see across the portal, emails and documents. This is the main one.
- Legal entity name: your registered company name, printed on invoices and agreements.
- Tagline: a short line shown on your portal and emails. Optional.
- Tax number: your firm's tax registration number, printed on your invoices and tax documents. IzzyTap labels this field for your country, so you see the name your country uses. It is TRN in the UAE, GSTIN in India, VAT No. in the UK, and the right term elsewhere. This field is optional.
Step 3: Add your logo and colour
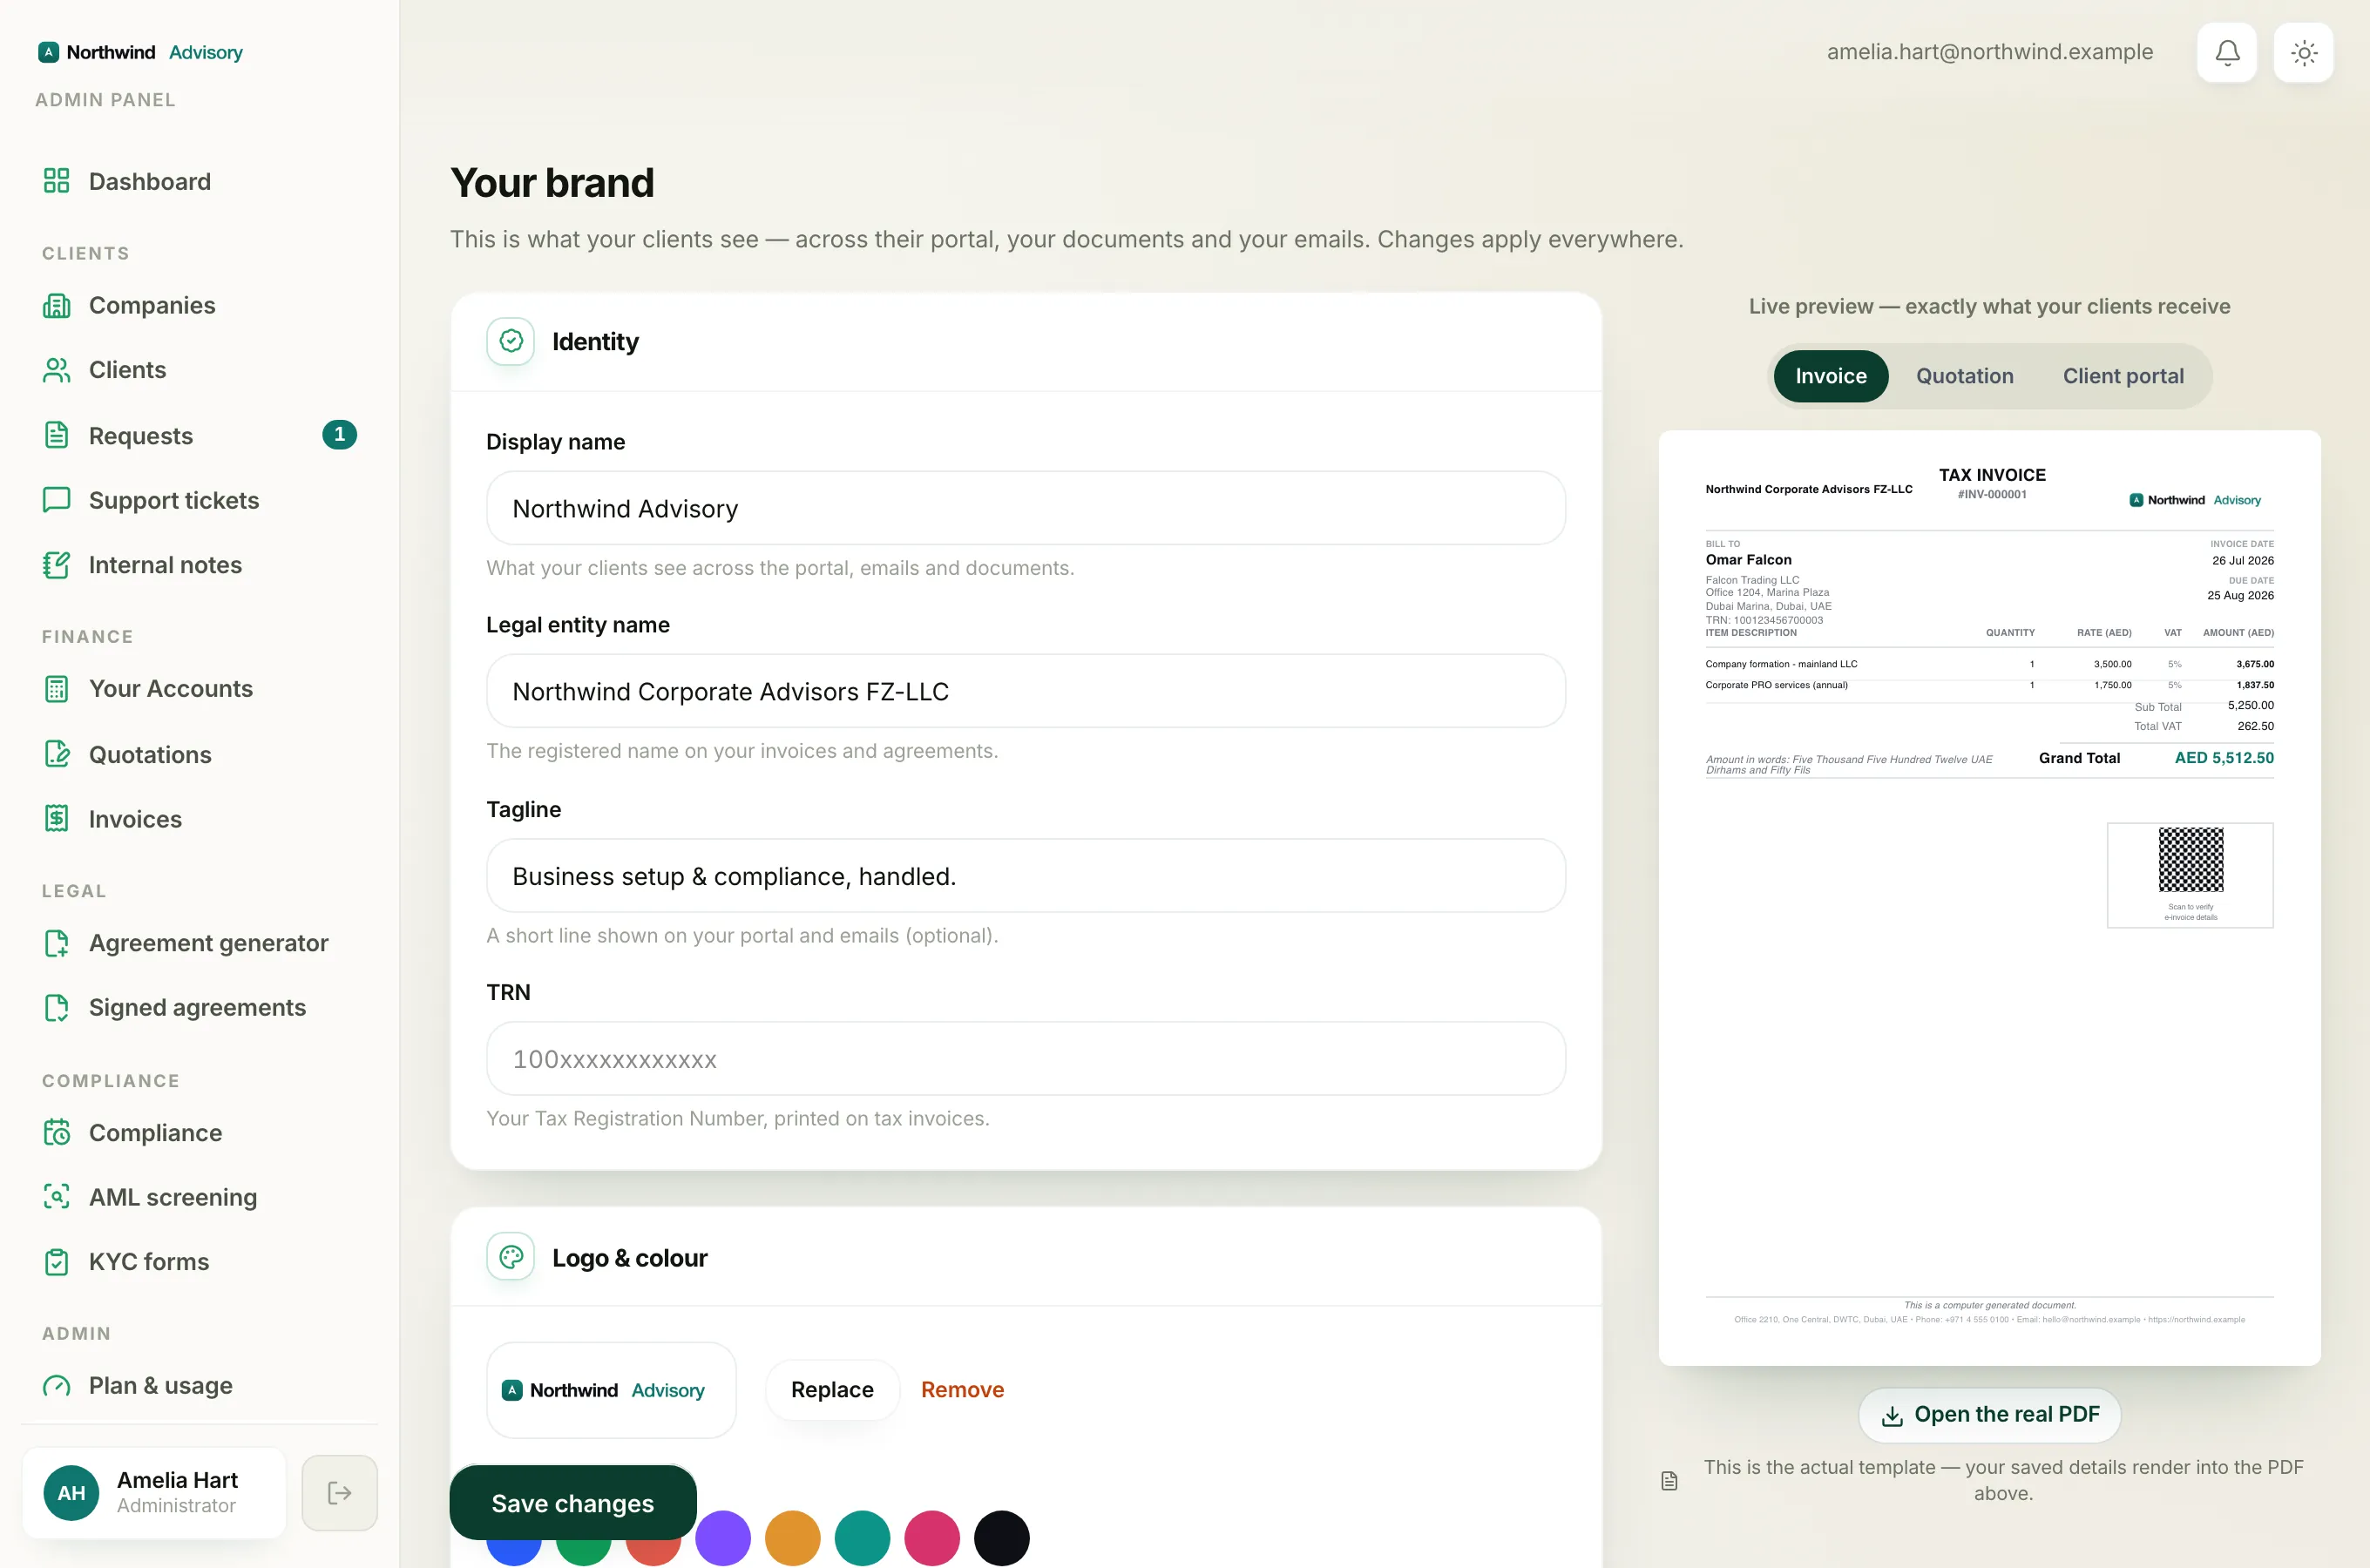
In the Logo & colour card:
- Click Upload logo and choose your logo file. It must be a PNG or JPG, and under 2 MB.
- Adjust the crop if asked, then save it. To change it later, use Replace, or Remove to clear it.
- Pick your Brand colour. Click one of the ready-made swatches, or use the colour picker, or type a hex code like
#2b5cff.
Your colour is the accent used across the portal and your documents.
Step 4: Add your contact details
In the Contact card, fill in:
- Address: your firm's address.
- Phone, Email and Website.
- Support email: where your clients' contact links point.
If your firm is in the UAE, you also see an Emirate field. Pick your trade-licence emirate. This is also the place of supply for box 1 of your VAT return, so choose it correctly. Firms outside the UAE do not see this field.
Step 5: Set your payment and document details
In the Payments & documents card, fill in:
- Bank details: printed on your invoices so clients can pay by transfer.
- Default payment terms: the terms shown on your documents.
- Document footer note: a small line at the bottom of your documents, for example a note that the invoice is computer-generated.
Step 6: Save
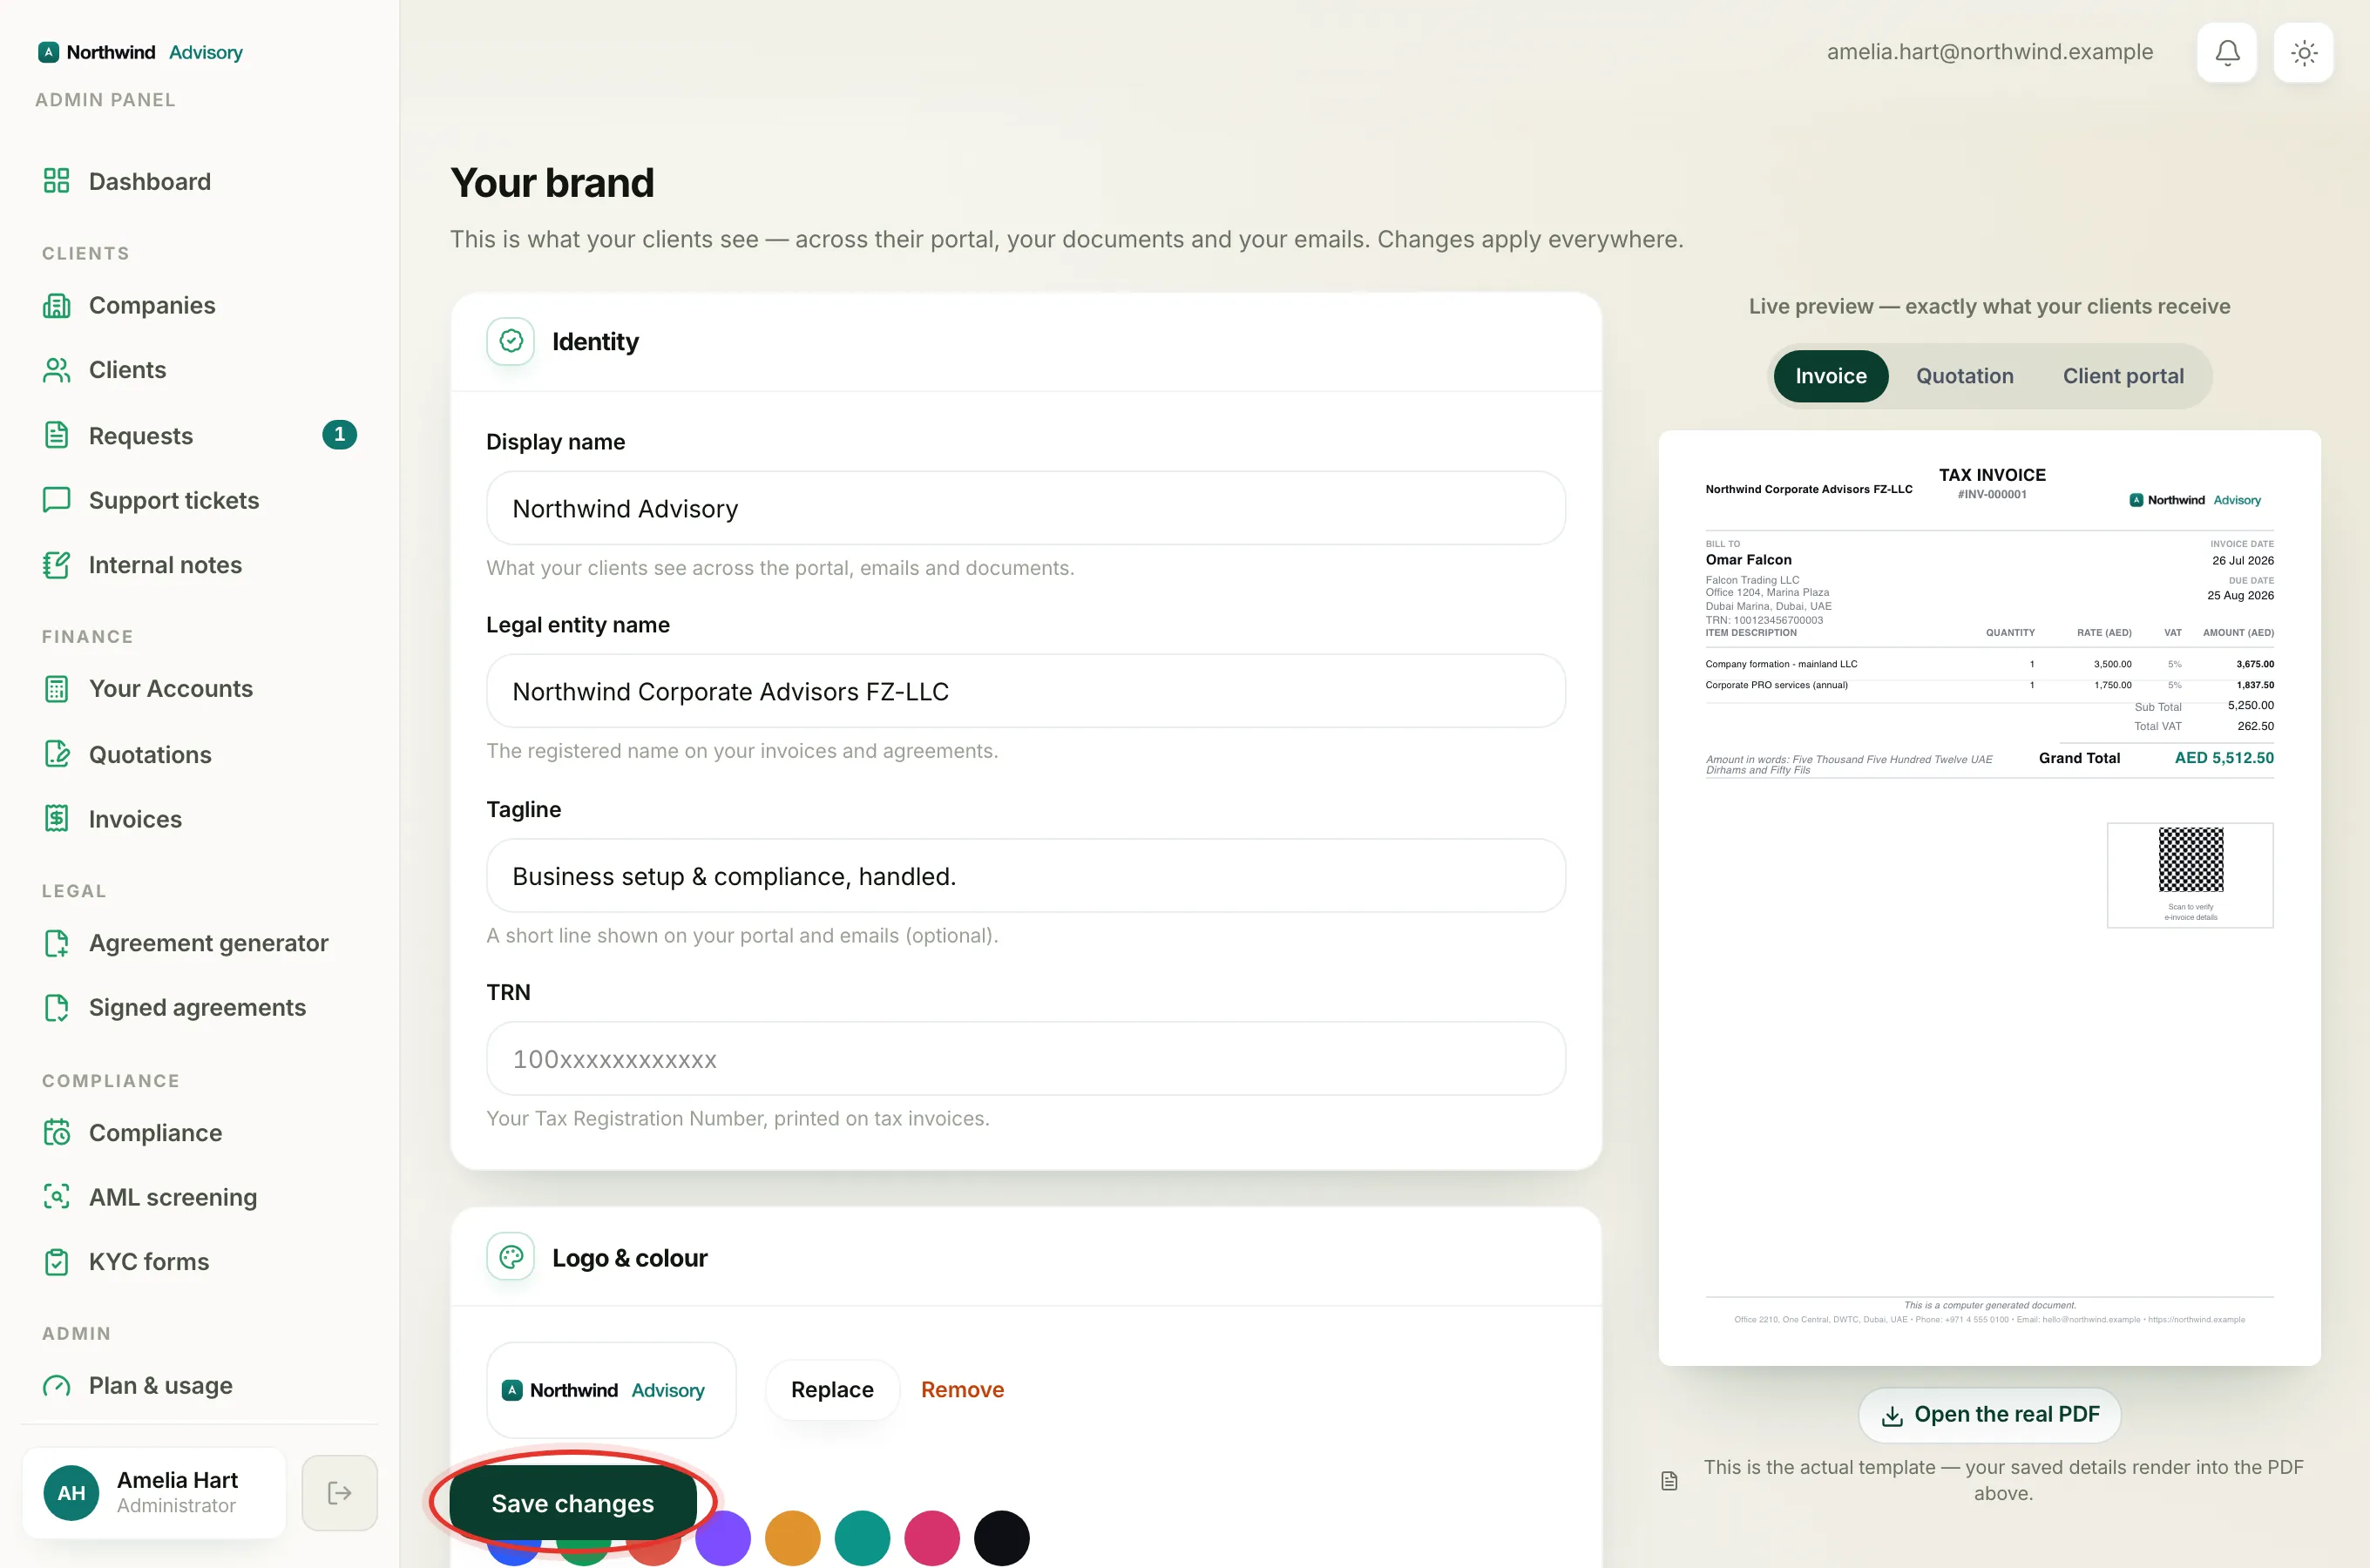
- When the preview on the right looks right, scroll to the Save changes button at the bottom.
- Click Save changes.
You see a green Saved message. Your changes apply everywhere straight away, for every client.
Important
The display name and logo are what clients recognise you by. Check the spelling of your display name and that your logo looks sharp in the preview before you save, because these appear on everything your clients receive.
Tip
Not sure how it looks to a client? After saving, open a client portal with a test login to see your brand in the real thing. See What your client sees in their portal.