Your plan is priced per seat. A seat is one paid staff member who can log in and work. When you hire, you add a seat. When someone leaves, you can reduce your seats so you stop paying for it. This guide walks you through it from login.
Open the seat manager
- Log in to your workspace.
- In the left menu, under Admin, click Staff.
- At the top you see how many seats you are using, shown as X of N seats in use.
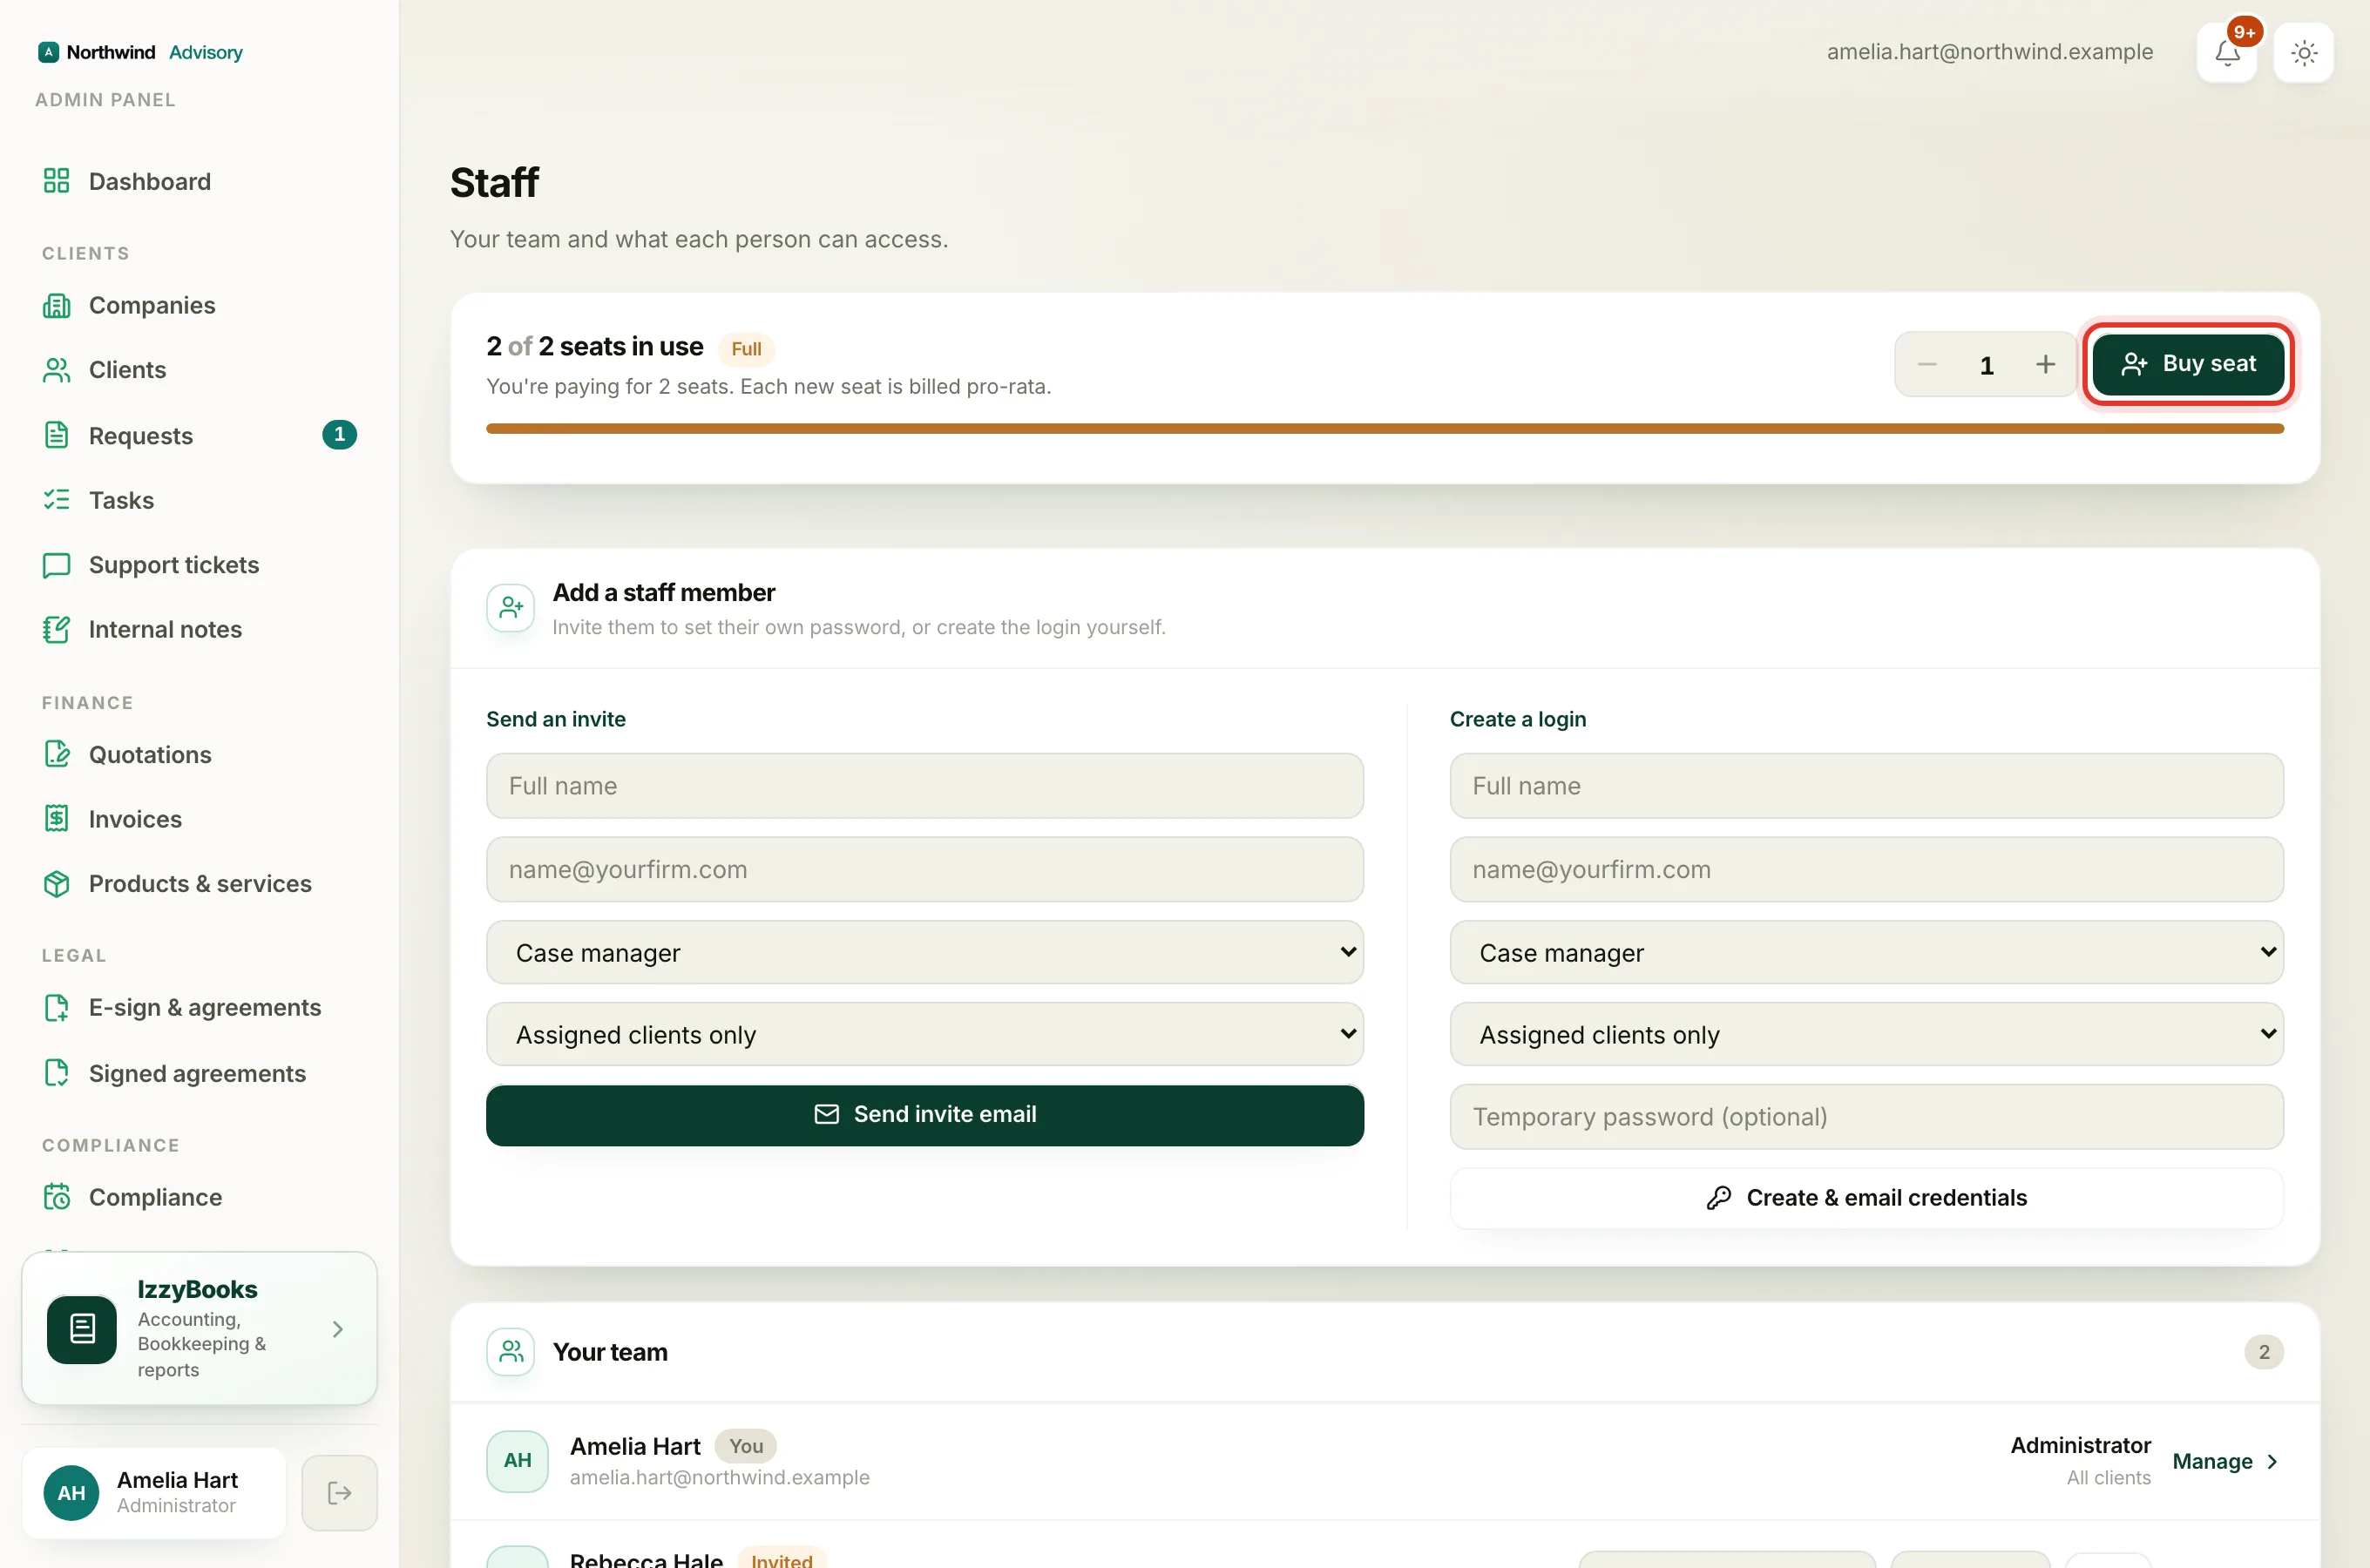
Buy more seats
- Use the plus and minus buttons to choose how many seats to add.
- Click Buy seats.
The new seats are added straight away, and each one is billed for the rest of your current period, so you only pay for the time you use. A short message confirms your new seat total.
Note
You need a free seat before you can invite a new team member. If every seat is in use, the seat count shows Full, so buy a seat first, then send the invite. See Add a team member.
Reduce your seats
If you are paying for more seats than you are using, a Reduce by one seat link appears under the seat bar. Click it to drop a seat you no longer need. You can only reduce down to the number of seats currently in use, so no active staff member is ever locked out.
Tip
To remove the person in a seat first, deactivate their staff account, then reduce the seat. This keeps your seat count matched to your real team.
On a free trial
During your free trial you already have a set number of seats included, so there is nothing to buy. To add seats beyond the trial, start a plan first. See Choose or change your plan.
Why seats matter for usage
Your monthly AML screenings and e-signatures grow with your seats. Every paid seat adds more of each to your monthly pool. See Understand usage and top-ups.