Where a company's files live
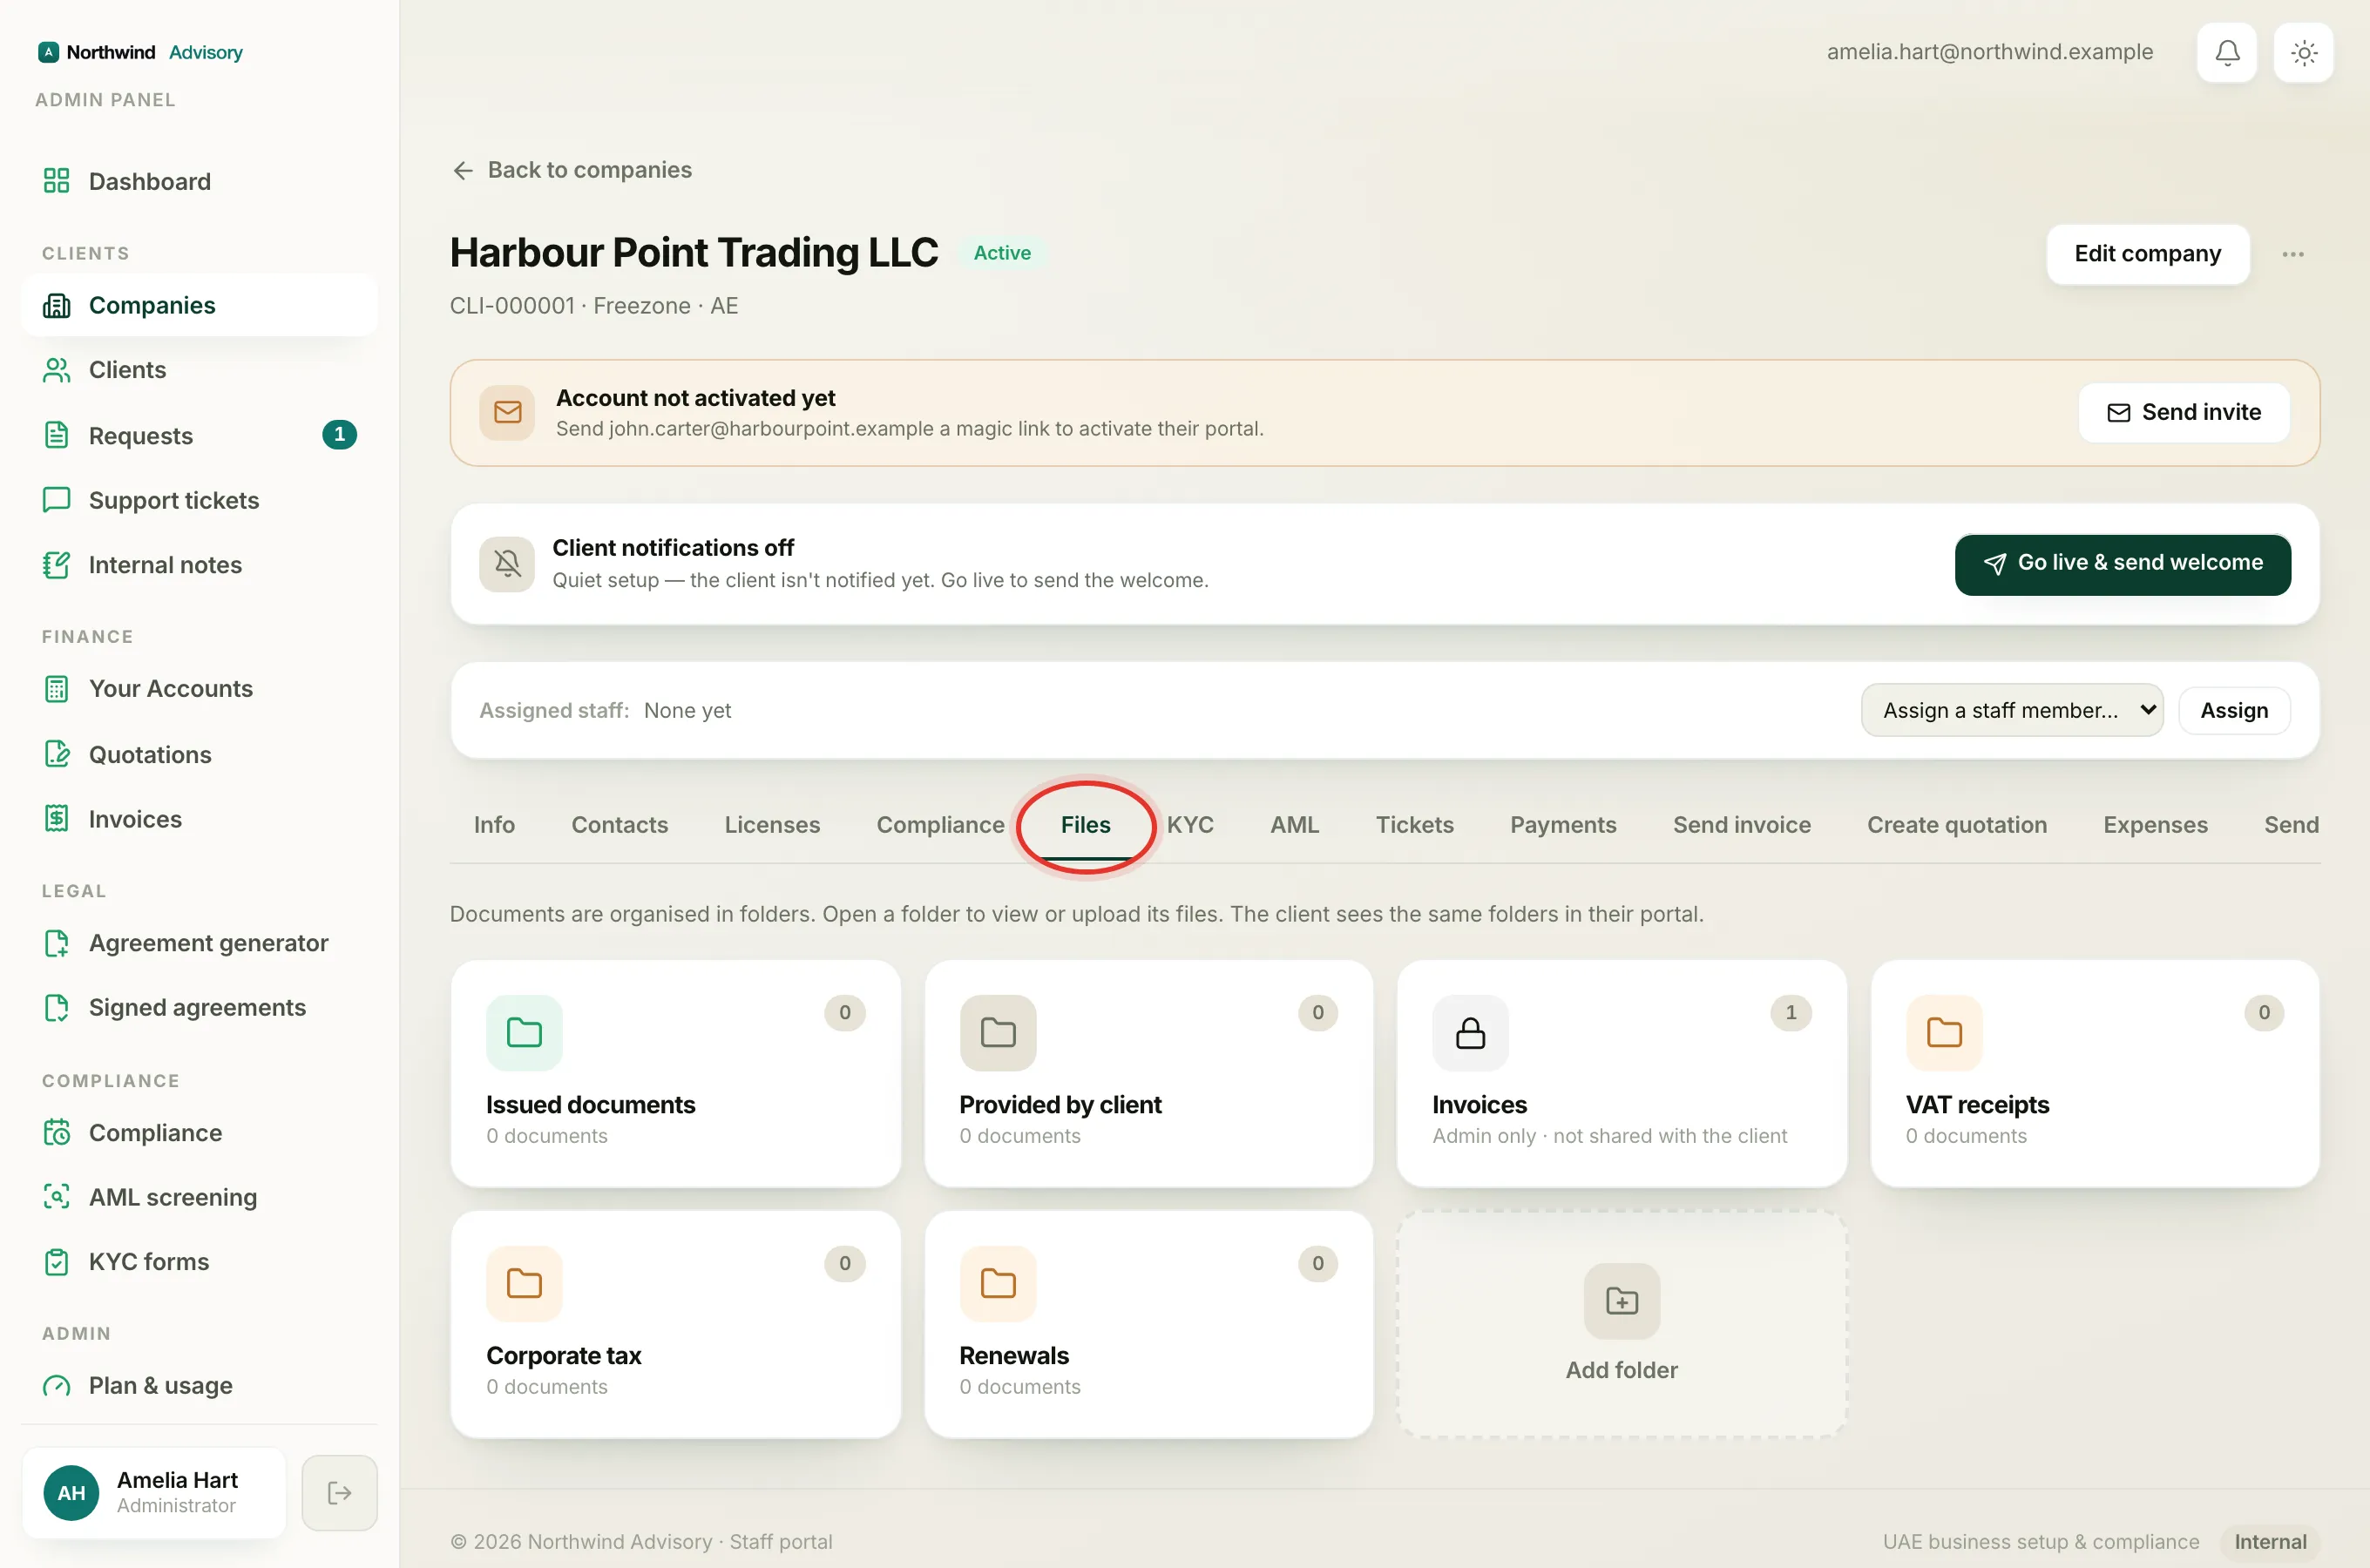
Each company keeps its documents on its own Files tab, sorted into folders. Your client sees the same folders in their portal, so a tidy set of folders here is a tidy experience for them too (except for any folder you have hidden, which is covered in hidden vs client-visible folders).
- Log in to your workspace.
- In the left menu, under Clients, click Companies.
- Open the company.
- Click the Files tab.
At the top you will see the note Documents are organised in folders. Open a folder to view or upload its files. The client sees the same folders in their portal. Below it is a grid of folder cards. Each card shows the folder name and a small count of how many documents are inside.
The folders you always have
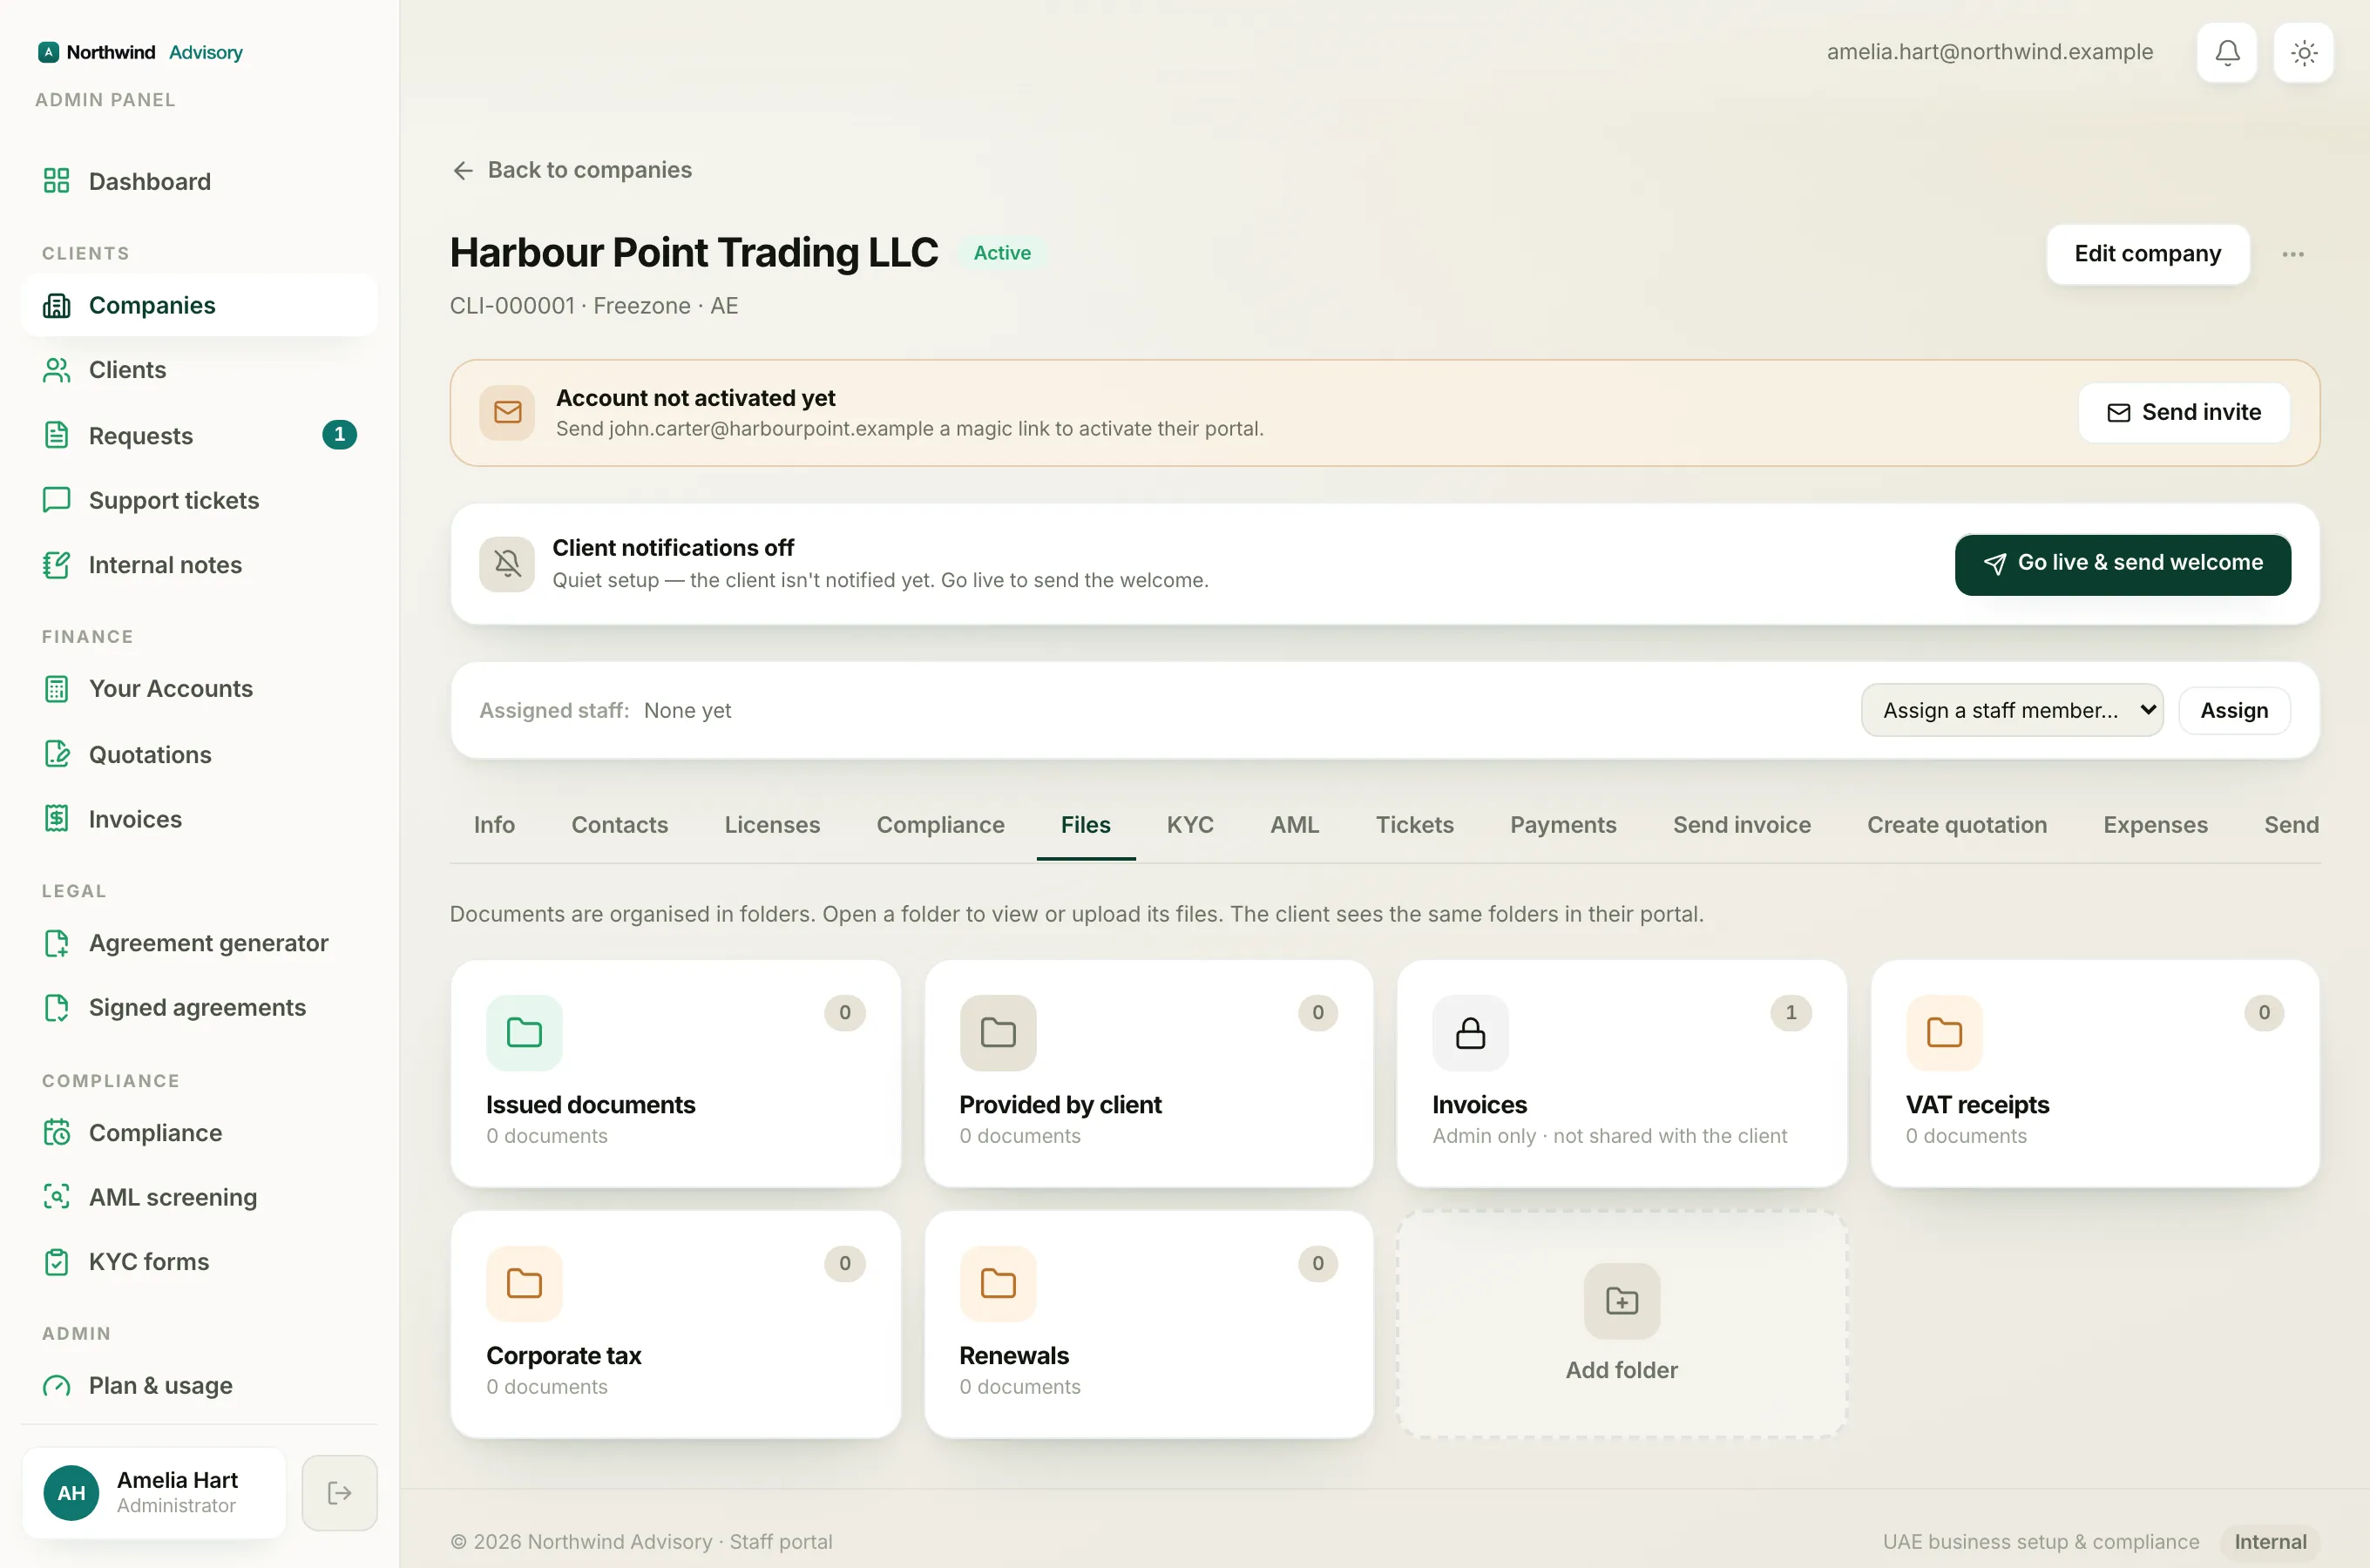
Every company starts with a few folders that are managed for you. You cannot rename or delete these.
- Issued documents (green folder). Documents your firm has produced and given to the client, such as a certificate or an official letter. This is where you go to formally hand a document over. See issue a document to a client.
- Provided by client. Documents the client has uploaded to you, such as a passport copy or a signed form. You can also file papers here yourself on the client's behalf, for example something they sent you over WhatsApp, and it shows to the client as their own document. See upload a file on a client's behalf.
- Invoices. A read-only folder filled automatically whenever you raise an invoice. You can open it to view or download the invoice PDFs, but you cannot upload into it or change it, and it has no menu.
Folders you create
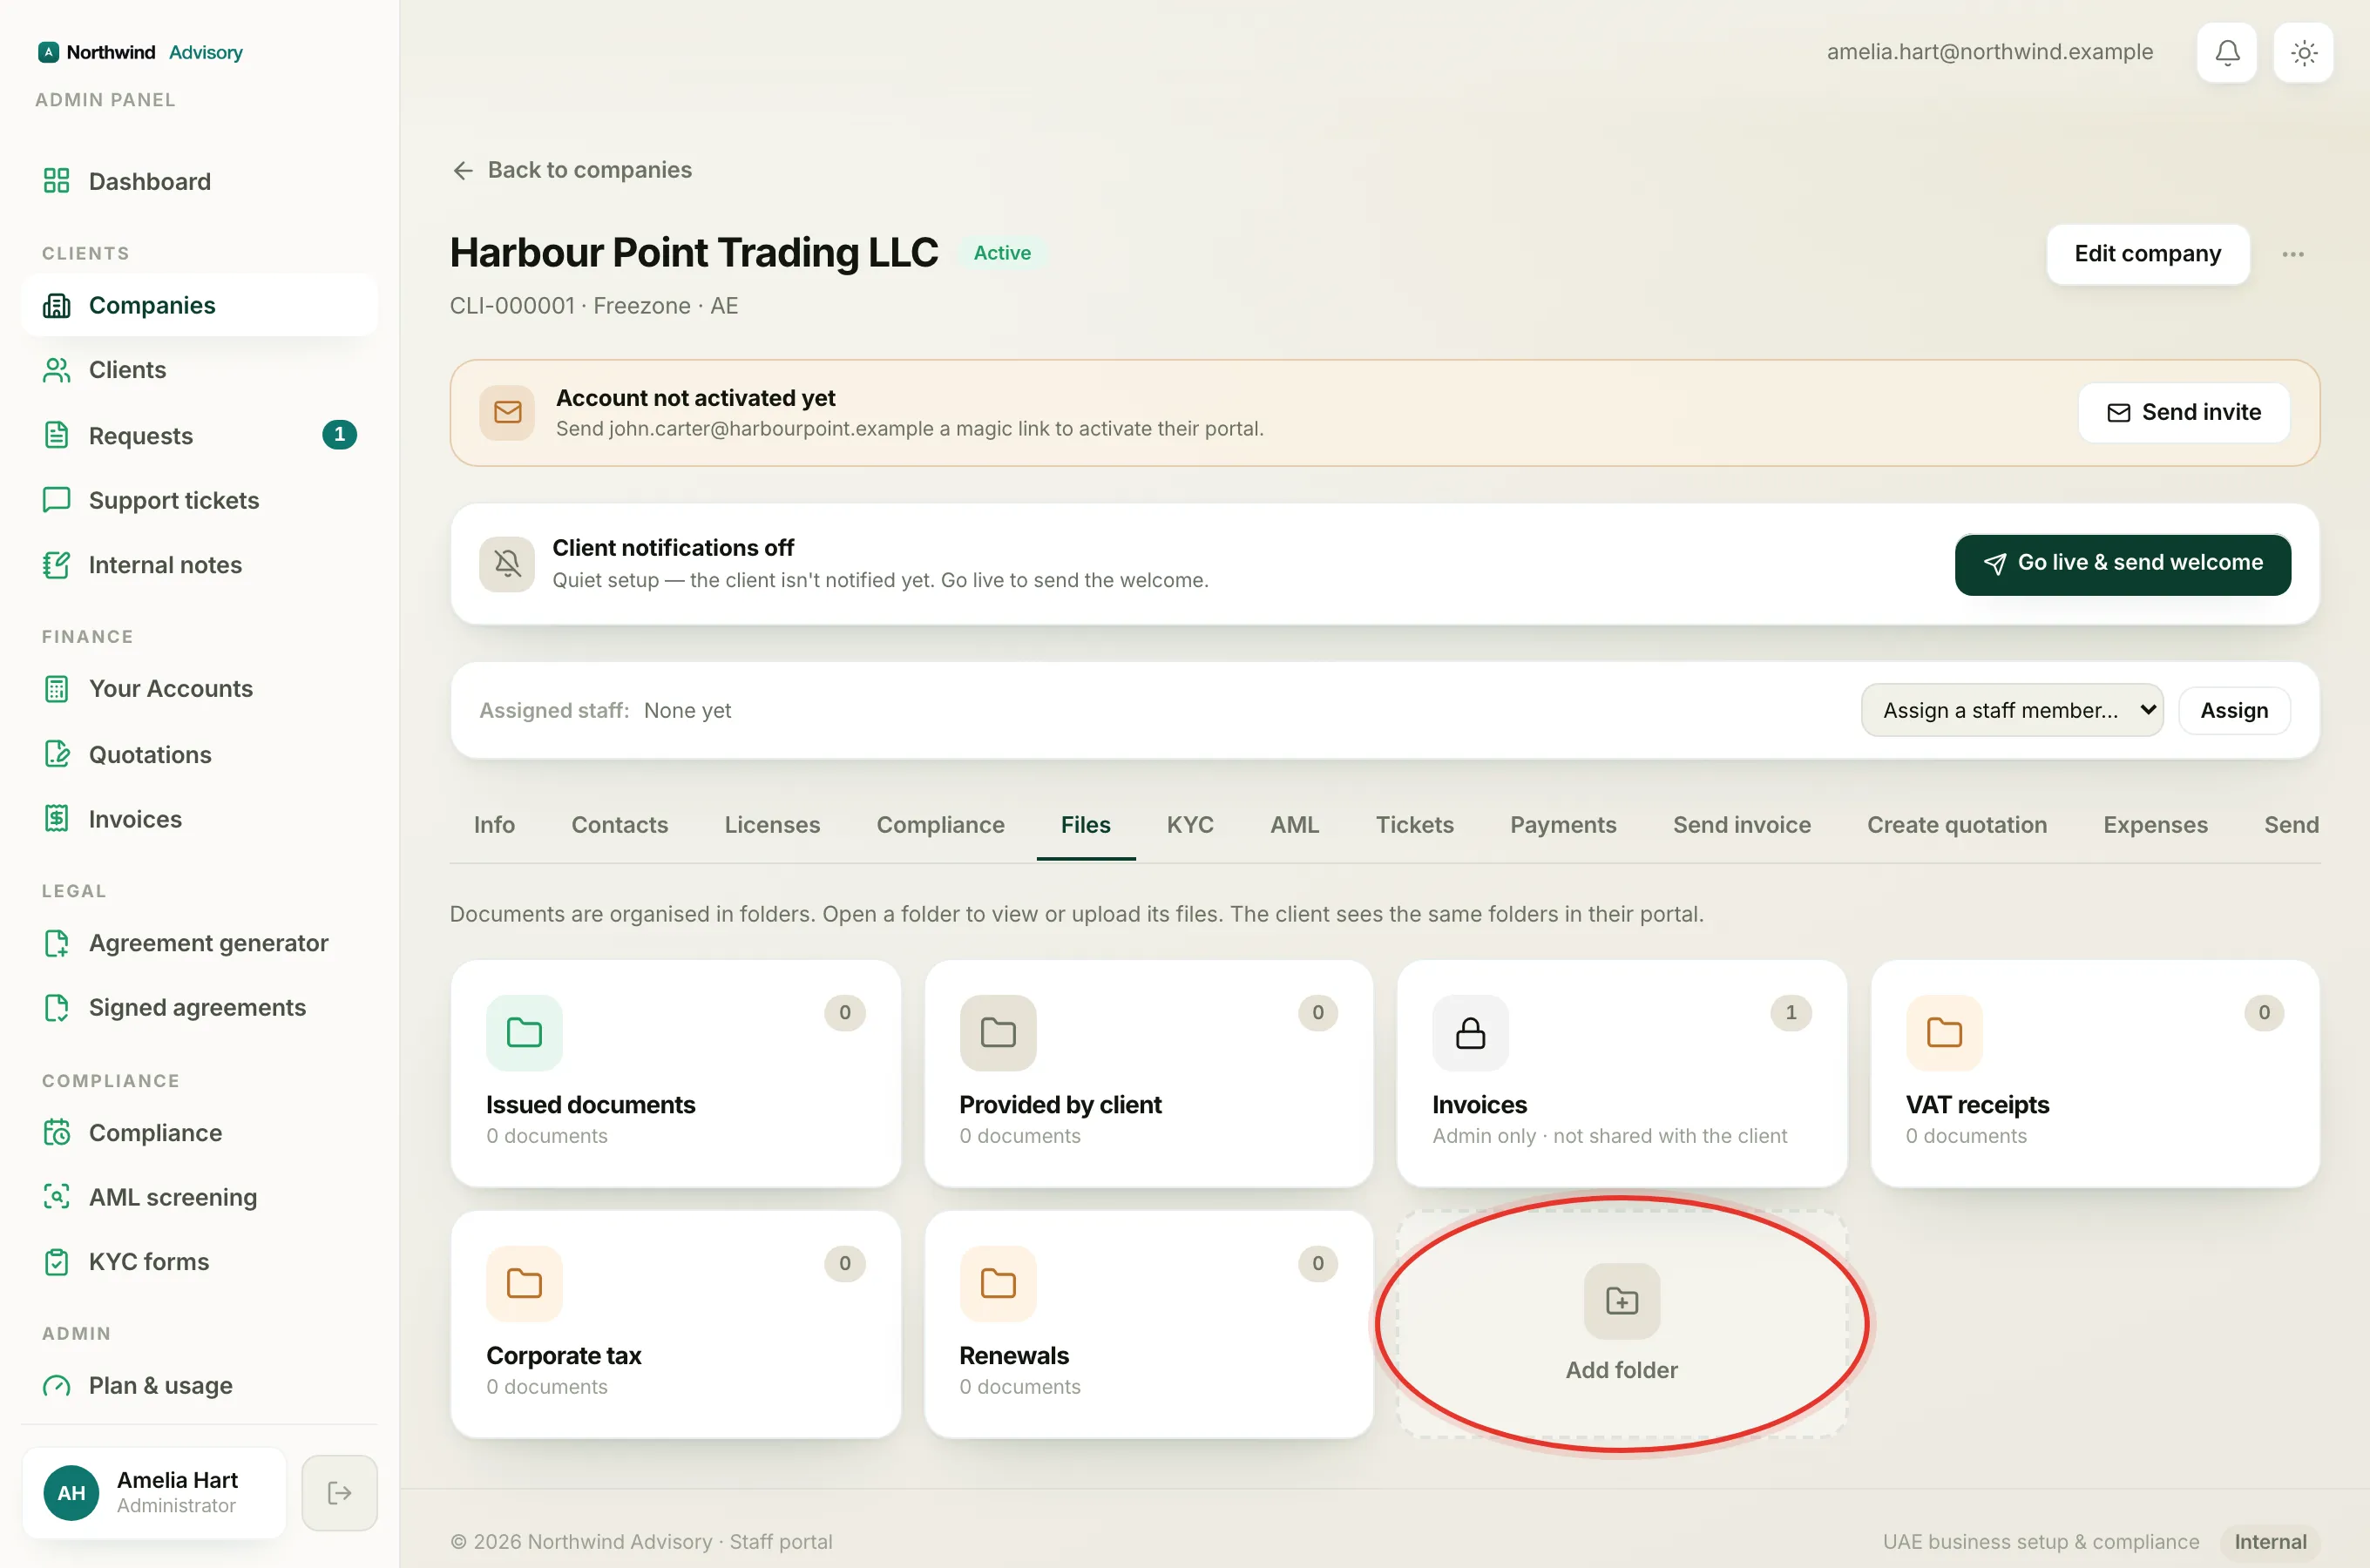
Beyond those, you can add your own folders to group documents any way that suits you, such as one for employee visas or one for a specific project.
- On the Files tab, click the dashed Add folder tile at the end of the grid.
- Type a name, for example Employee visas.
- Choose whether the folder is shared with the client or kept private (explained in hidden vs client-visible folders).
- Click Create folder.
The new folder opens straight away with its upload panel ready, so you can drop documents in immediately.
Opening a folder and moving around
Click any folder card to open it. Inside you see its documents, an Upload documents panel where uploads are allowed, and the document count. To go back to the full grid, click All folders at the top left.
Inside a folder that you created, you can also rename it, change who sees it, or delete it using its menu. Deleting a folder does not lose your documents, they move back into the general bucket. The built-in Issued, Provided and Invoices folders do not offer these options.
Tip
When you move a document between folders, the built-in Invoices folder and any hidden folders are not offered as destinations, so you cannot accidentally file a working document where the client would not expect it.