Where the editor lives
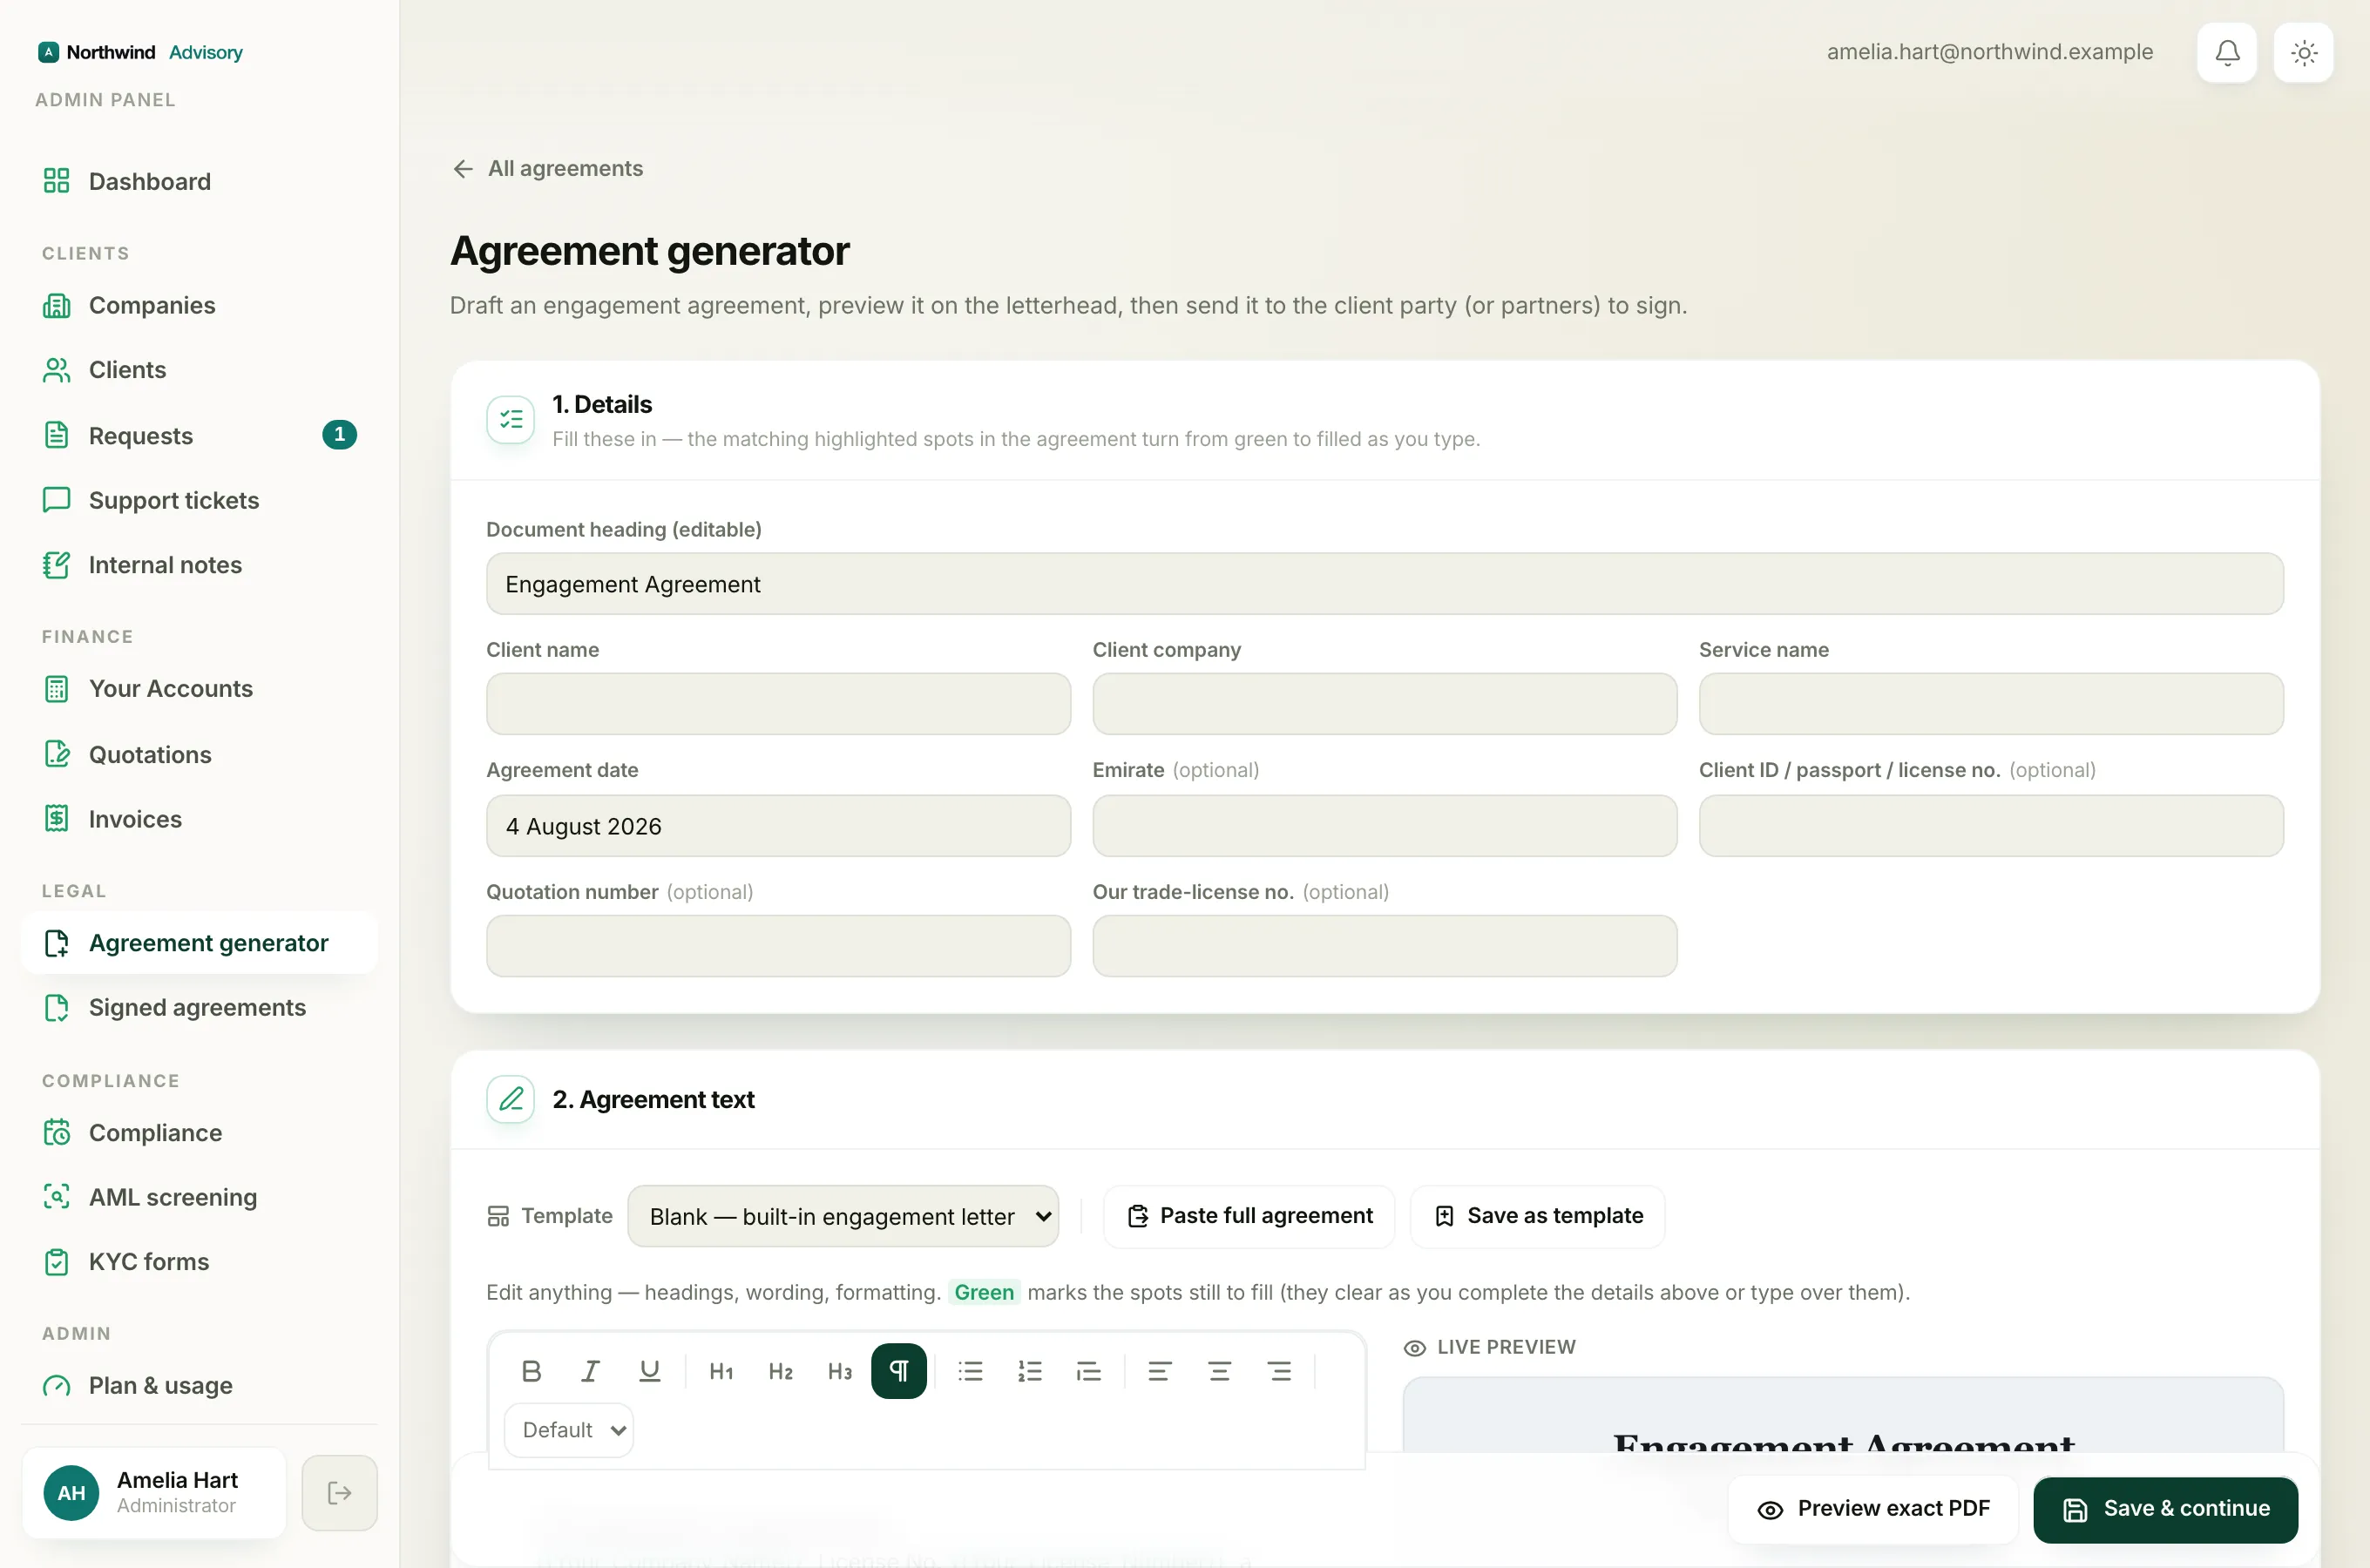
Every agreement is written in the same builder, so you always have the full text editor in front of you.
- Log in to your workspace.
- In the left menu, under Legal, click Agreement generator.
- If you have saved templates, choose Draft a new agreement to start from the built-in engagement letter, or Start from a saved template. If you have no templates yet, the blank builder opens straight away.
- Scroll to the section headed 2. Agreement text. The editor is on the left, with a Live preview on the right.
The agreement opens pre-filled with the built-in engagement letter (or your chosen template), so you are always editing real wording, never a blank page.
The toolbar buttons
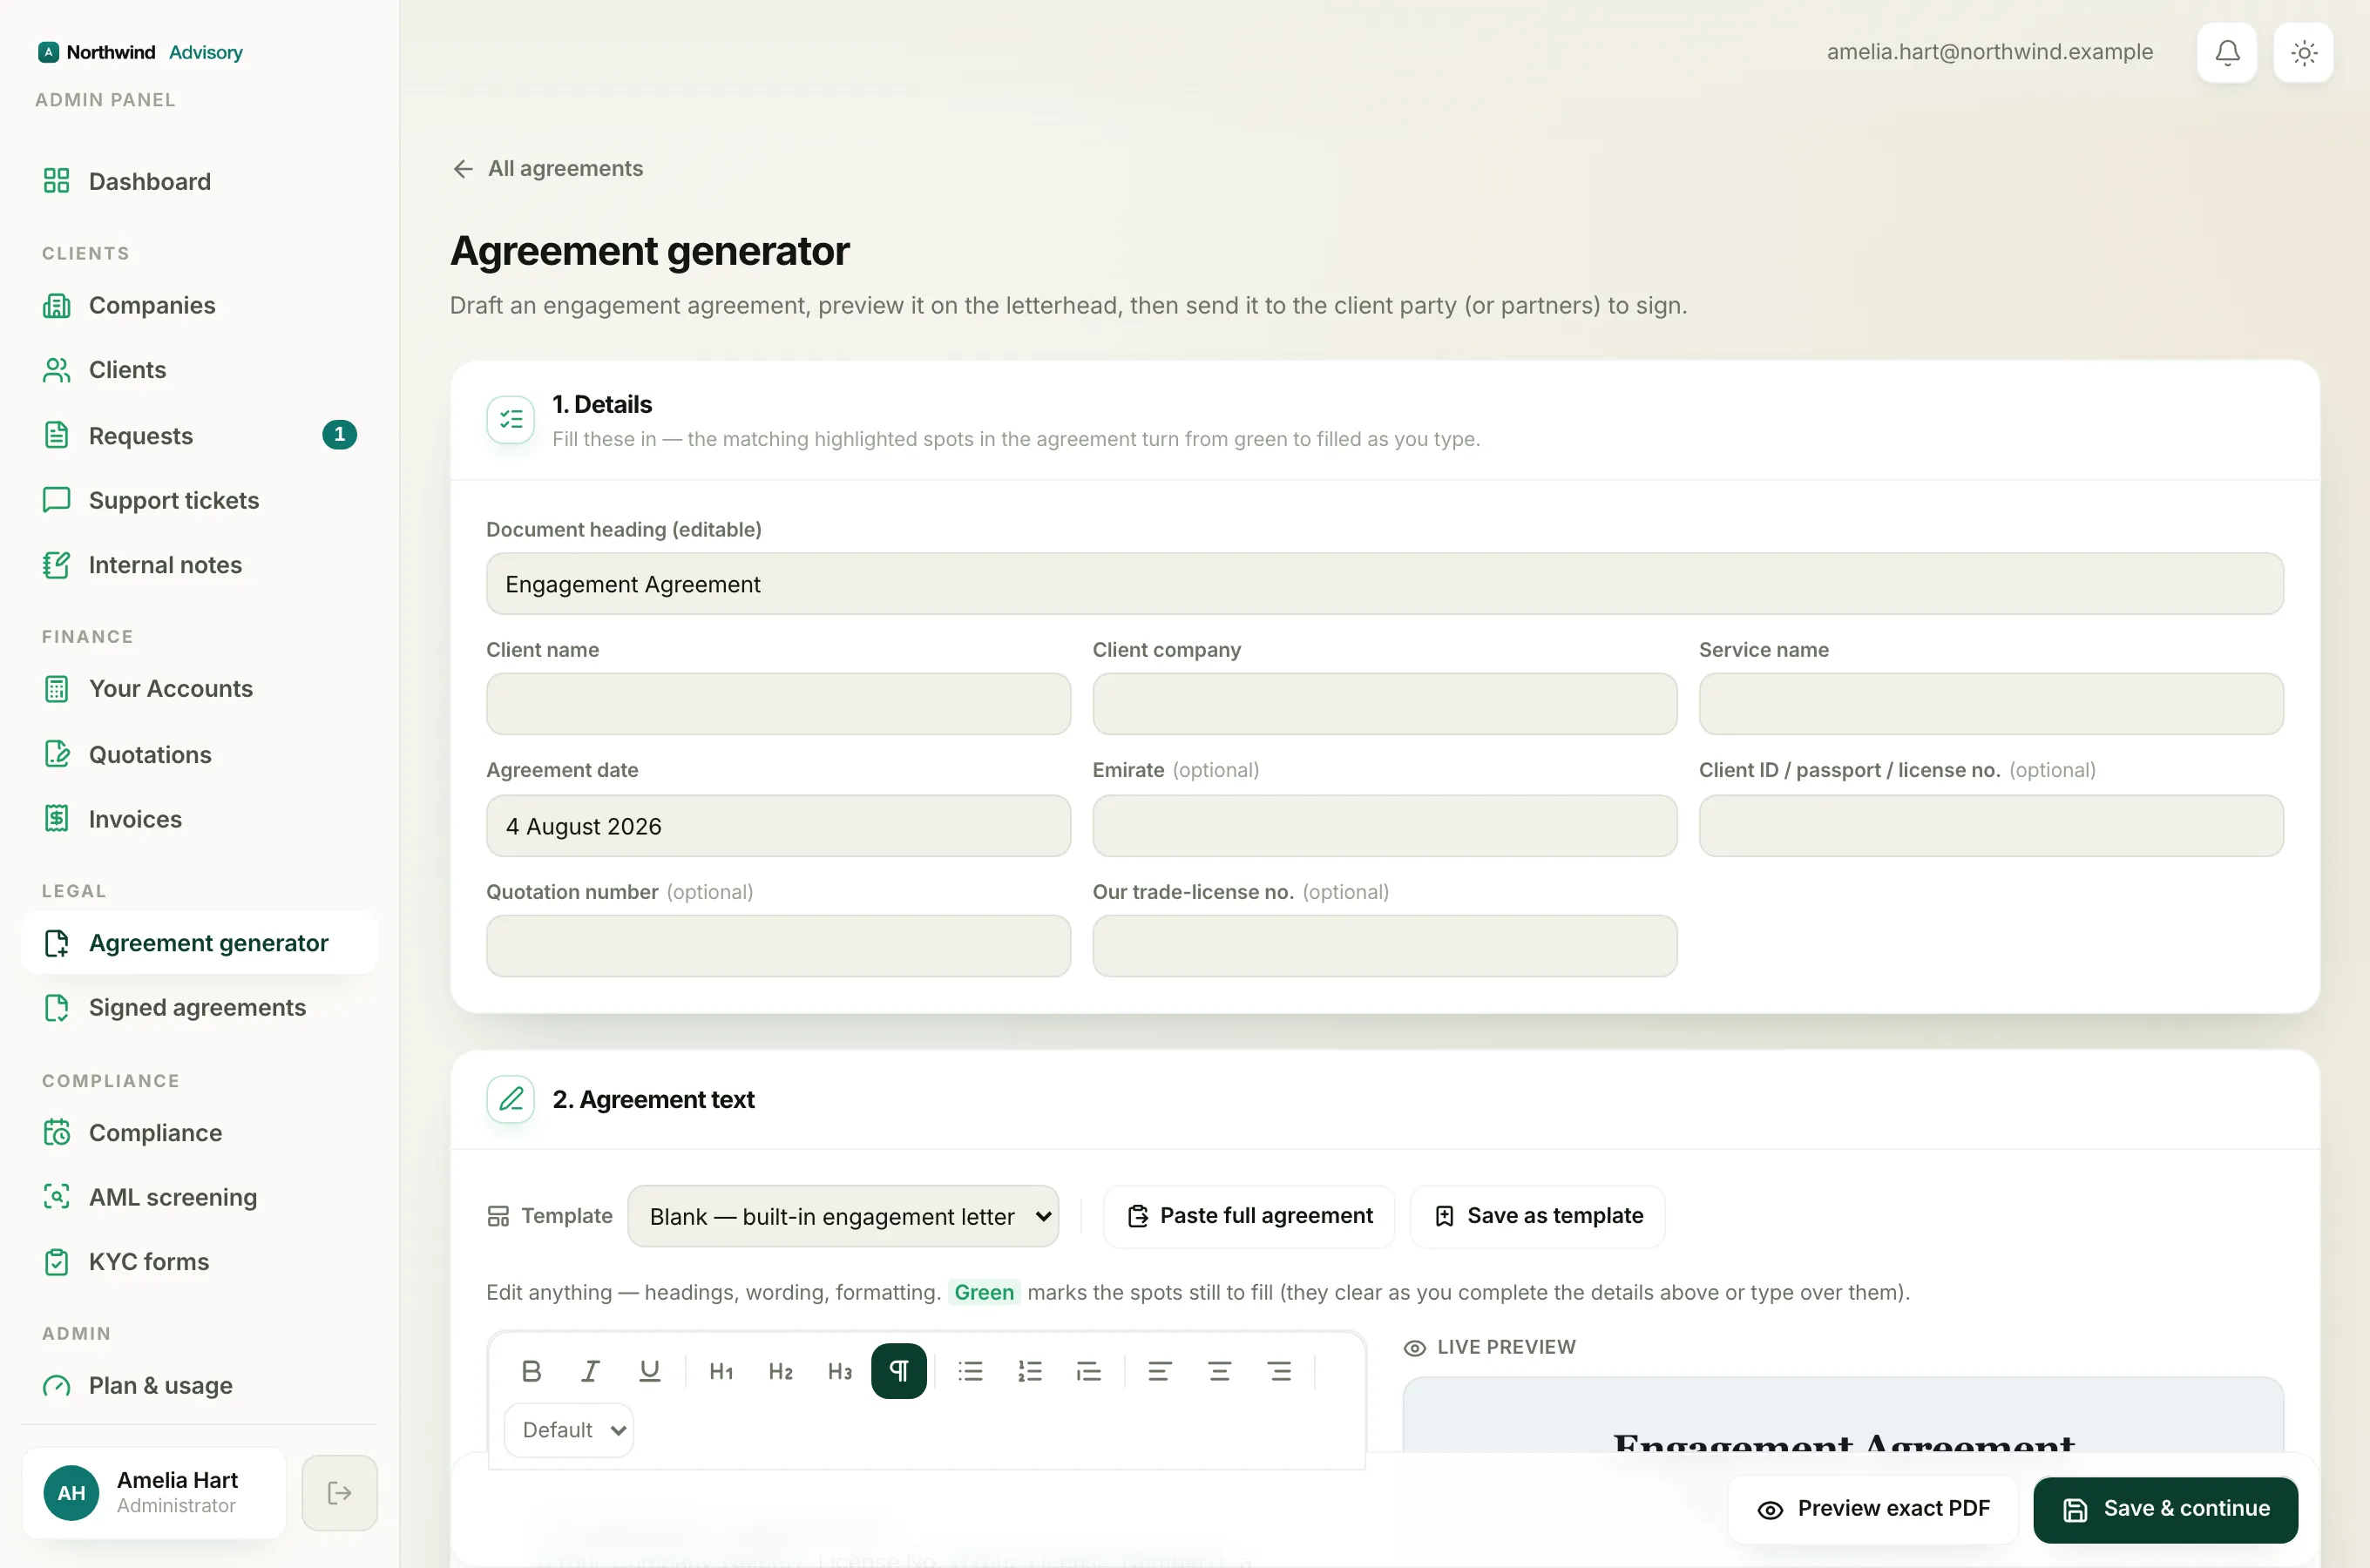
The toolbar sits at the top of the editor and stays in view as you scroll. Click into the text first, then use a button. Hover any button to see its name.
- Bold, Italic, Underline for emphasis on the selected words.
- Heading 1, Heading 2, Heading 3 turn the current line into a clause heading or sub-heading. Heading 1 is the biggest.
- Paragraph turns a heading back into ordinary body text.
- Bullet list and Numbered list turn the selected lines into a list.
- Highlight block wraps the current line in a shaded callout panel, handy for a note you want to stand out.
- Align left, Align center, Align right set how the line sits on the page.
- The Font dropdown at the end switches the typeface between Default, Serif, Sans and Mono.
To change wording, just click into the text and type. Press Enter to start a new line, and use the heading buttons to structure it into clauses.
The green highlighted spots
As you edit, you will see words highlighted in green in the text. These are the spots still to fill in, such as the client name or a fee. They are not part of the final wording. They clear on their own once you complete the matching boxes in the 1. Details section above the editor, or once you simply type over them. See Fill in the agreement details for how those boxes work.
Tip
The Live preview on the right shows your changes the moment you make them, laid out the way the final document reads. Use it to check a heading or a list looks right before you go any further.
Bringing in text you already wrote
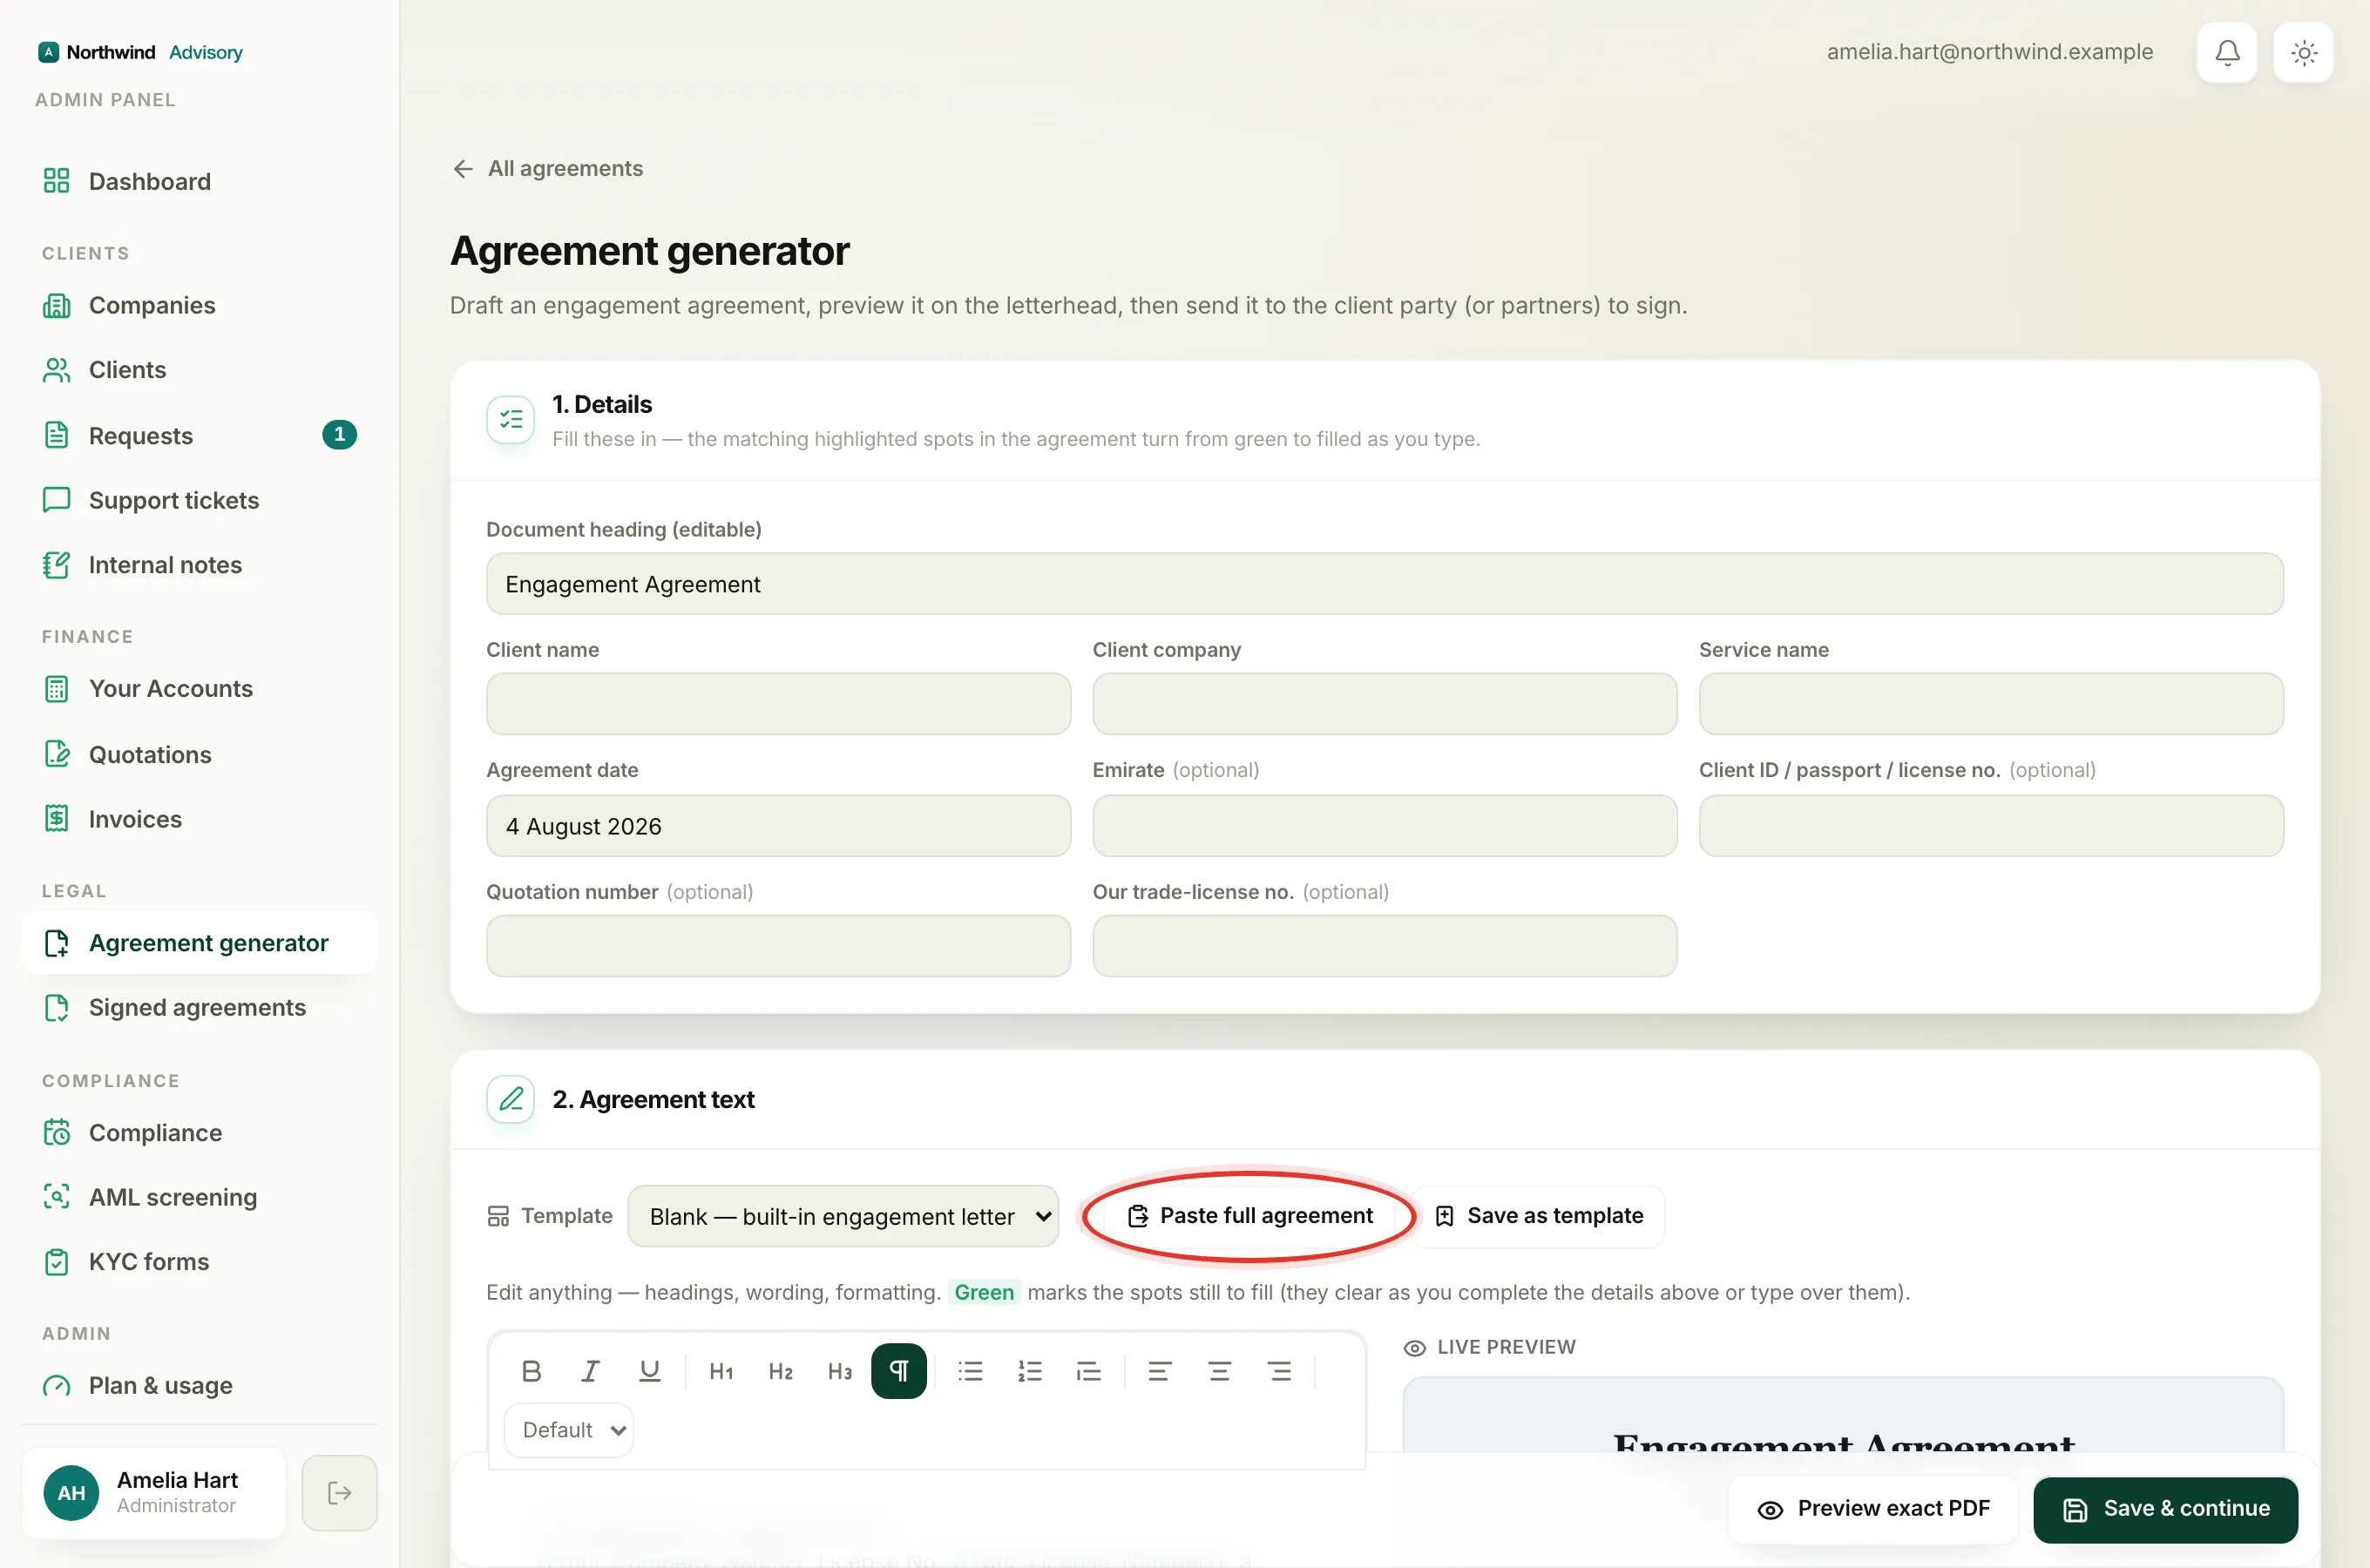
If you already have the agreement written in Word or another document, you do not need to retype it. Use Paste full agreement to bring the whole thing in at once and let IzzyTap format it into your design. See Paste a Word agreement and auto-format it.
Check it before you send
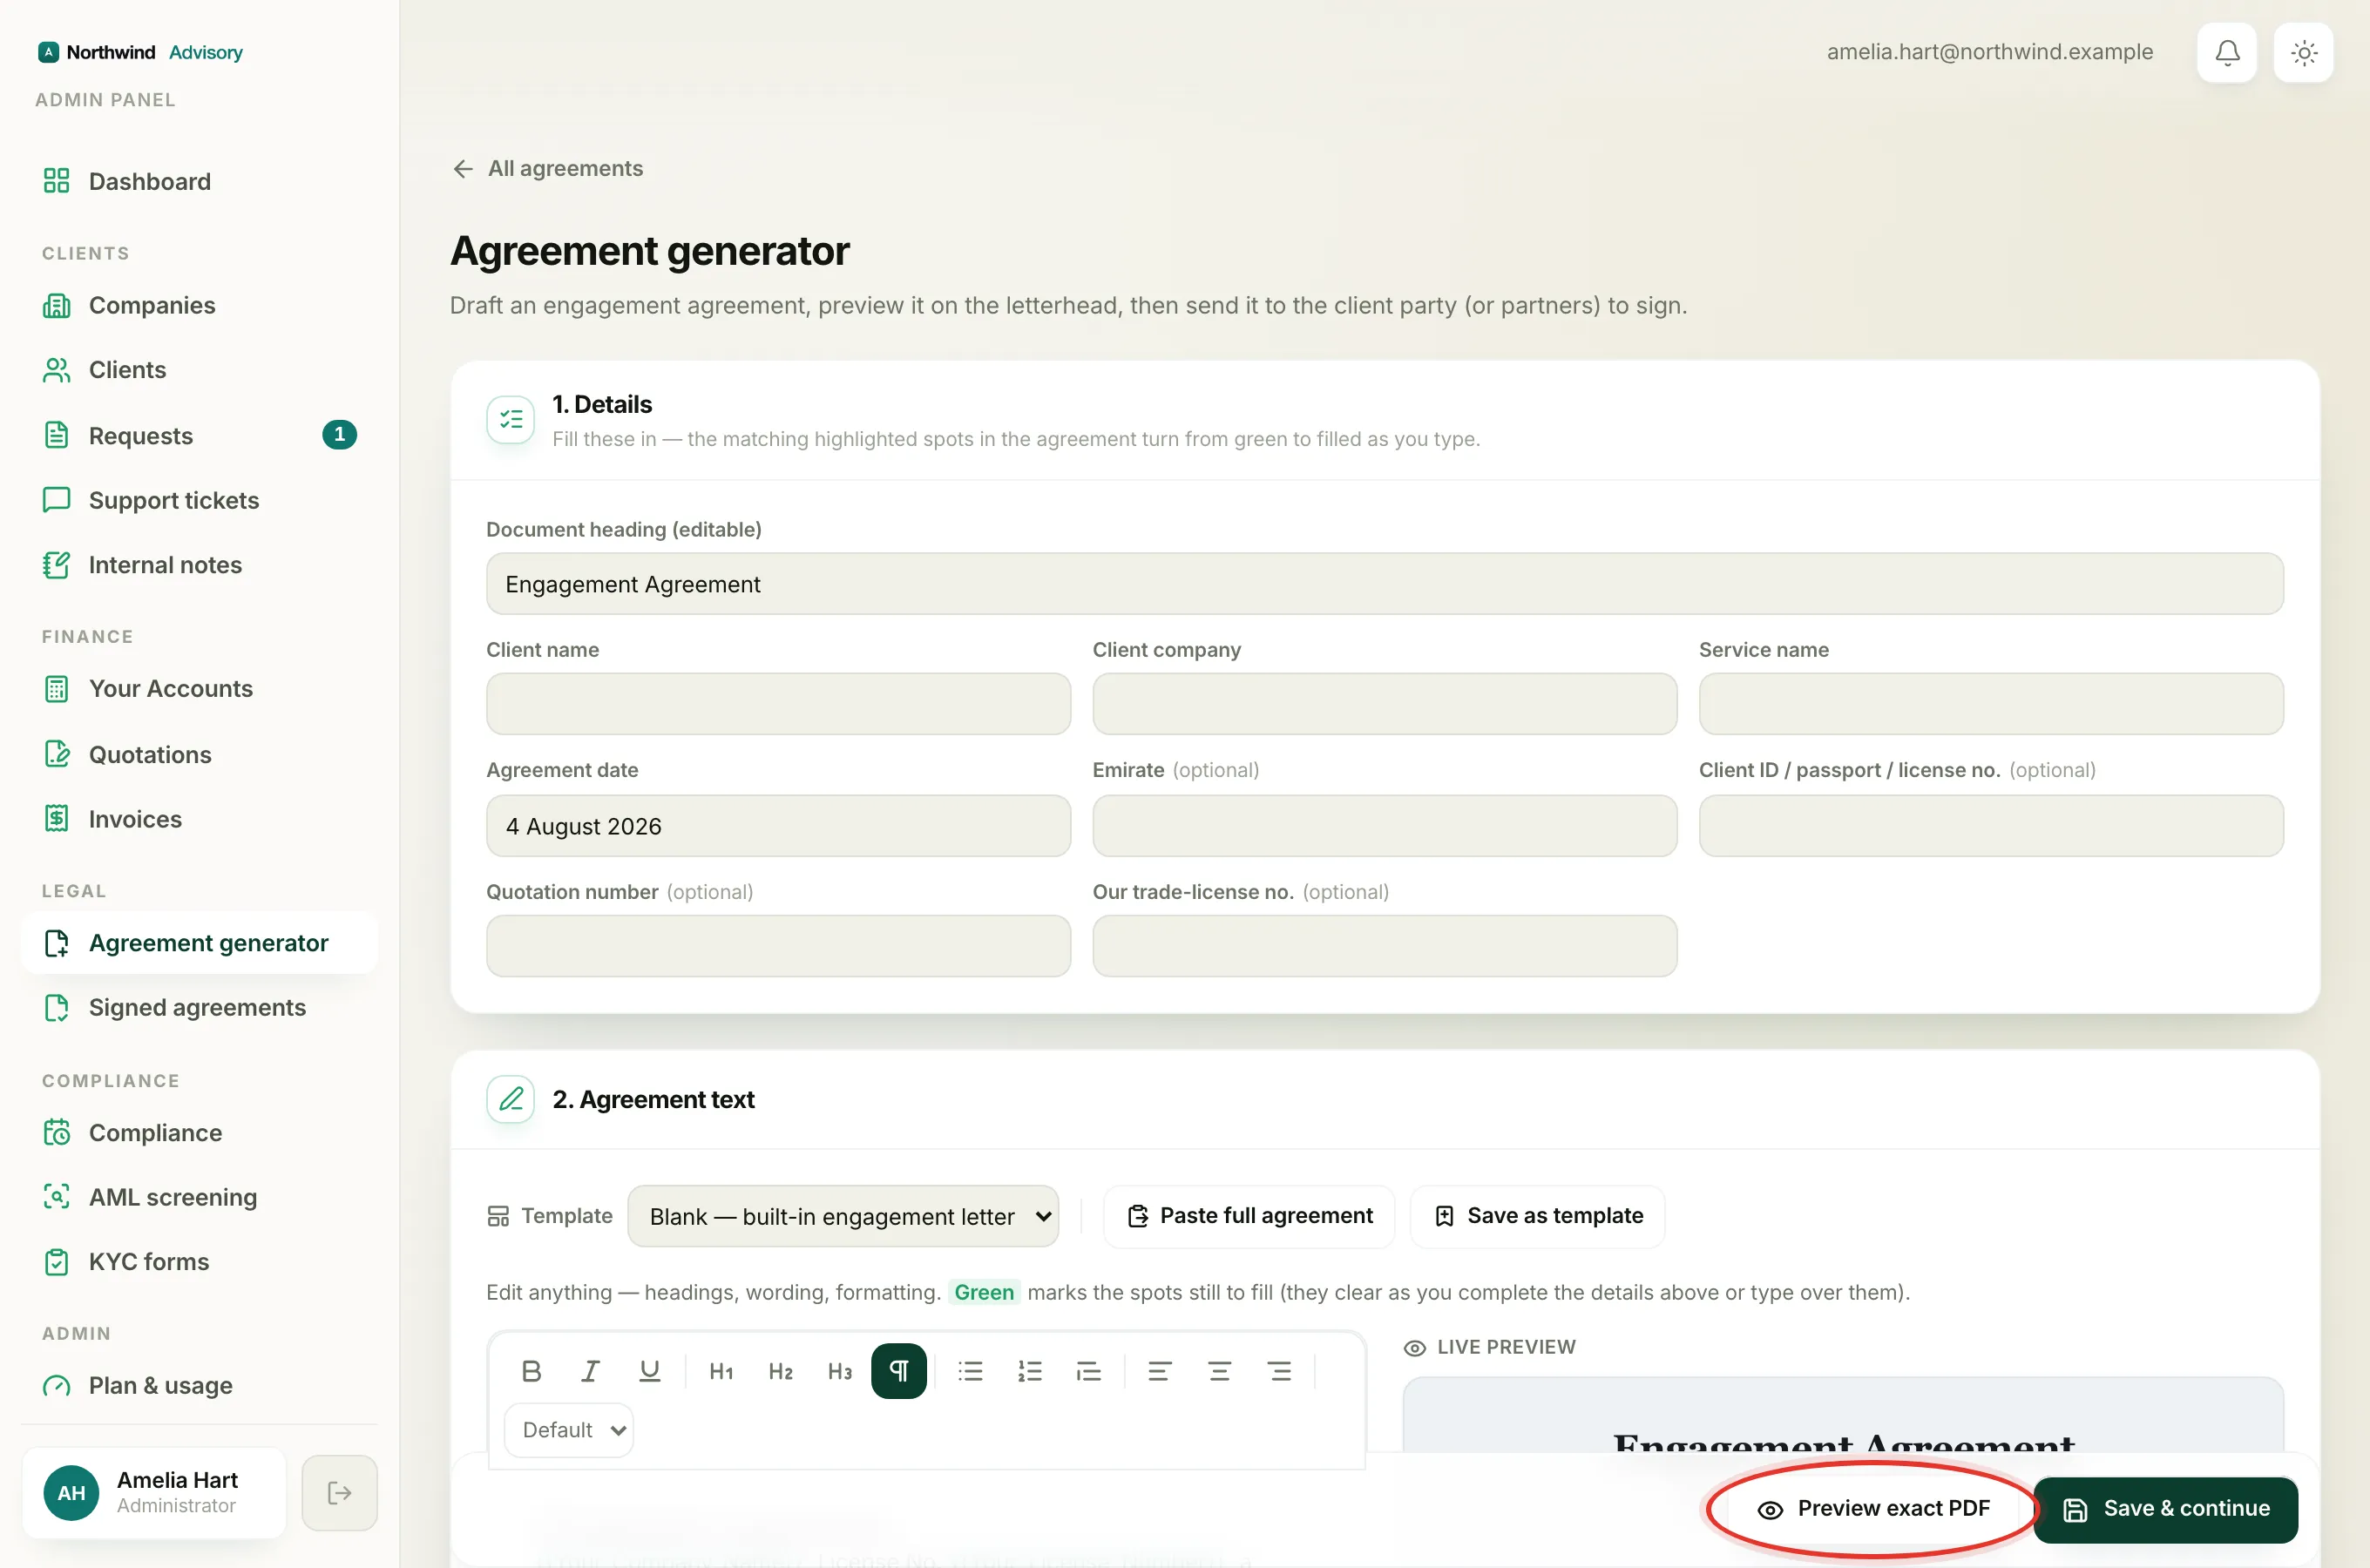
The editor and the live preview are close to the final look, but the true document is the PDF built on your letterhead. Before you send, use Preview exact PDF to see it exactly as the signer will. See Preview the exact PDF before you send.
Note
Your edits belong to this one agreement. If you want to reuse this wording again next time, save it as a template first. Editing a template later never changes agreements you have already created or sent, because each one keeps a frozen copy of its text.