An AML screening checks a person or a company against global sanctions lists, politically exposed person (PEP) lists, law enforcement and watchlist sources. In IzzyTap the whole check is run, reviewed and filed for you. The results are internal only. They are never shown to your client.
This guide takes you from login to a finished screening. To learn how to read what comes back and sign it off, see How to read an AML screening report.
Before you start
You only need three things to run a check: the subject's full name, date of birth and gender. Those are the only fields sent to the screening provider. Everything else you type is recorded on the report and used to rule alerts in or out.
Tip
Always add a date of birth if you have one. It is the single most useful detail. Without it a common name can return hundreds of alerts that all have to be checked by hand. With it, most of those clear on their own.
Step by step
- Log in to your workspace.
- In the left menu, under Compliance, click AML screening.
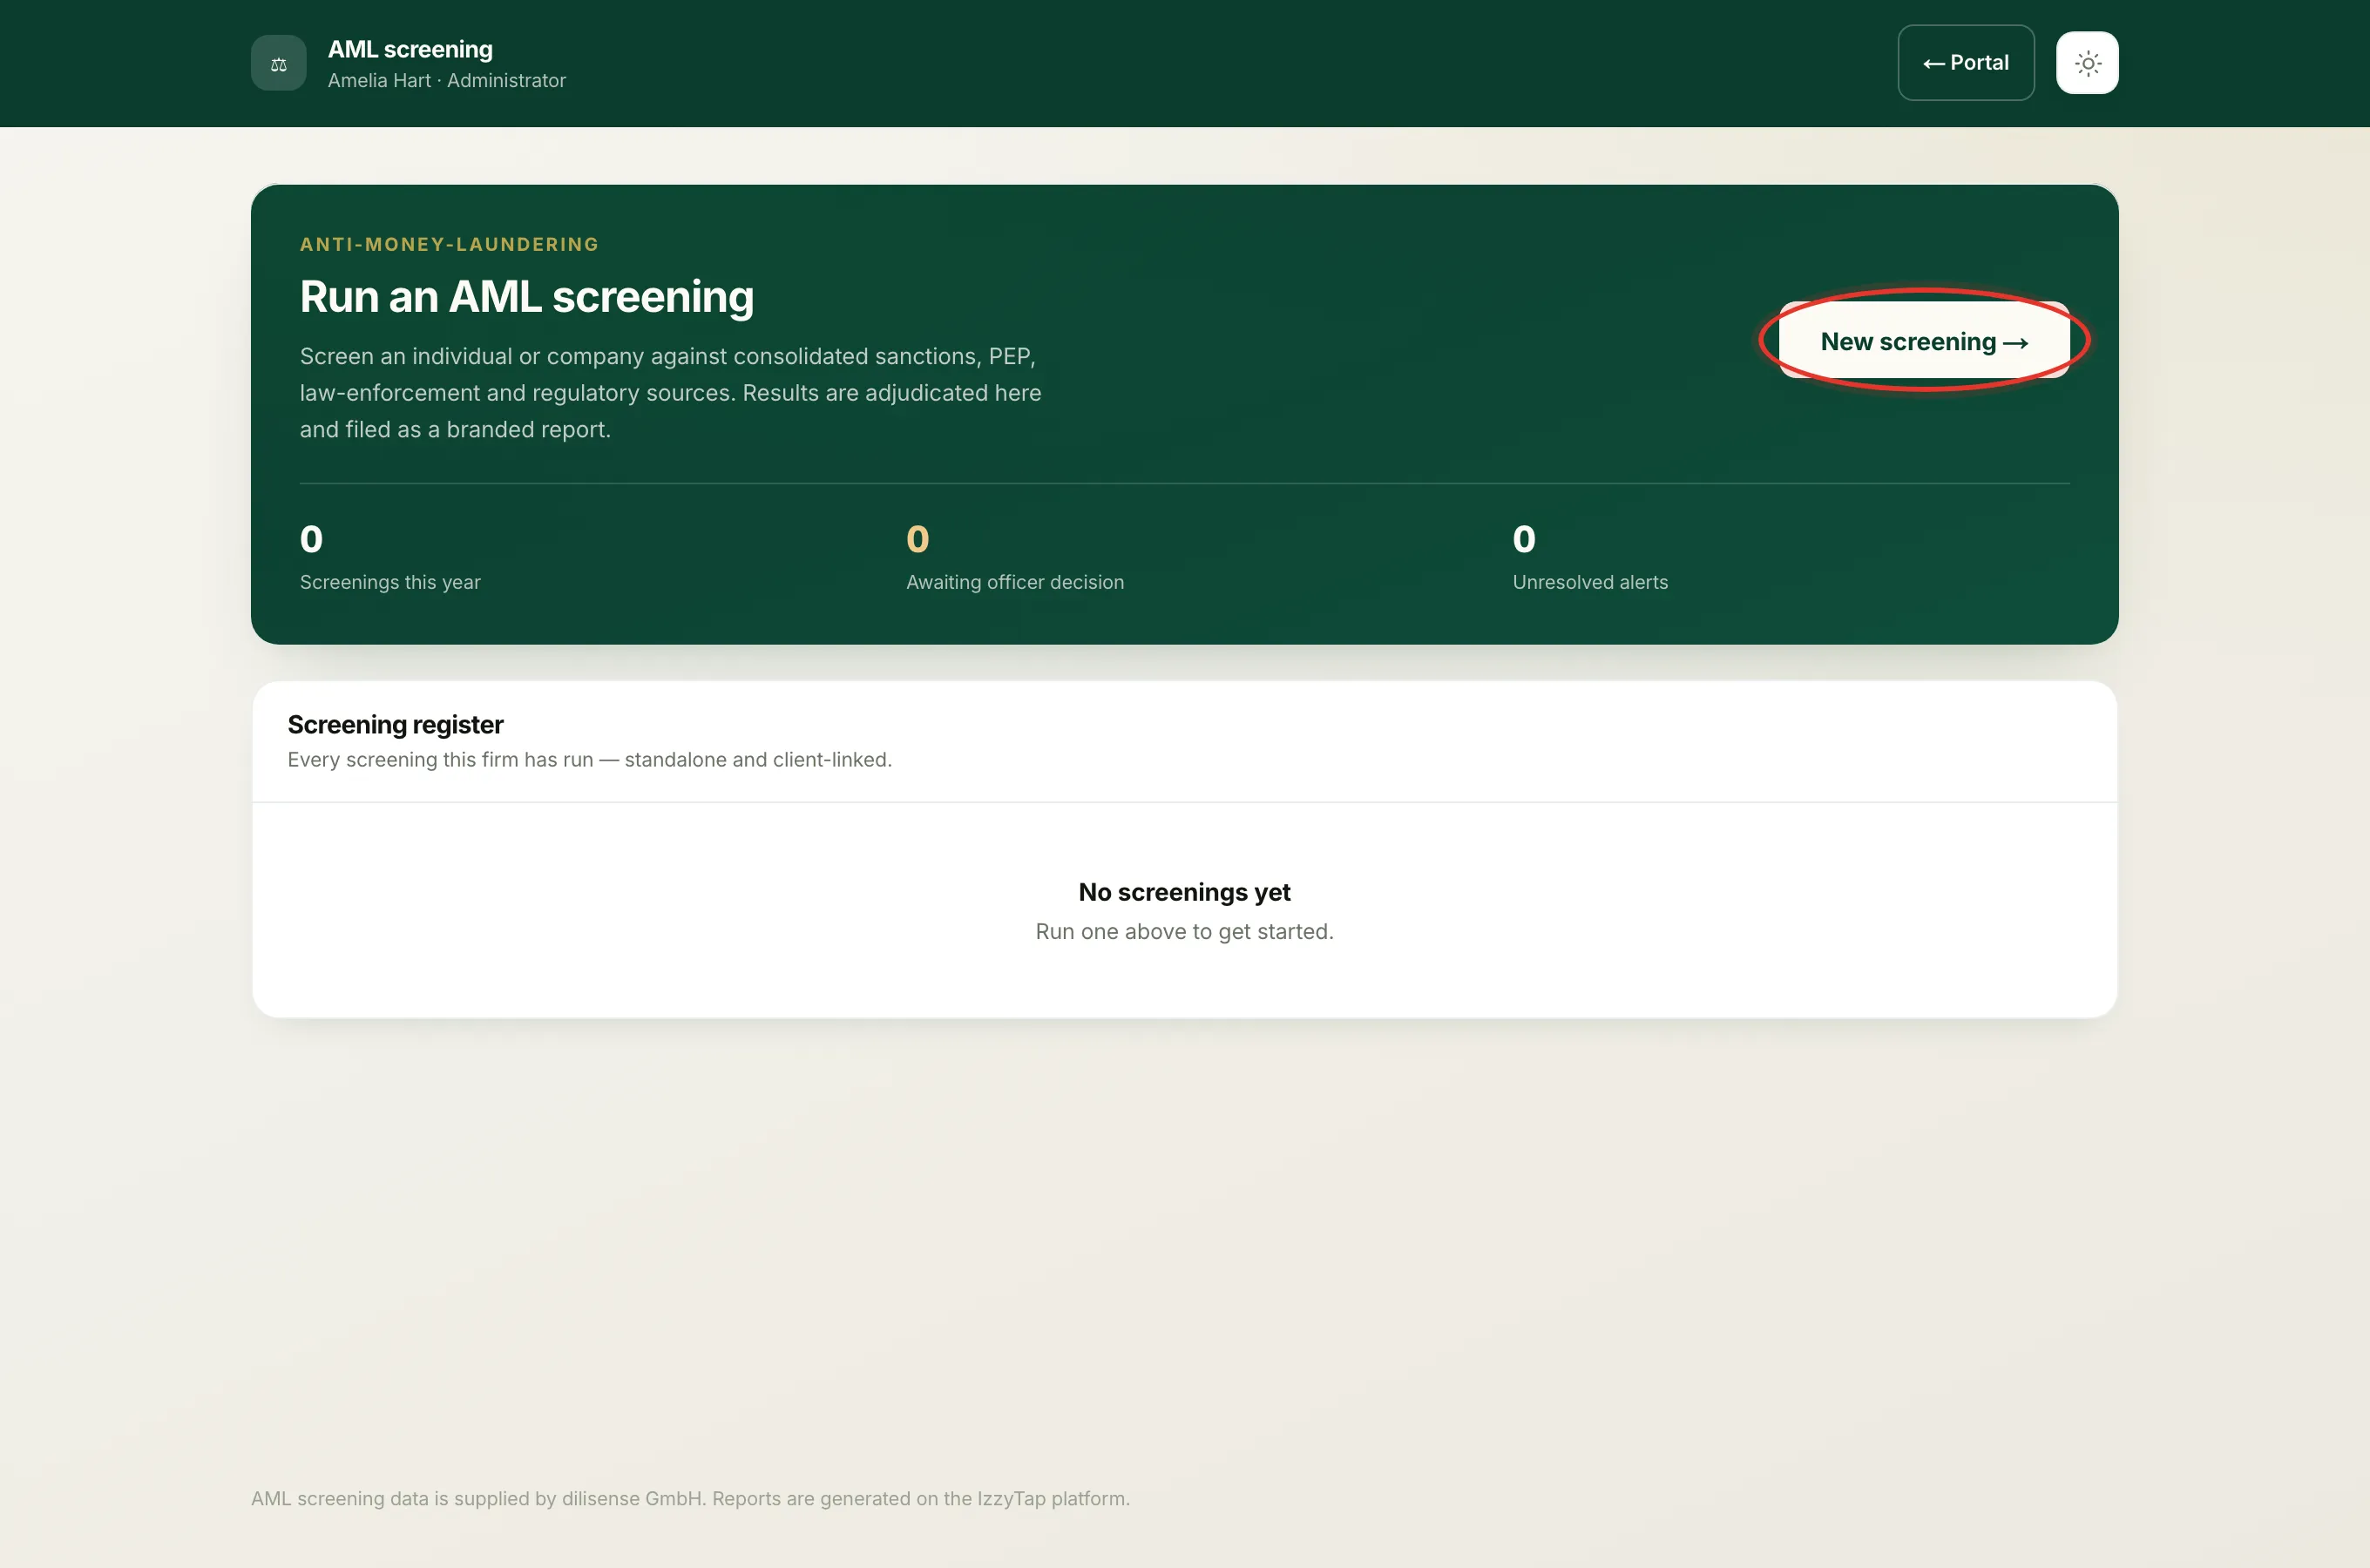
- At the top of the page you will see a green panel titled Run an AML screening. Click the New screening button on the right.
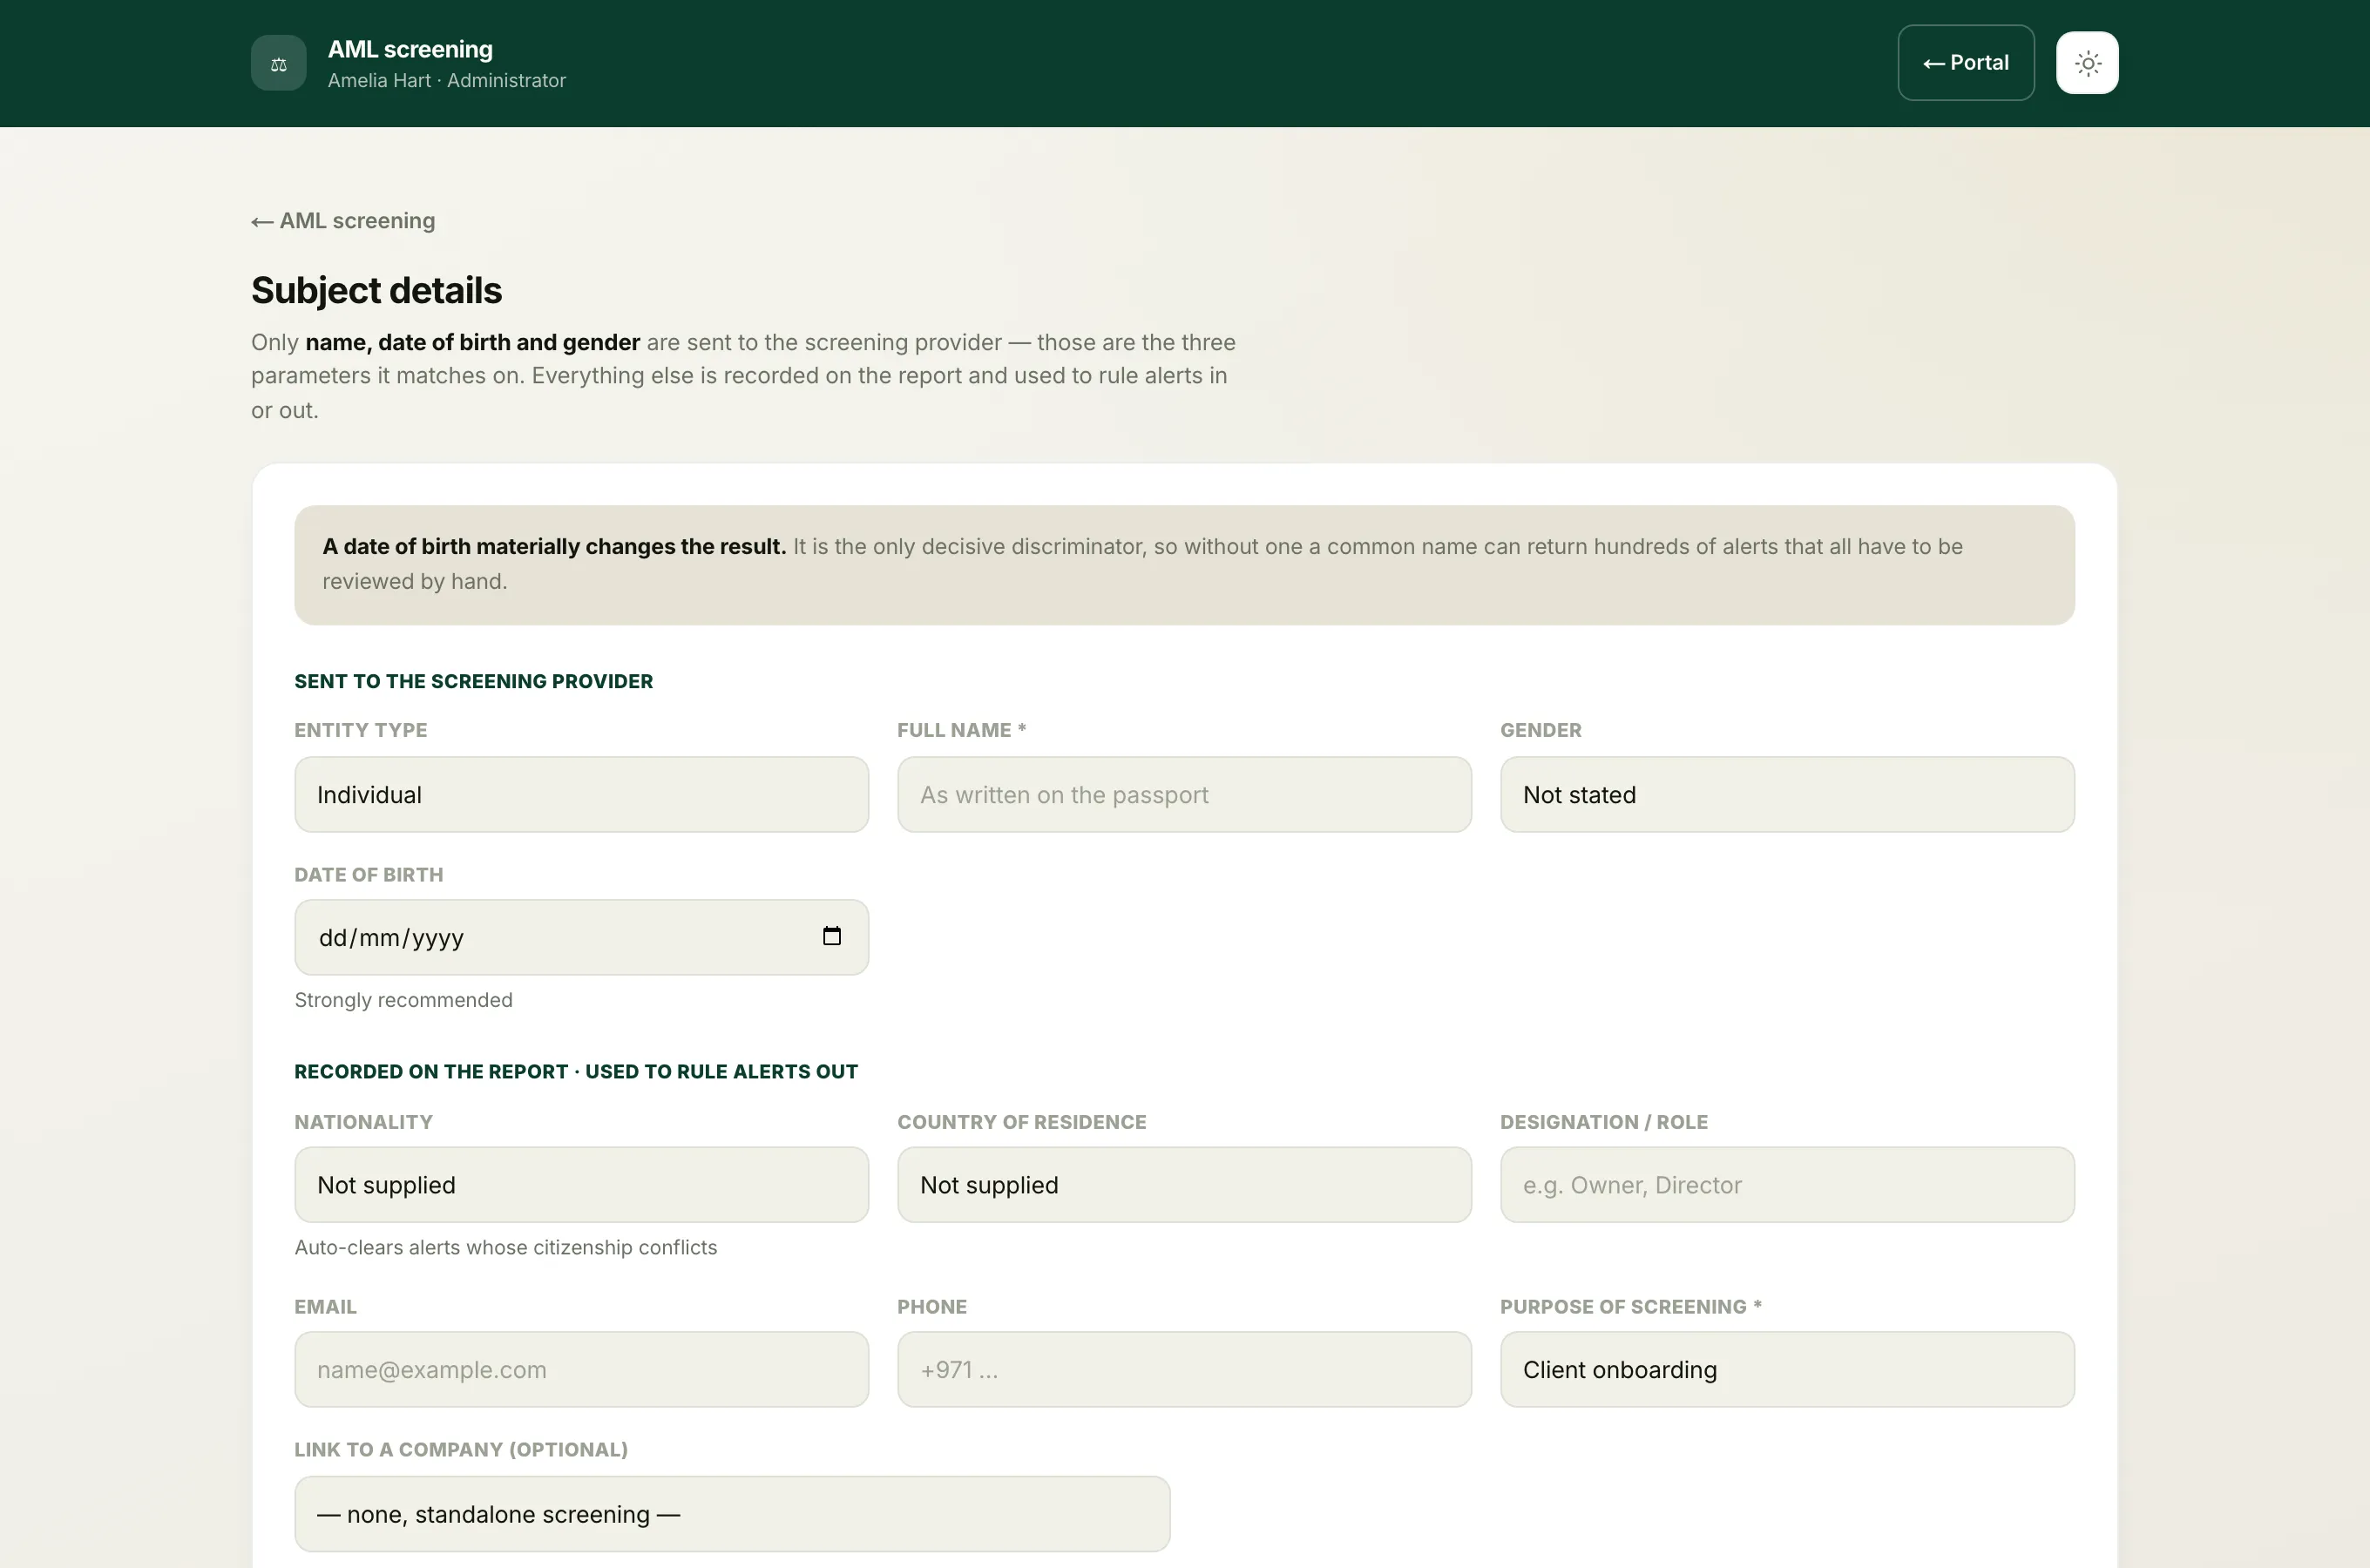
- You are now on the Subject details form. At the top, under Sent to the screening provider, choose the Entity type. Pick Individual for a person, or Company for a business.
- In Full name, type the name exactly as it is written on the passport or trade licence. This field is required.
- For an individual, set the Gender and the Date of birth. The date of birth is marked Strongly recommended. For a company, these two fields are not used and stay switched off.
- Scroll to the next section, Recorded on the report and used to rule alerts out. These fields are optional but they make the review much easier:
- Nationality. This one is powerful. IzzyTap automatically clears any alert whose nationality clashes with the one you pick here.
- Country of residence.
- Designation / role, for example Owner or Director.
- Email and Phone.
- Set the Purpose of screening. This is required. Choose Client onboarding, Periodic review or Trigger event, whichever fits.
- If this person or company is already saved as a client, open the Link to a company menu and pick them. Leave it on none, standalone screening if you are checking a prospect who is not a client yet.
- Check everything is correct, then click Run screening.
Important
After you click Run screening a progress screen appears while IzzyTap queries the sanctions, PEP and watchlist databases, searches adverse-media sources and builds the report. This takes a few seconds. Do not close the window until it finishes. When it is done, IzzyTap opens the finished screening for you automatically.
What happens next
When the check finishes you land on the screening's own page. This is the report. It shows the verdict, every alert that was found, and lets you record a decision on each one and refer the file to your compliance officer.
Working through that page is a task on its own. Follow How to read an AML screening report to finish the job.
Screening a contact inside a company
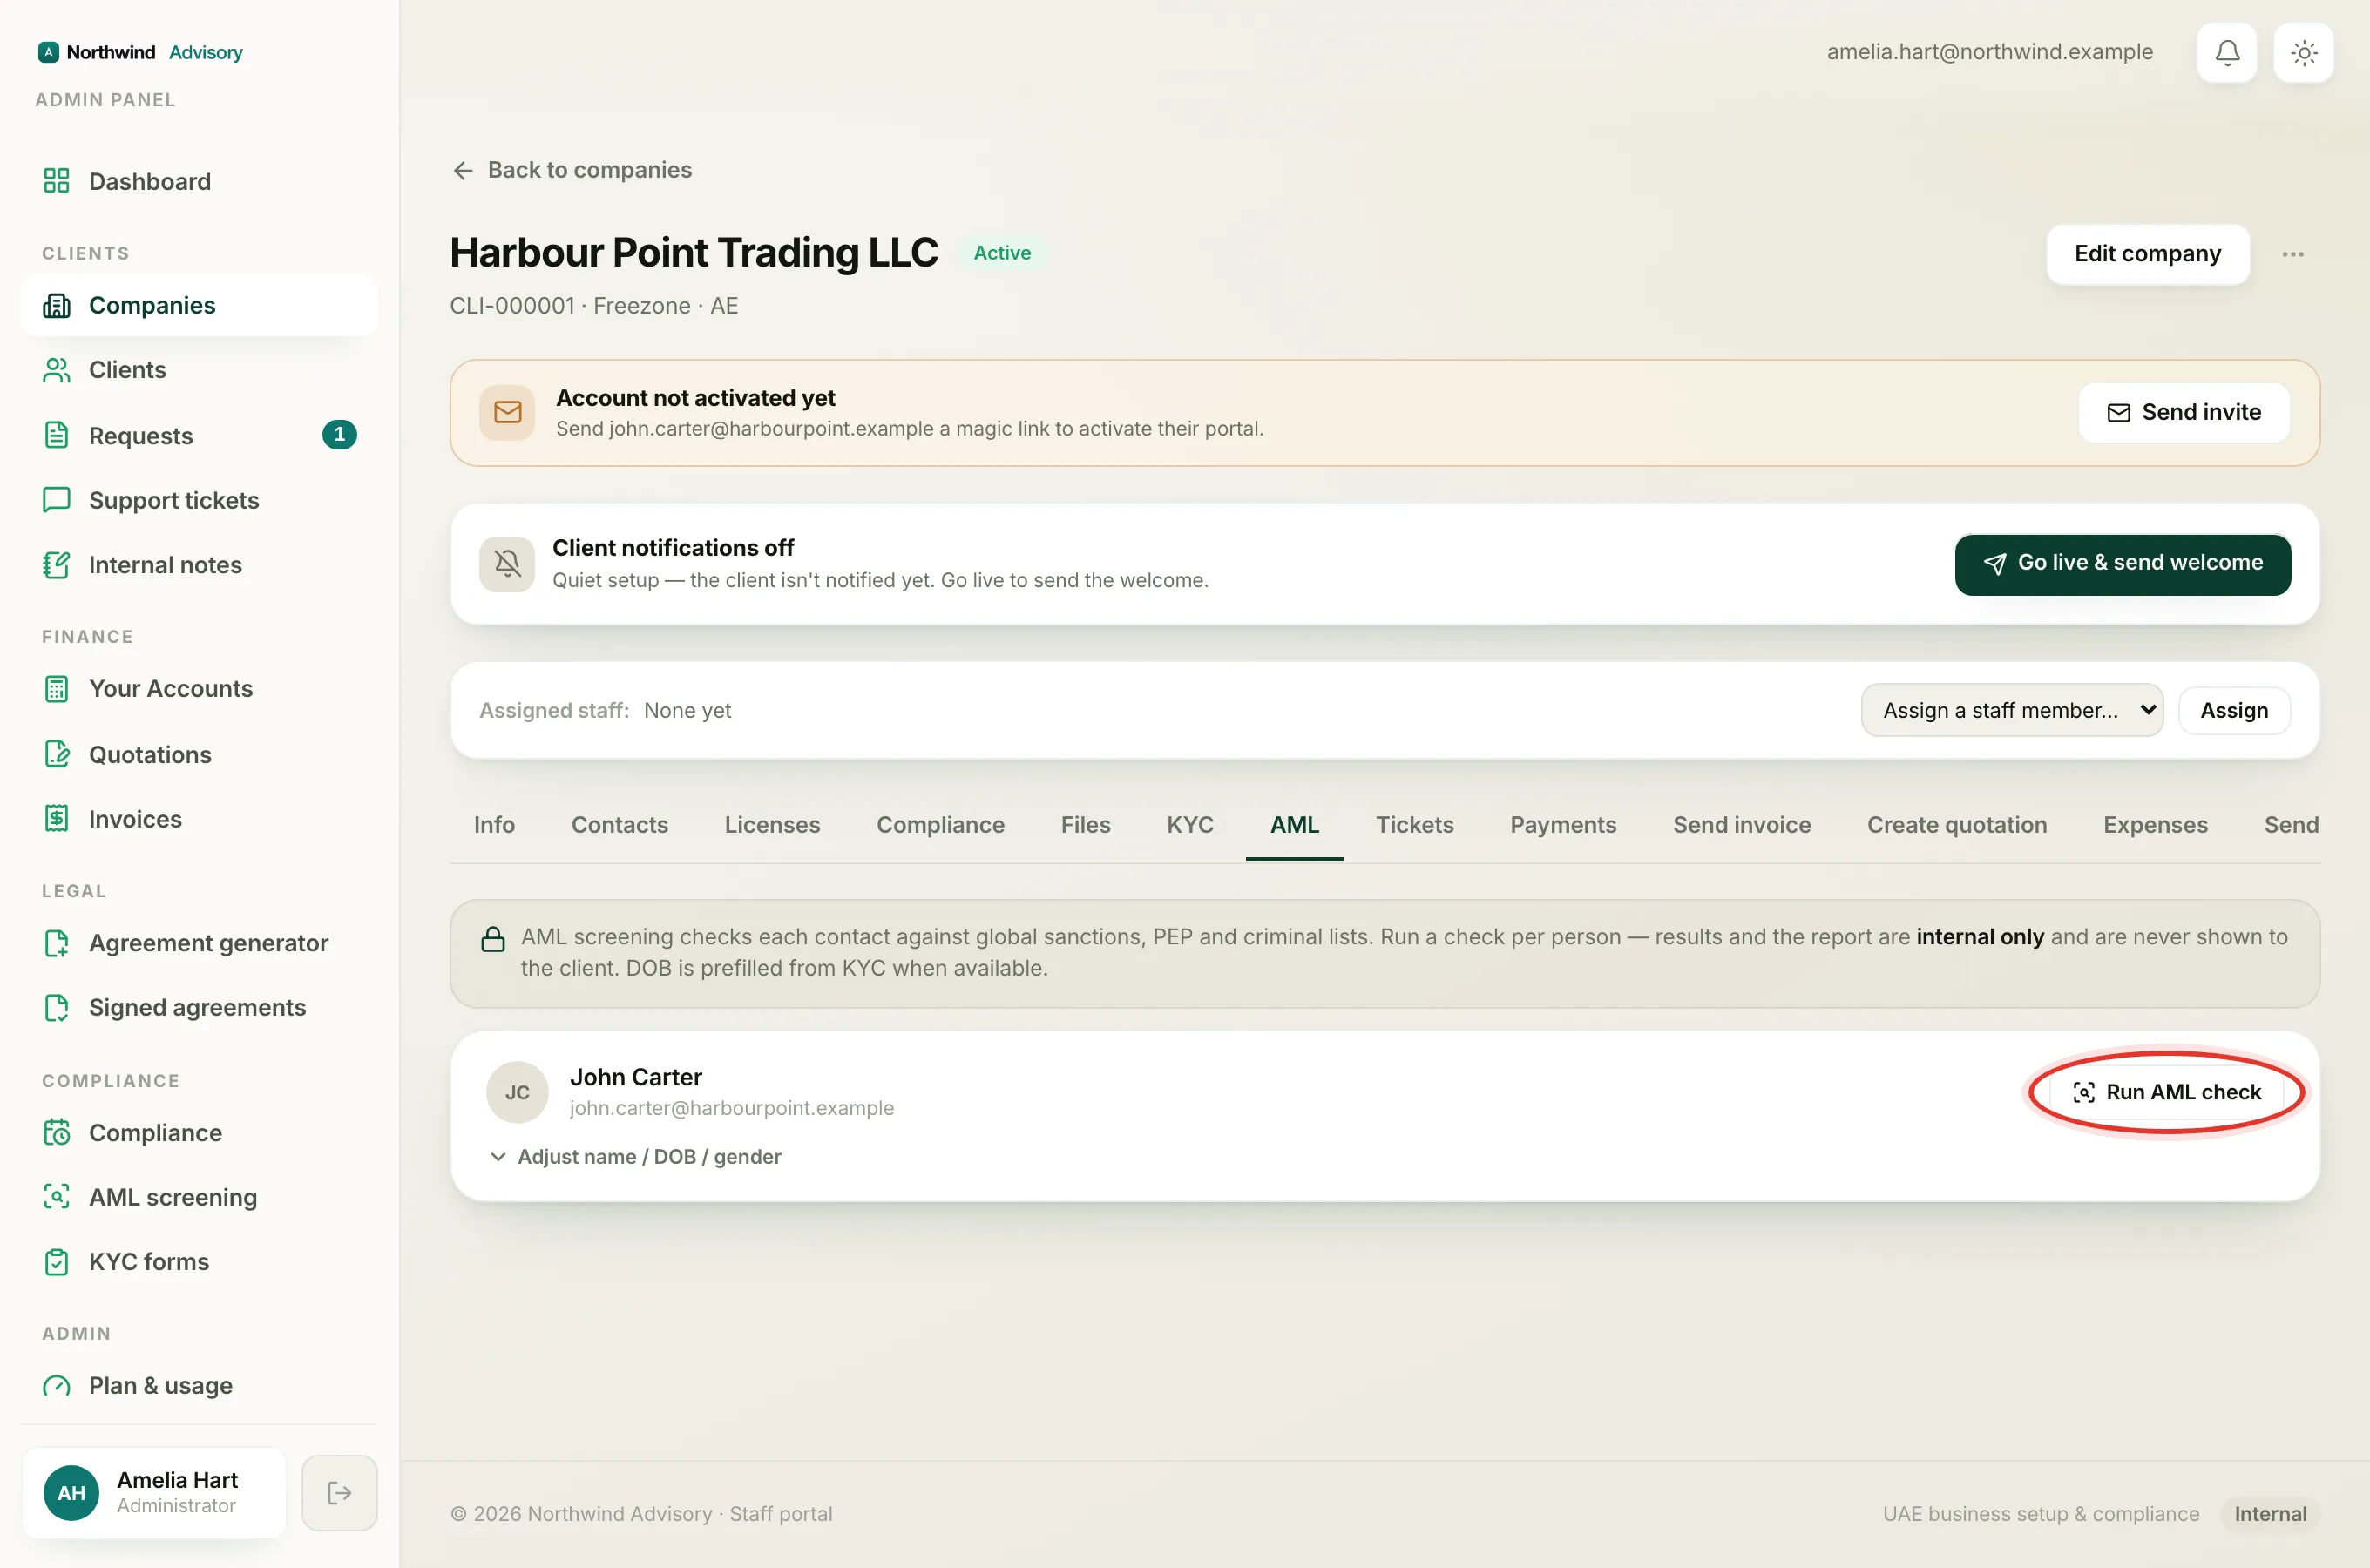
You can also run a check on the people saved against a company, without filling in the form above.
- Log in to your workspace.
- In the left menu, under Clients, click Companies, then open the company you want.
- Open the AML tab.
- Find the contact you want to check and click Run AML check next to their name. To screen someone again later, the same button reads Re-check.
Tip
If you first want to correct a name, date of birth or gender before the check runs, click Adjust name / DOB / gender under the contact and edit the fields, then run the check.
The screening register
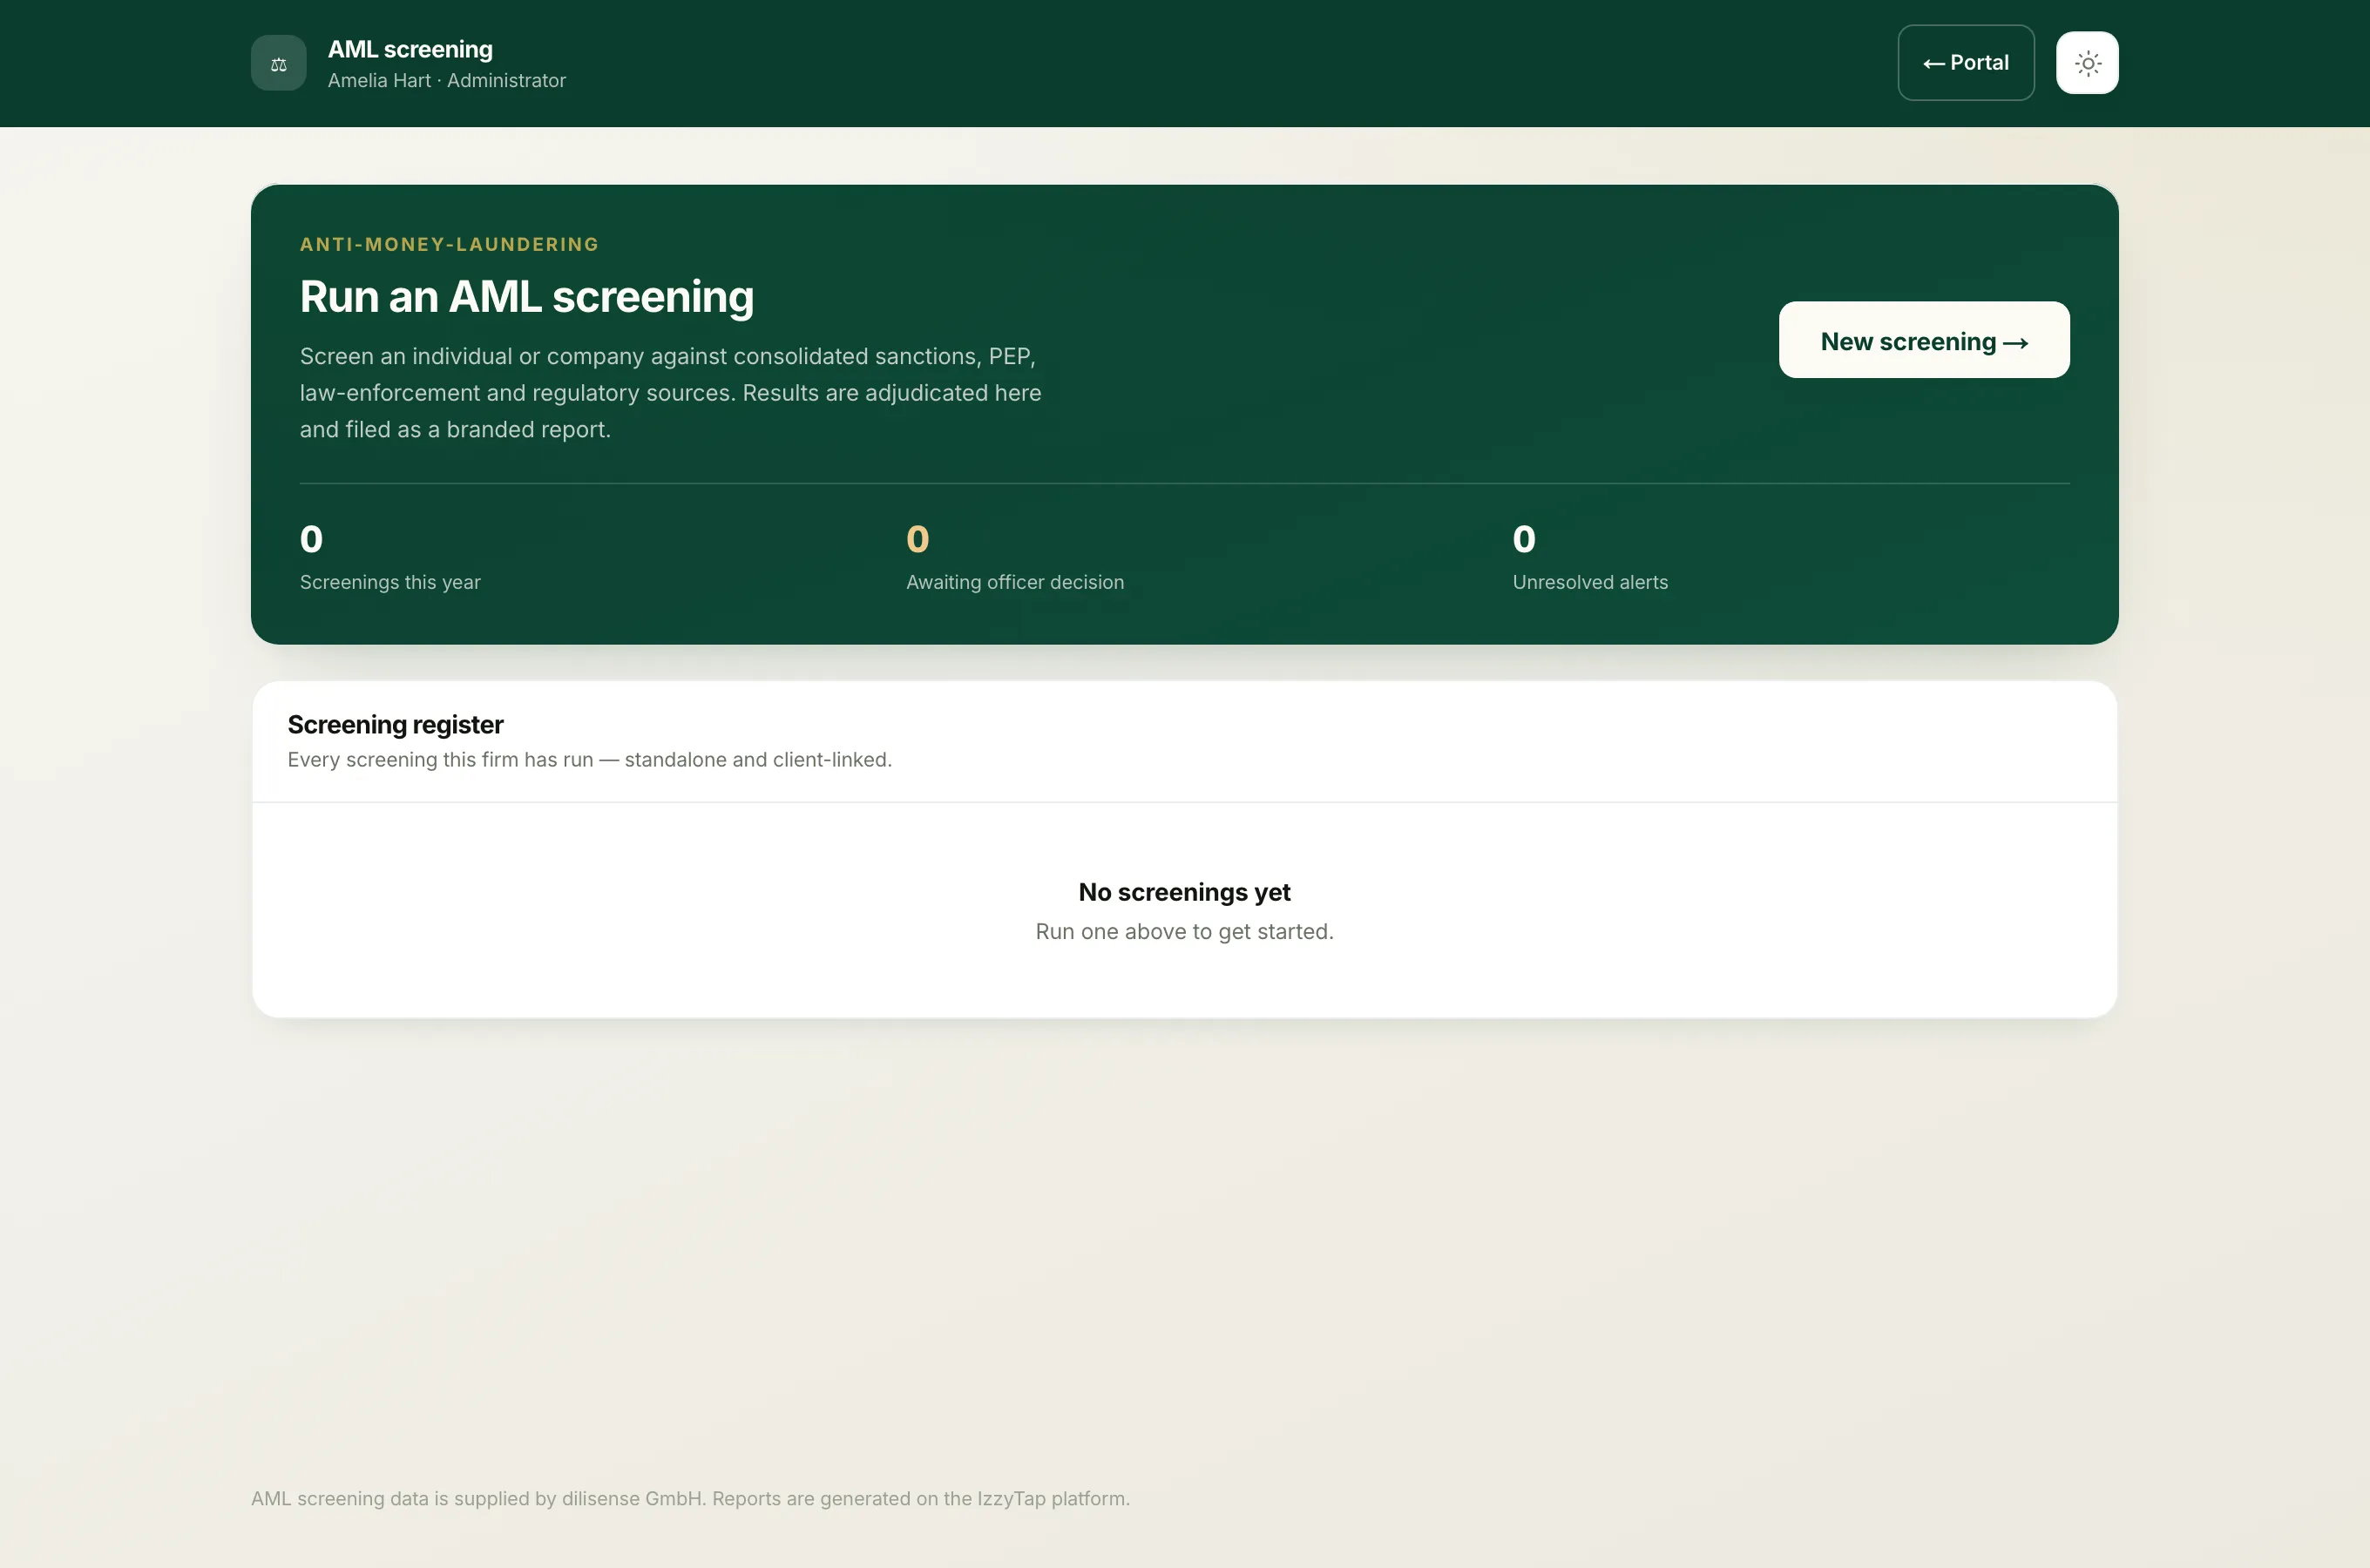
Every check your firm has ever run, standalone or linked to a client, is listed under the Screening register on the main AML screening page. Click any subject's name to reopen their report, or click Report to download the PDF.
Note
Running a screening needs the right permission. If a team member opens AML screening and only sees screenings Awaiting your decision, they are set up as a compliance officer, whose job is to approve checks rather than start them. See Staff roles and Add a team member.