An invoice is the bill you send a client for your work. You raise one from the Invoices page, whether the client is already saved in your list or brand new. This guide walks you through each step from the moment you log in.
Start a new invoice
- Log in to your workspace.
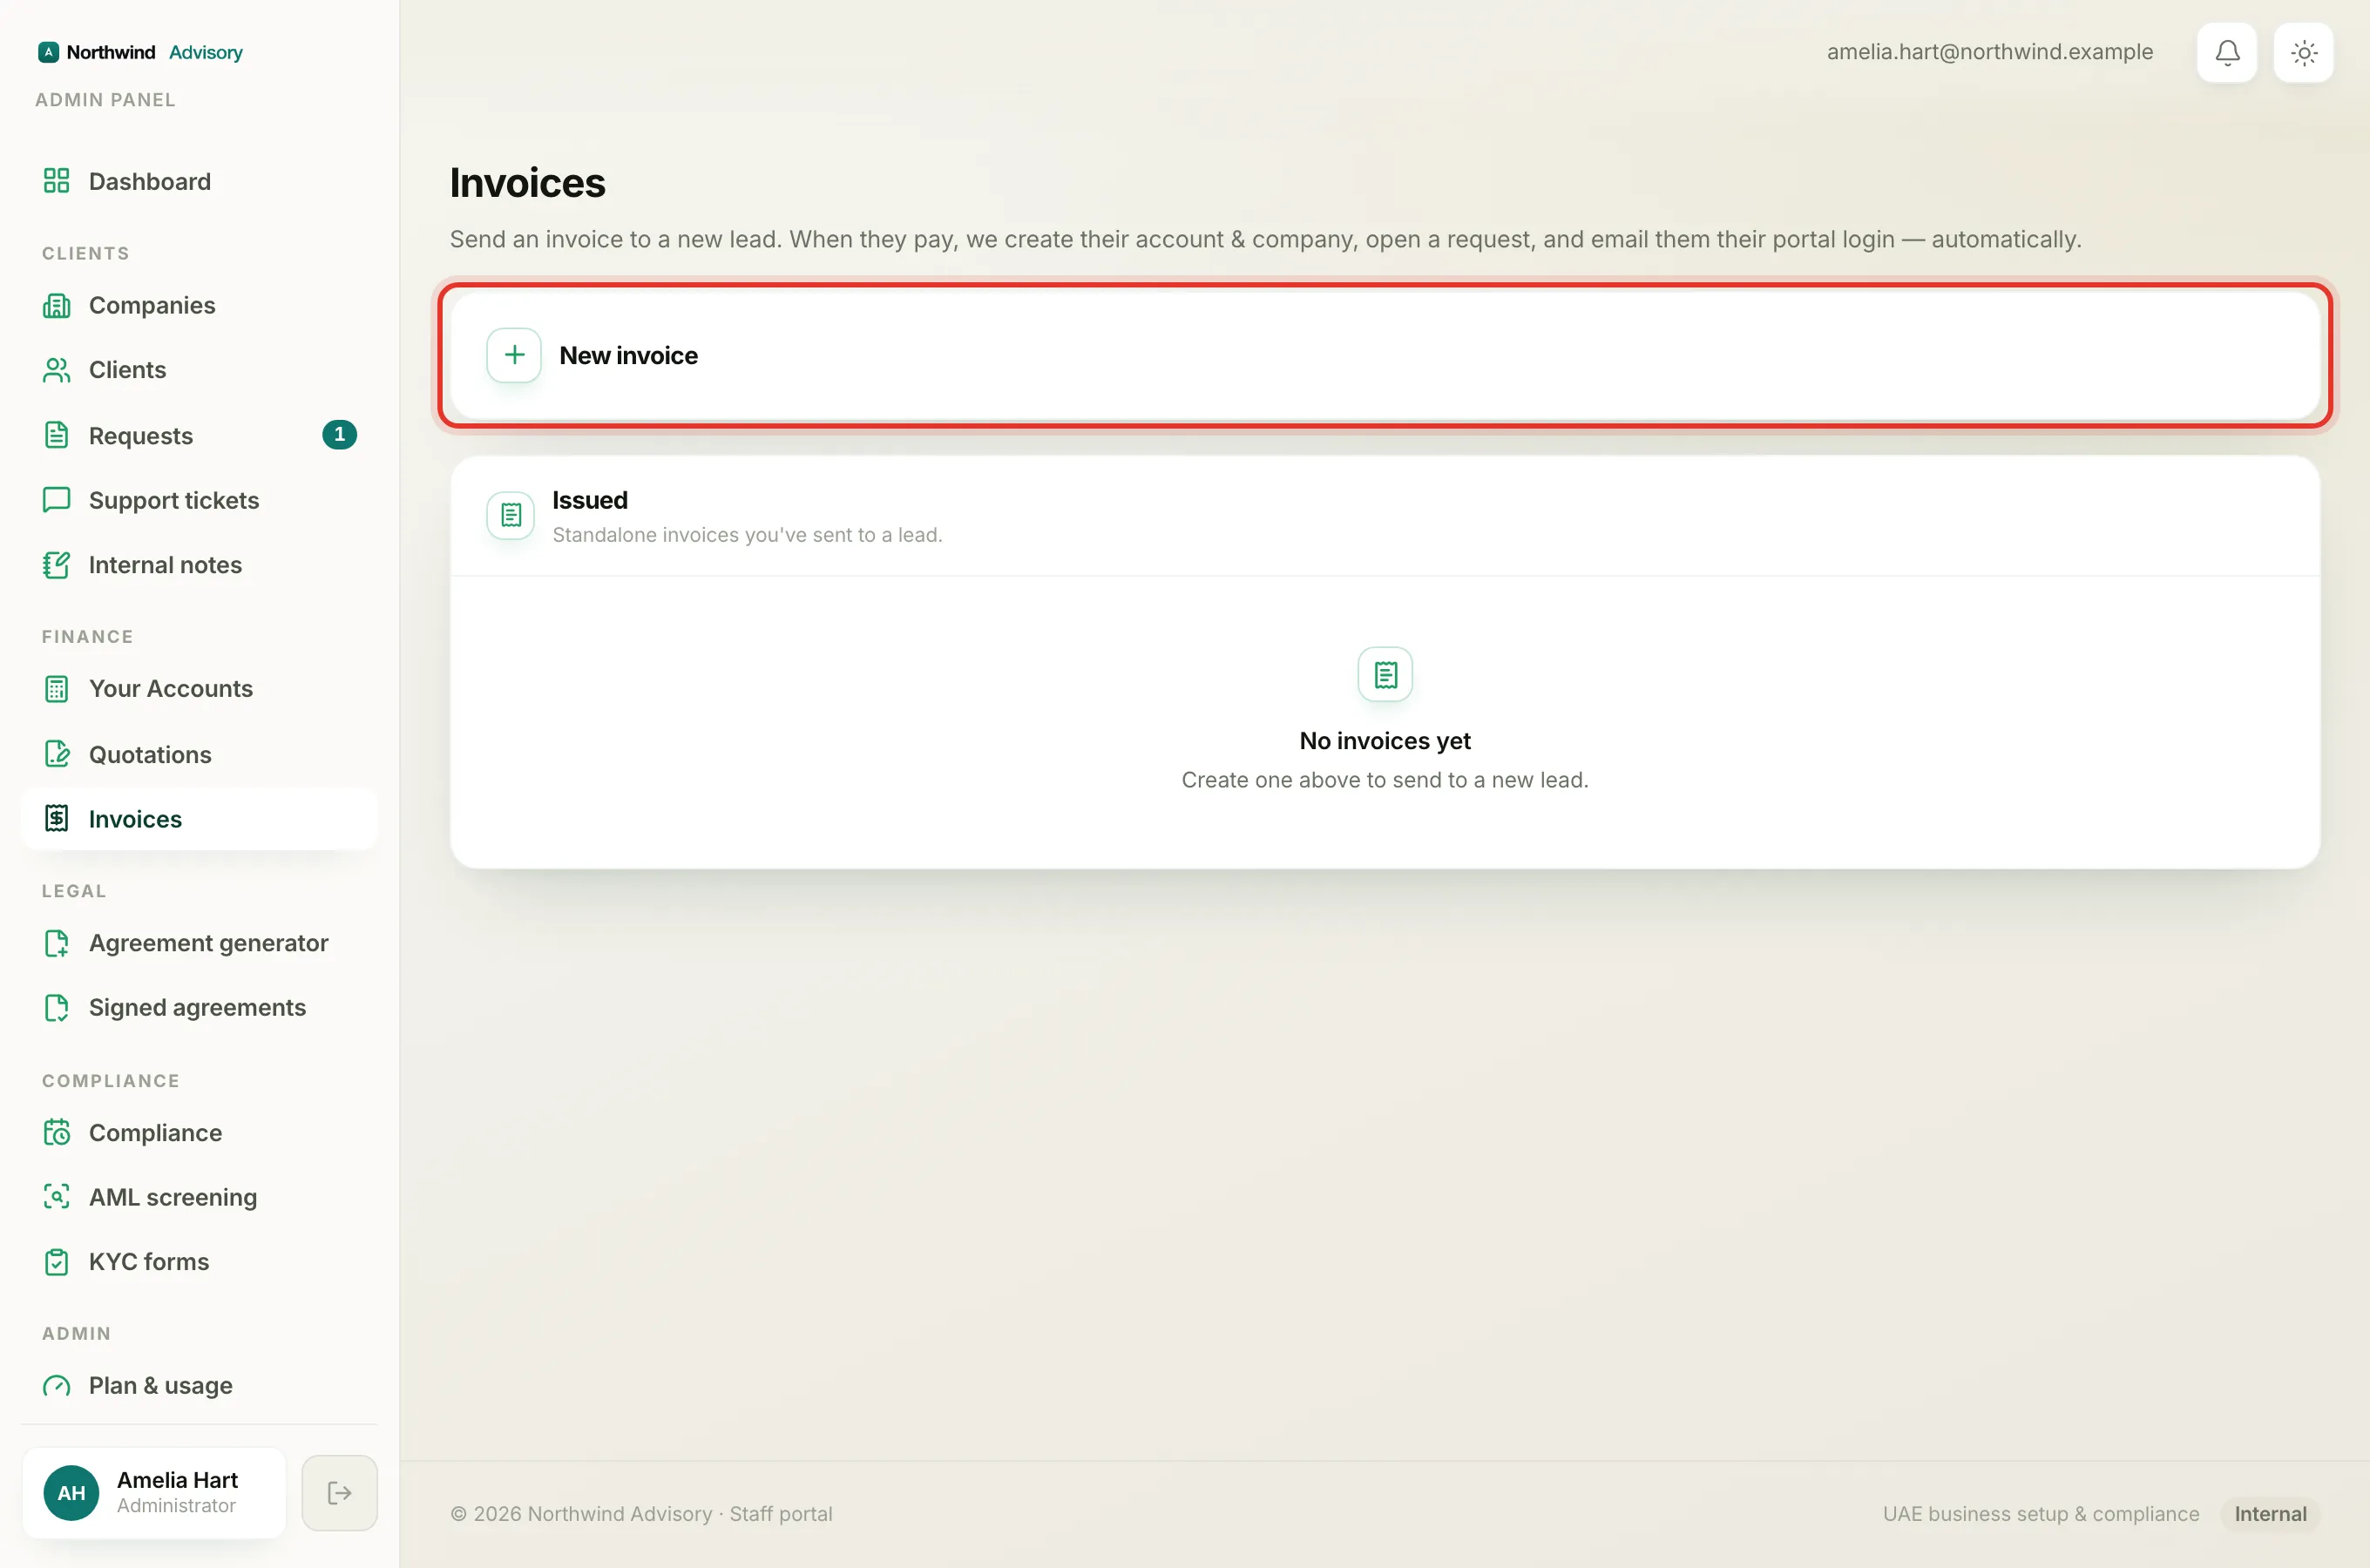
- In the left menu, under Finance, click Invoices.
- Click New invoice at the top of the page.
Choose who you are billing
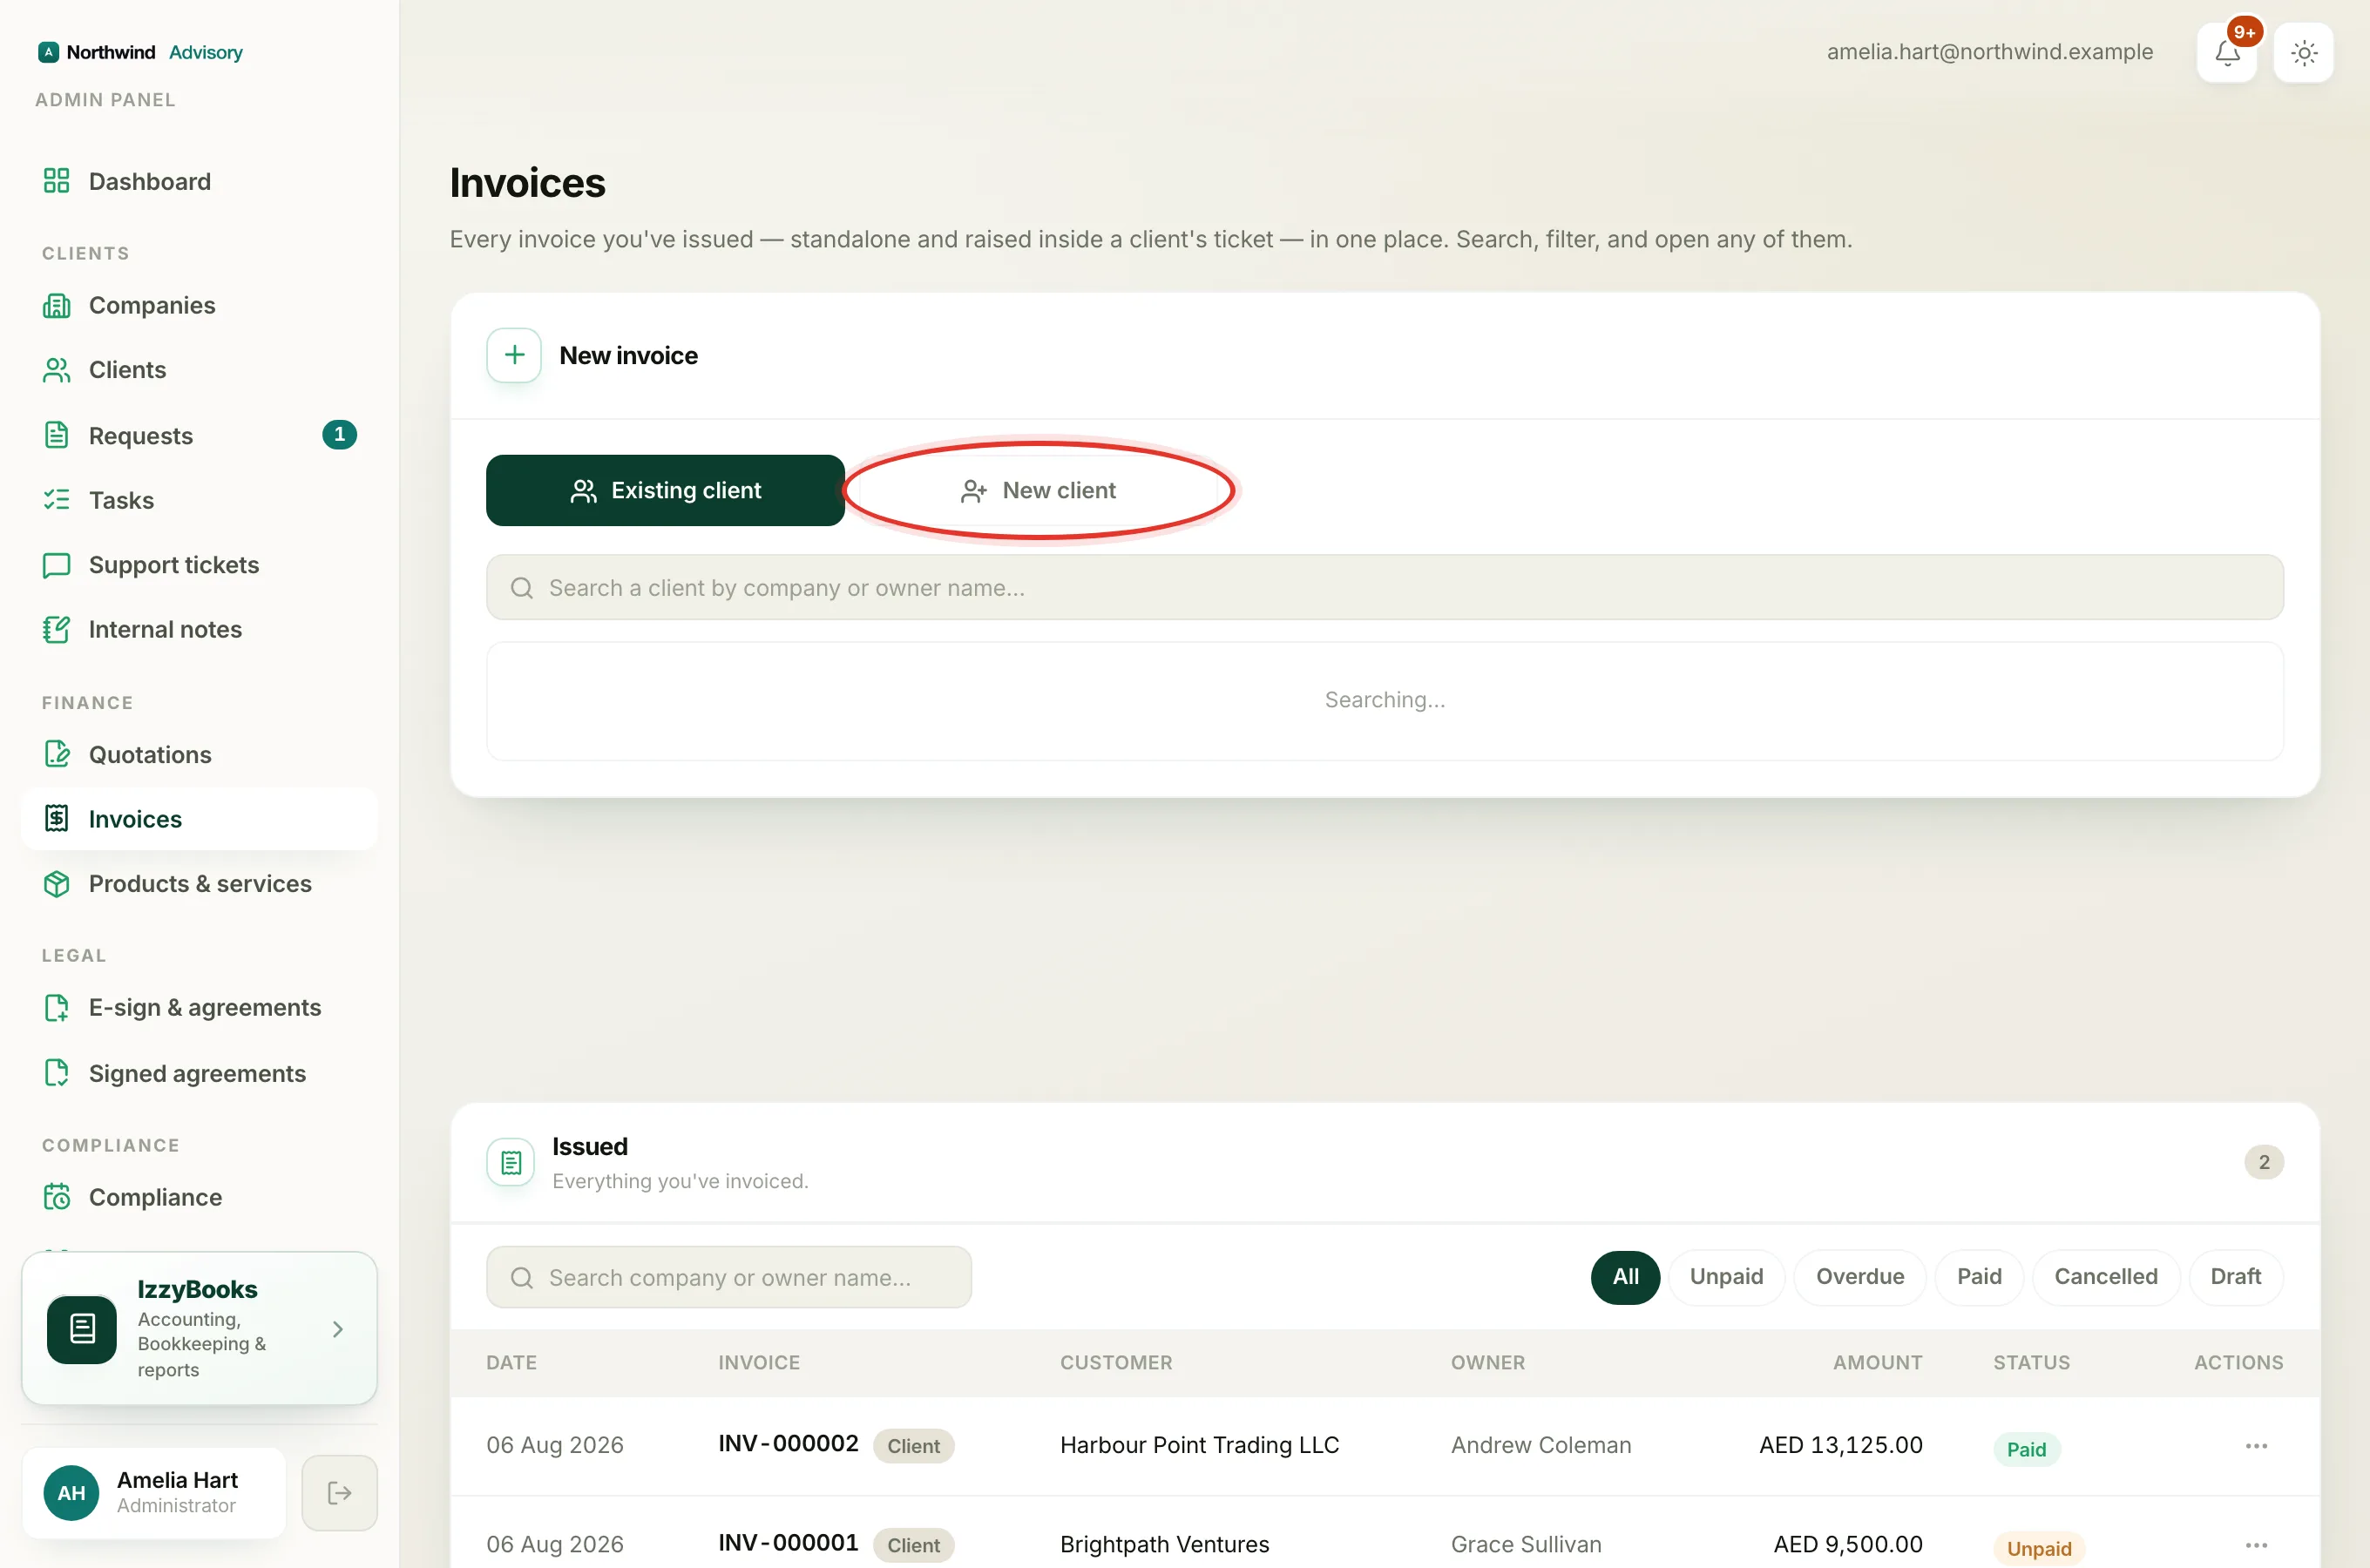
The next screen asks whether the client is one you already have or a new one.
- Pick one:
- Existing client. Click Existing client, then search by company or owner name and click the client. Their currency and details fill in for you.
- New client. Click New client, then type the company name and the owner's name and email. The app saves them as a company and contact so you can find them again, and sends their login when they pay.
Build the invoice
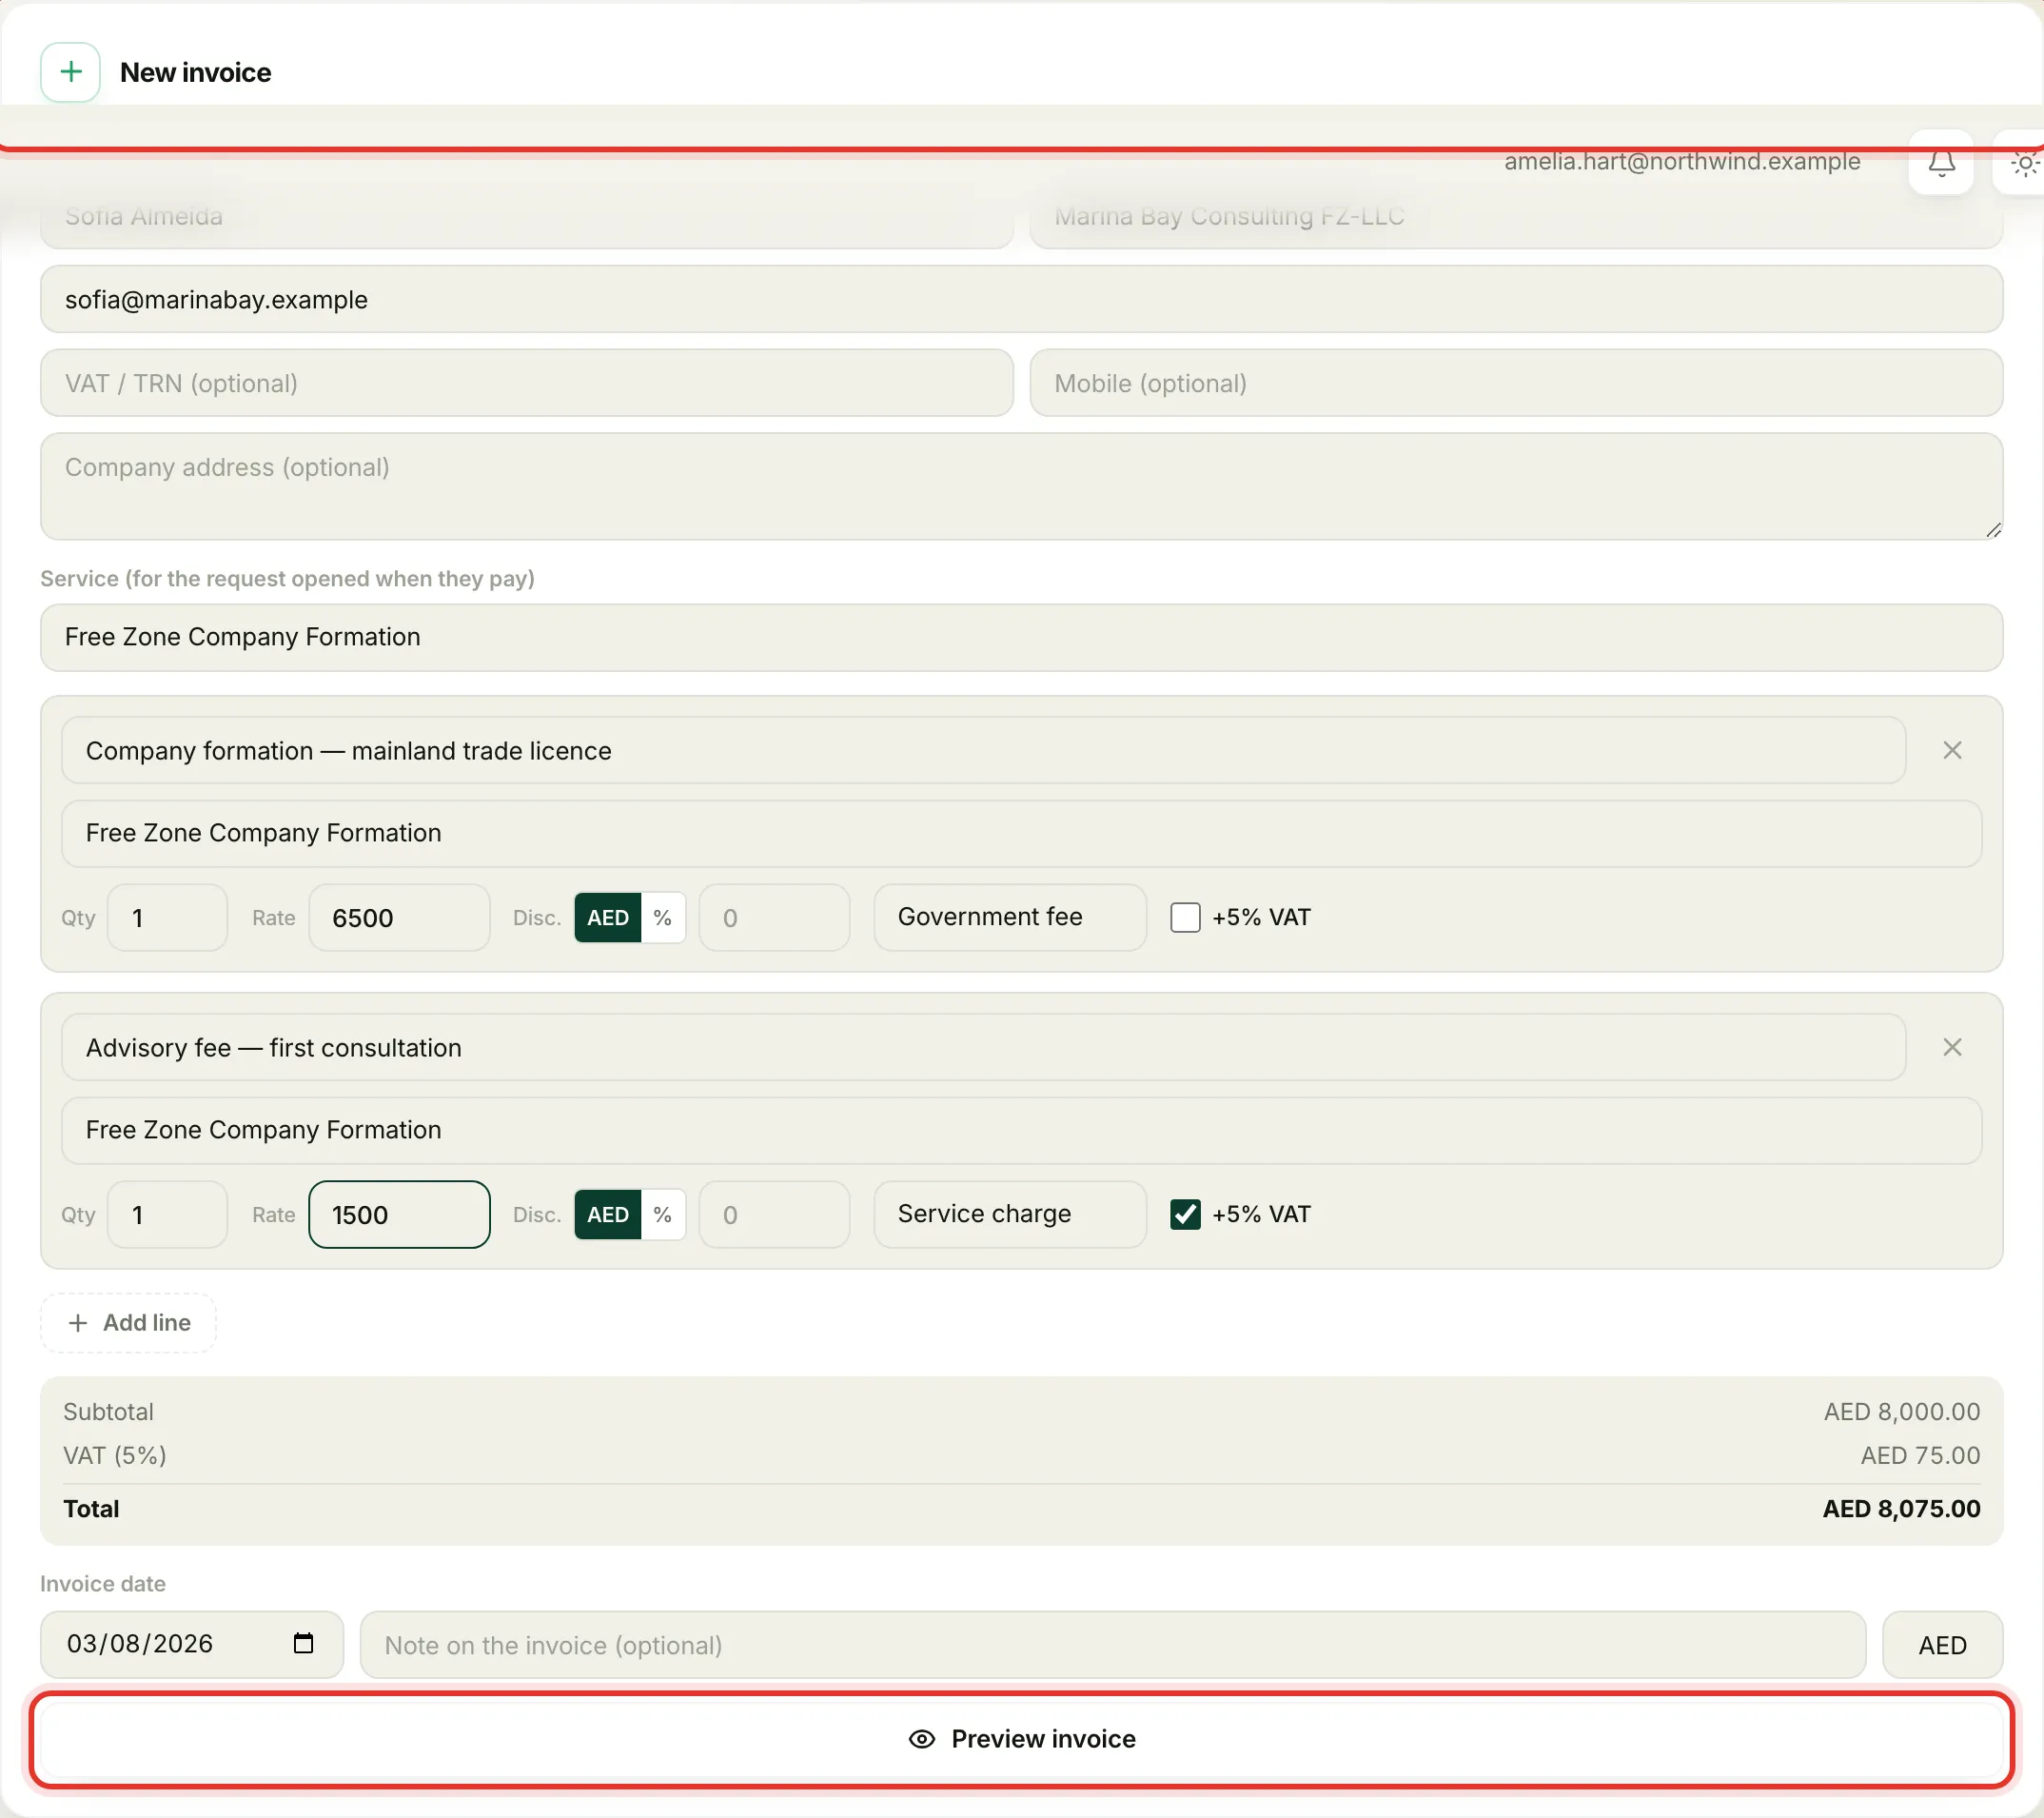
- If your firm offers set services, choose the Service this invoice is for.
- Add your lines. For each line:
- Type the Product or service name. If you saved it before, pick it from the list and its rate and description fill in. To keep a new one for next time, type it and choose to save it.
- Add a Description if you want more detail.
- Set the Qty and the Rate.
- Choose the type: Government fee, Service charge, or Other.
- Set the tax on the line if it applies.
- Click Add line to bill for more than one thing.
- Watch the Subtotal, tax, and Total at the bottom. They update as you type, so you always see the final figure.
Tip
You can change the order of your lines. Drag the handle on the left of a line, or use the up and down arrows next to it. The order you set is the order that prints on the invoice.
Add a matter or reference (optional)
Near the top of the builder you will see two optional fields. They are useful when you want the invoice to show what the work was about.
- Matter / reference. A short reference for the work, such as a case name or your own job number. It prints in a small band near the top of the invoice.
- Handled by. The name of the team member who looked after the client. It prints next to the matter.
Leave both blank and the invoice prints exactly as before, with no extra band.
Set the date and the due date
- The Invoice date is set to today. Click it to change it if you need a past date. The invoice number always stays in order by when you created it.
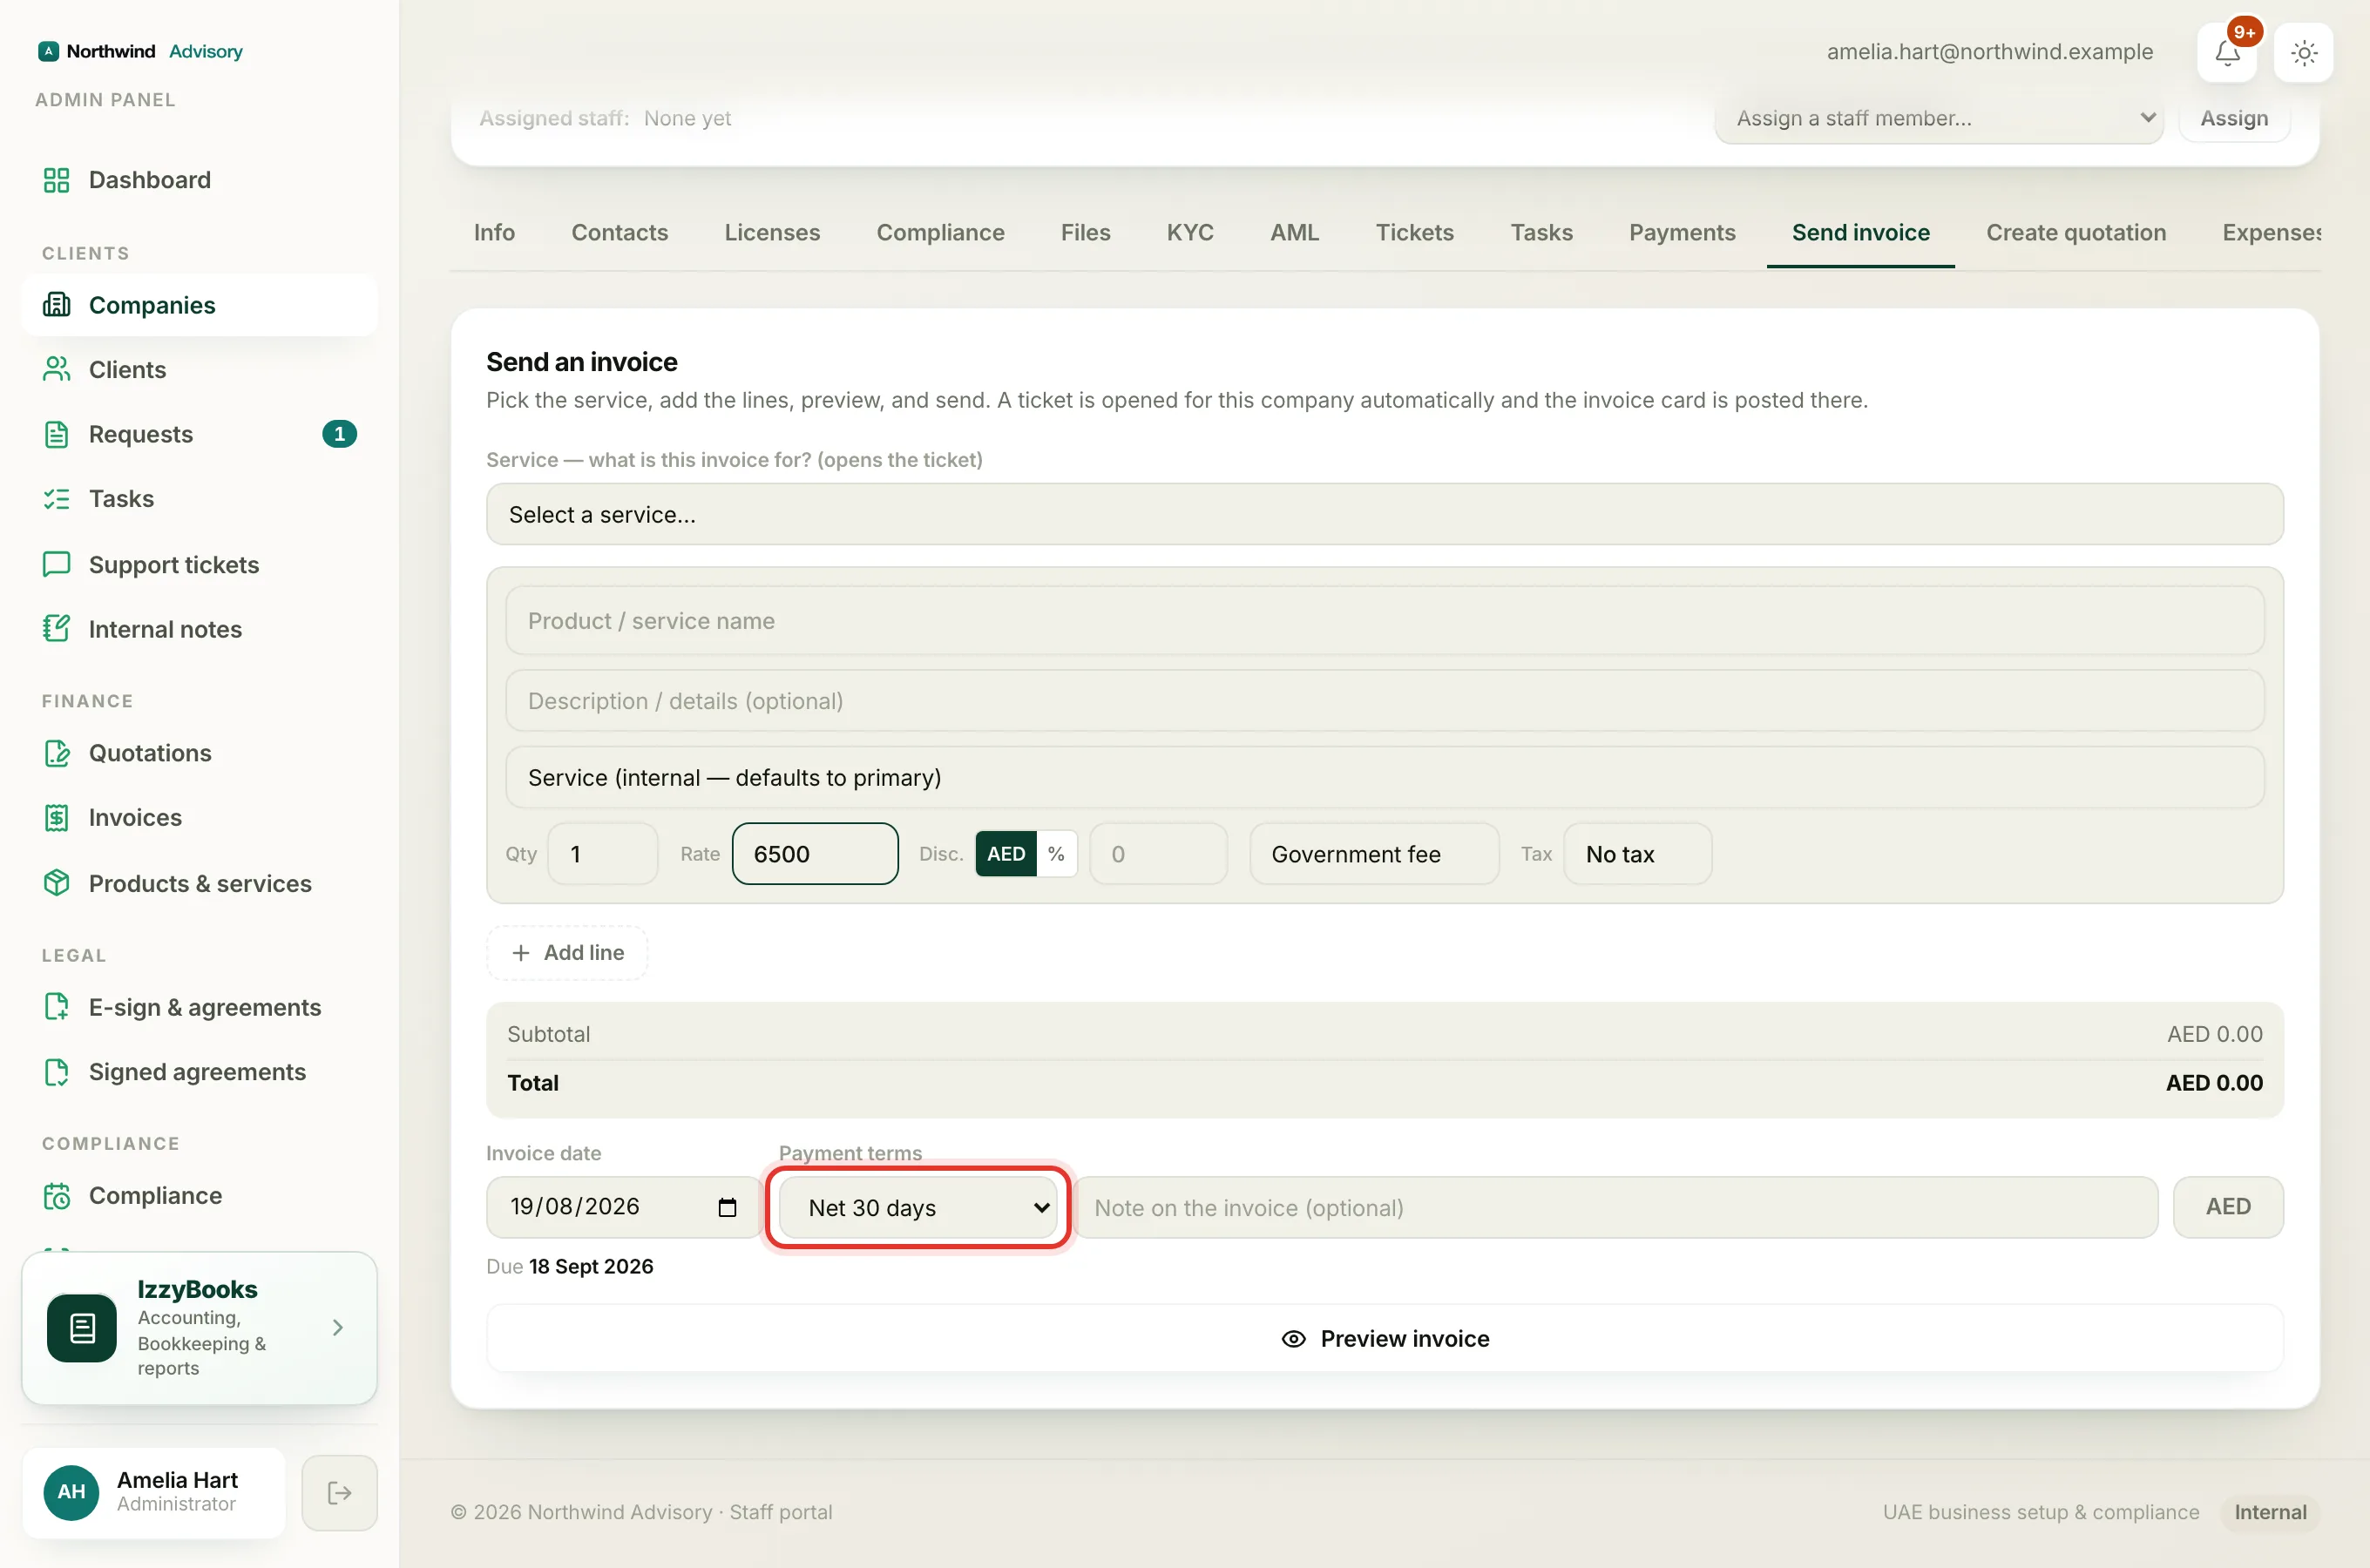
- Choose Payment terms. This sets the due date for you. Pick from Due on receipt, Net 7, Net 14, Net 30, Net 45, Net 60, Net 90, End of month, or Custom date. The due date shows just under the field as you pick.
Currency
- For a saved client, the currency is locked to the one on their record, so every invoice to them stays in the same currency. For a new client, pick the currency.
- If the invoice is in a currency other than your firm's own, an Exchange rate field appears. Enter how much one unit of the client's currency is worth in your currency, for example 1 USD to 3.67 AED. This is what records the invoice at the right value in your books.
Important
Enter the exchange rate for a foreign invoice before you send it. It is how the amount is booked in your own currency. If you skip it, the invoice cannot be raised.
Preview and send
- When the invoice is ready, click Preview invoice. This builds the exact document the client will receive, with your firm's name and logo on it. Nothing is sent yet. Use Download PDF or Open in new tab to see it full size.
- When it looks right, click Send invoice. The button shows the total, so you get one last check of the figure before you send.
Note
What happens after you send. The client gets the invoice by email with a link to pay. For a new client, the moment they pay the app creates their account and their portal login and emails it to them. You will see the invoice in the list on the Invoices page straight away.
Tip
You can also raise an invoice from a company you already have open. Go to Companies, open the client, and use its Send invoice tab. It uses the same builder and lands the invoice on that company's record.
When the client pays
When the money reaches you, mark the invoice as paid so your books and bank balance stay correct. See How to record a payment for the steps.