Your client gets their own private portal. It carries your firm's name, logo and colour, not IzzyTap's. Before they can log in, you send them an invite. The invite is a secure magic link that lets them activate their portal without you ever handling a password.
This guide shows you how to send that invite.
Before you start
The company must already exist in IzzyTap, and it must have an owner email on file. If you have not added the company yet, do that first. See How to add a company.
The invite is sent to the owner email. If that field is empty, the invite has nowhere to go, so add it first.
Step 1: Open the company
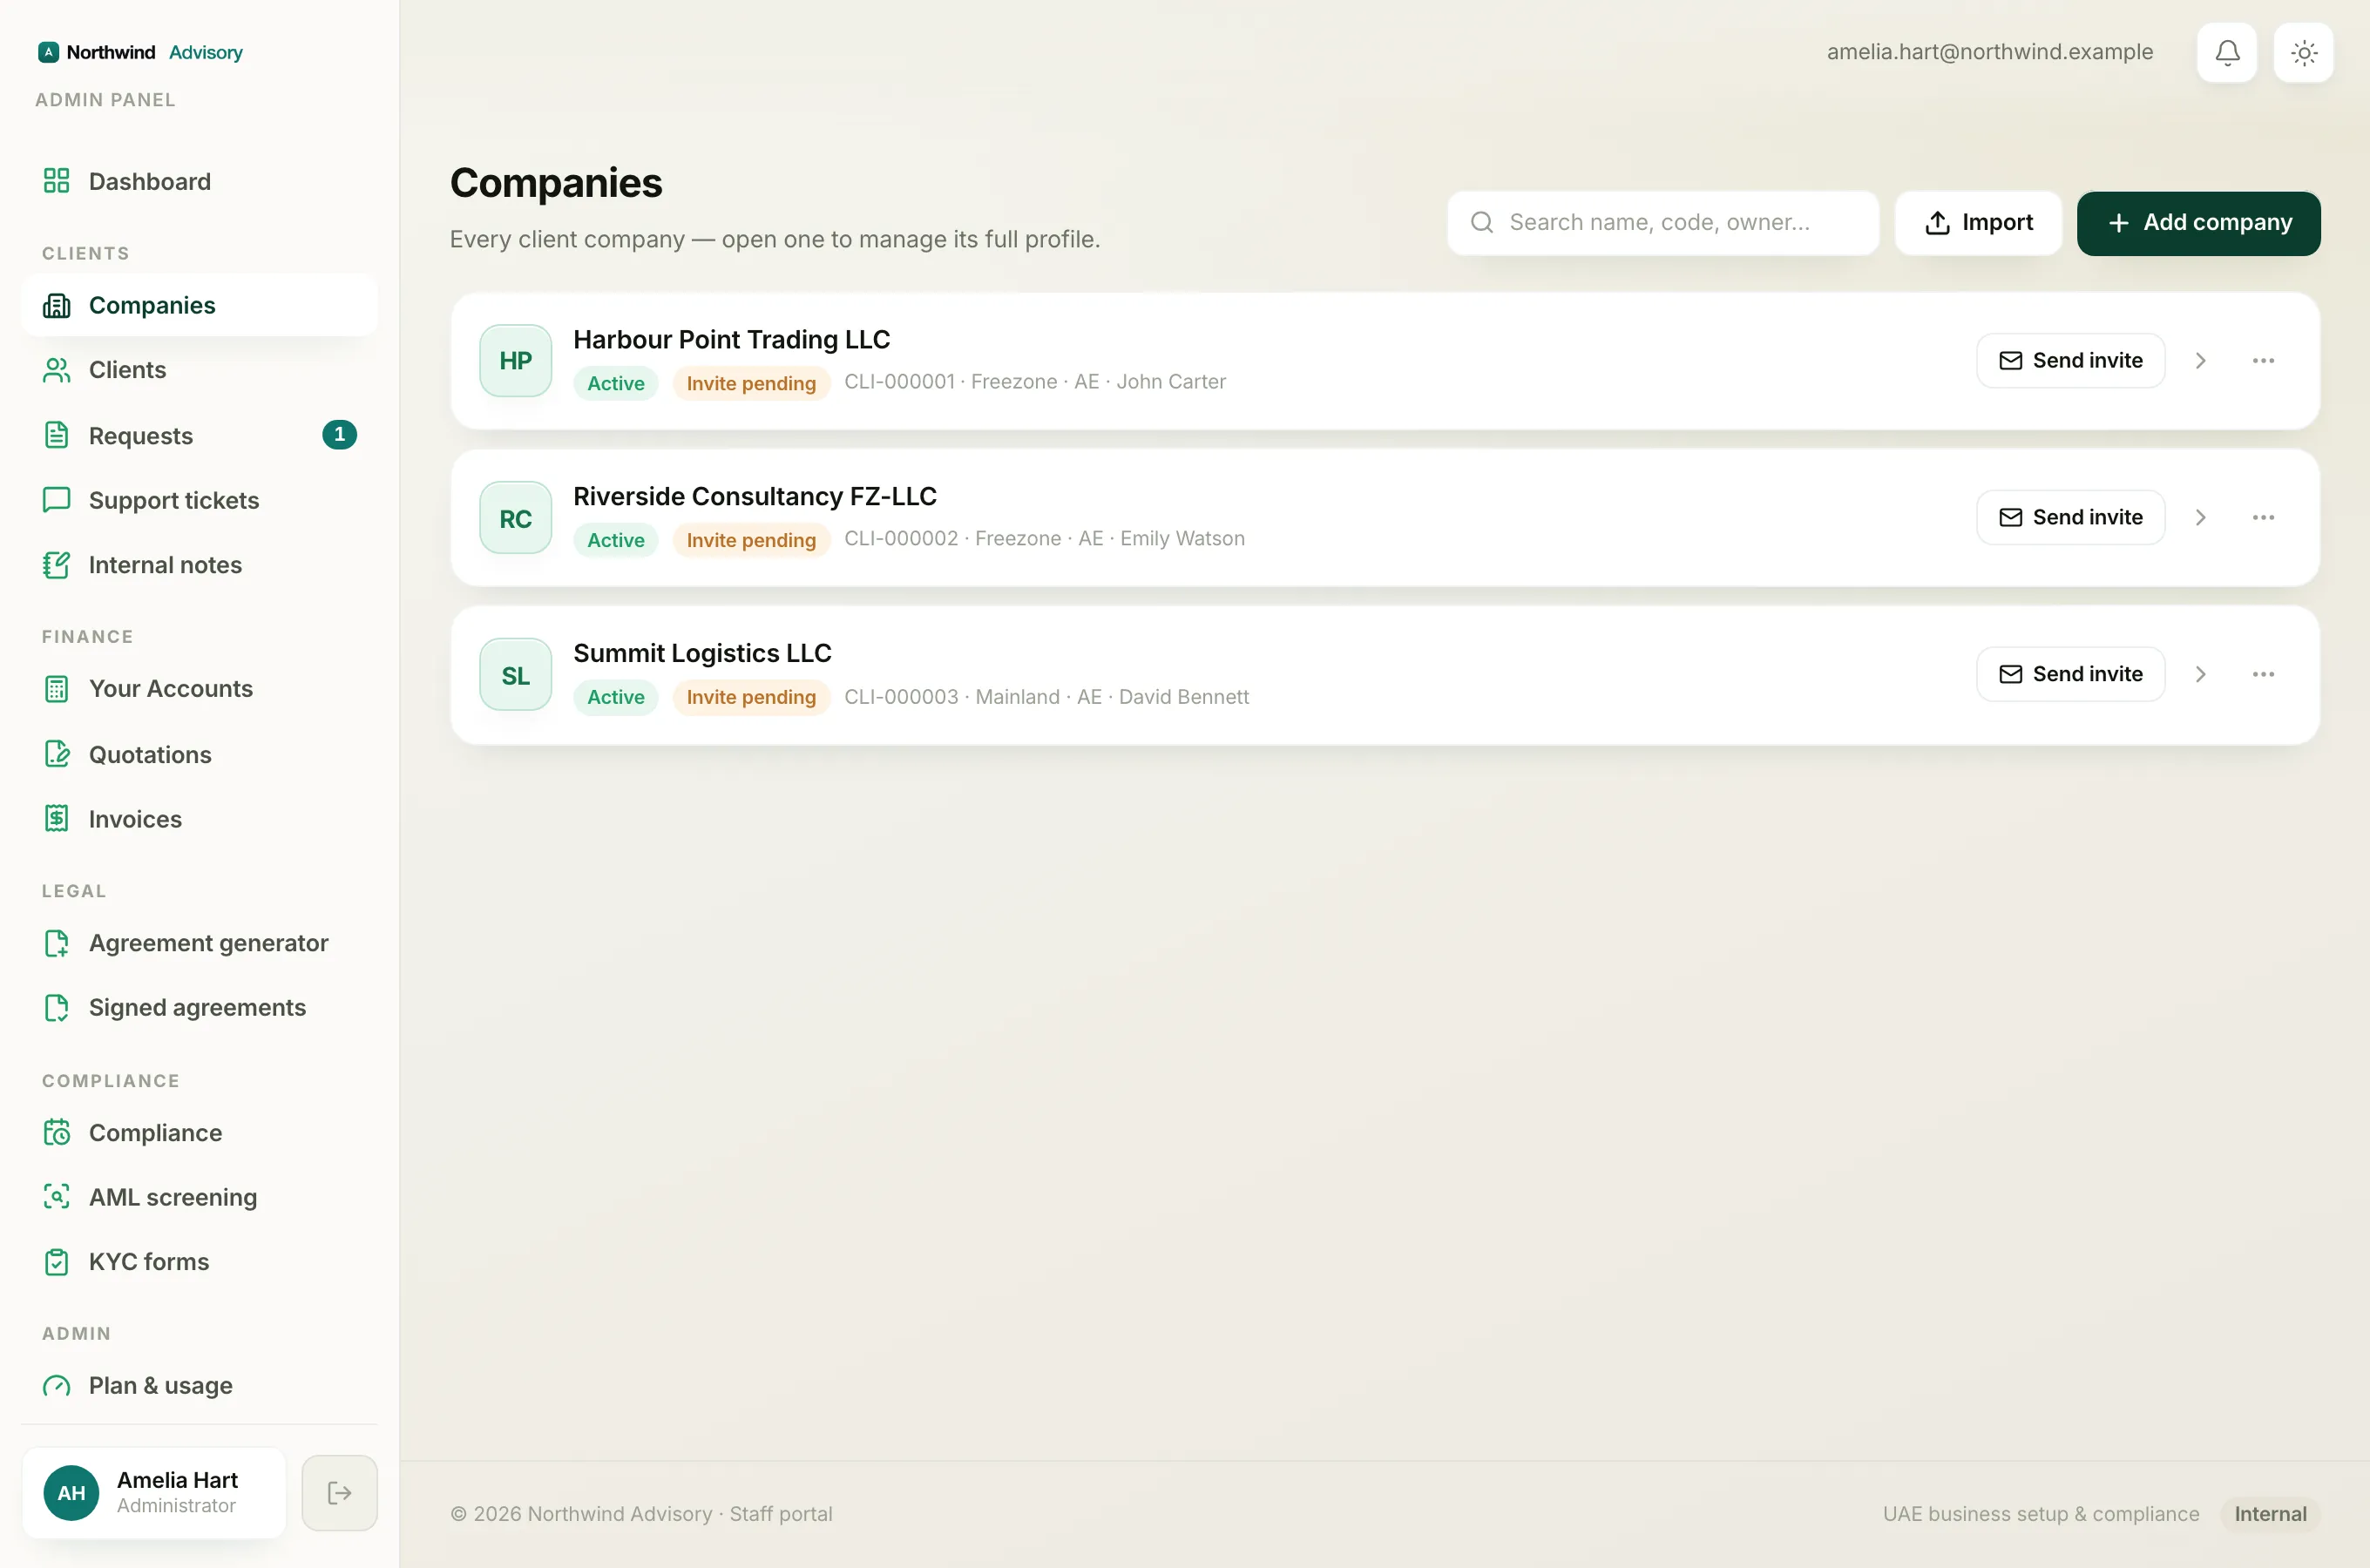
- Log in to your workspace.
- In the left menu, under Clients, click Companies.
- Find the company in the list and click its name to open it.
Step 2: Check the owner email is set
When you open a company whose client has not activated their portal yet, you see an amber panel near the top that says Account not activated yet.
- If it says Send [email] a magic link to activate their portal, the owner email is set and you can move to the next step.
- If it says Add an owner email to send an activation invite, you need to add the email first:
- Click Edit company at the top right.
- Scroll to the Owner / primary contact section.
- Type the client's address into the Owner email field.
- Save your changes. See How to edit company details if you need help.
Important
Get the email right before you send the invite. Once the client activates, that same email becomes their sign-in email, so a typo means they cannot log in.
Step 3: Send the invite
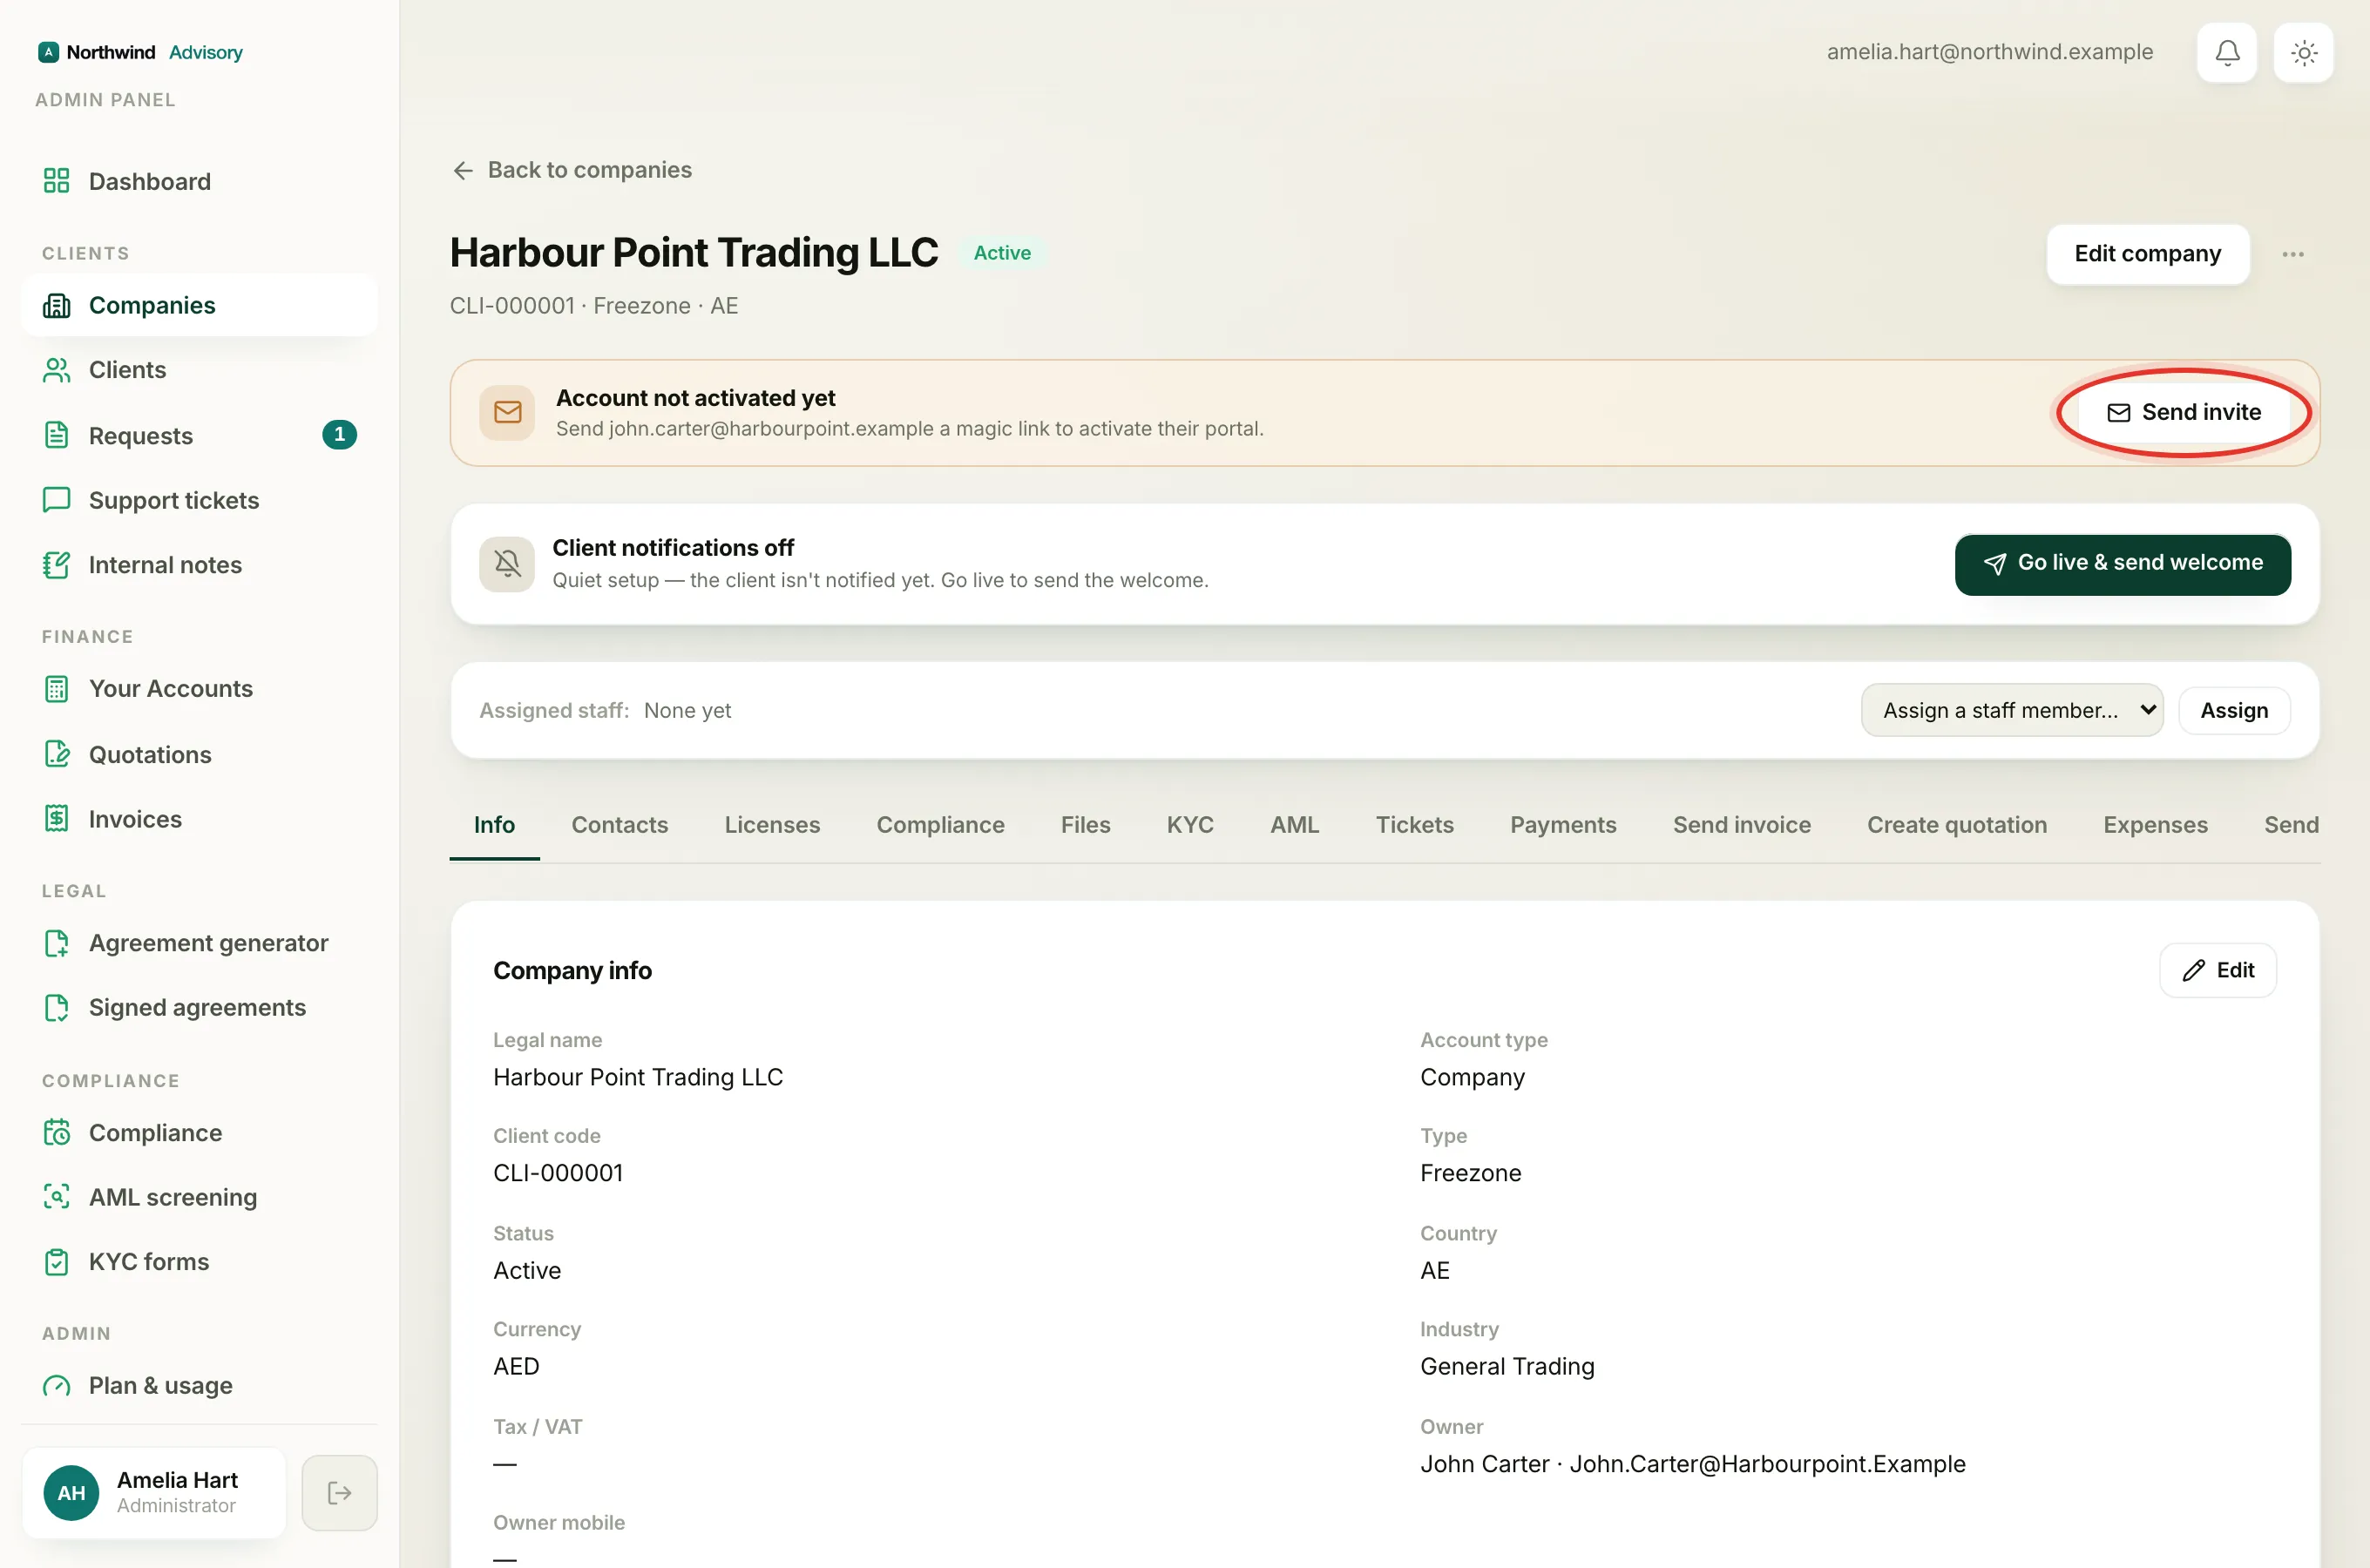
- Back on the company page, look at the amber Account not activated yet panel.
- Click the Send invite button on the right of that panel.
The button shows Sending…, then Invite sent with a tick. Your client now has an email with a secure link. When they click it, they set their own password and land in their portal.
Resending the invite
If the client says the email never arrived, or the link expired, you can send it again.
- Open the company (left menu, Clients, then Companies, then click the company).
- On the amber panel, the button now reads Resend invite.
- Click Resend invite to send a fresh link.
Turning on client notifications
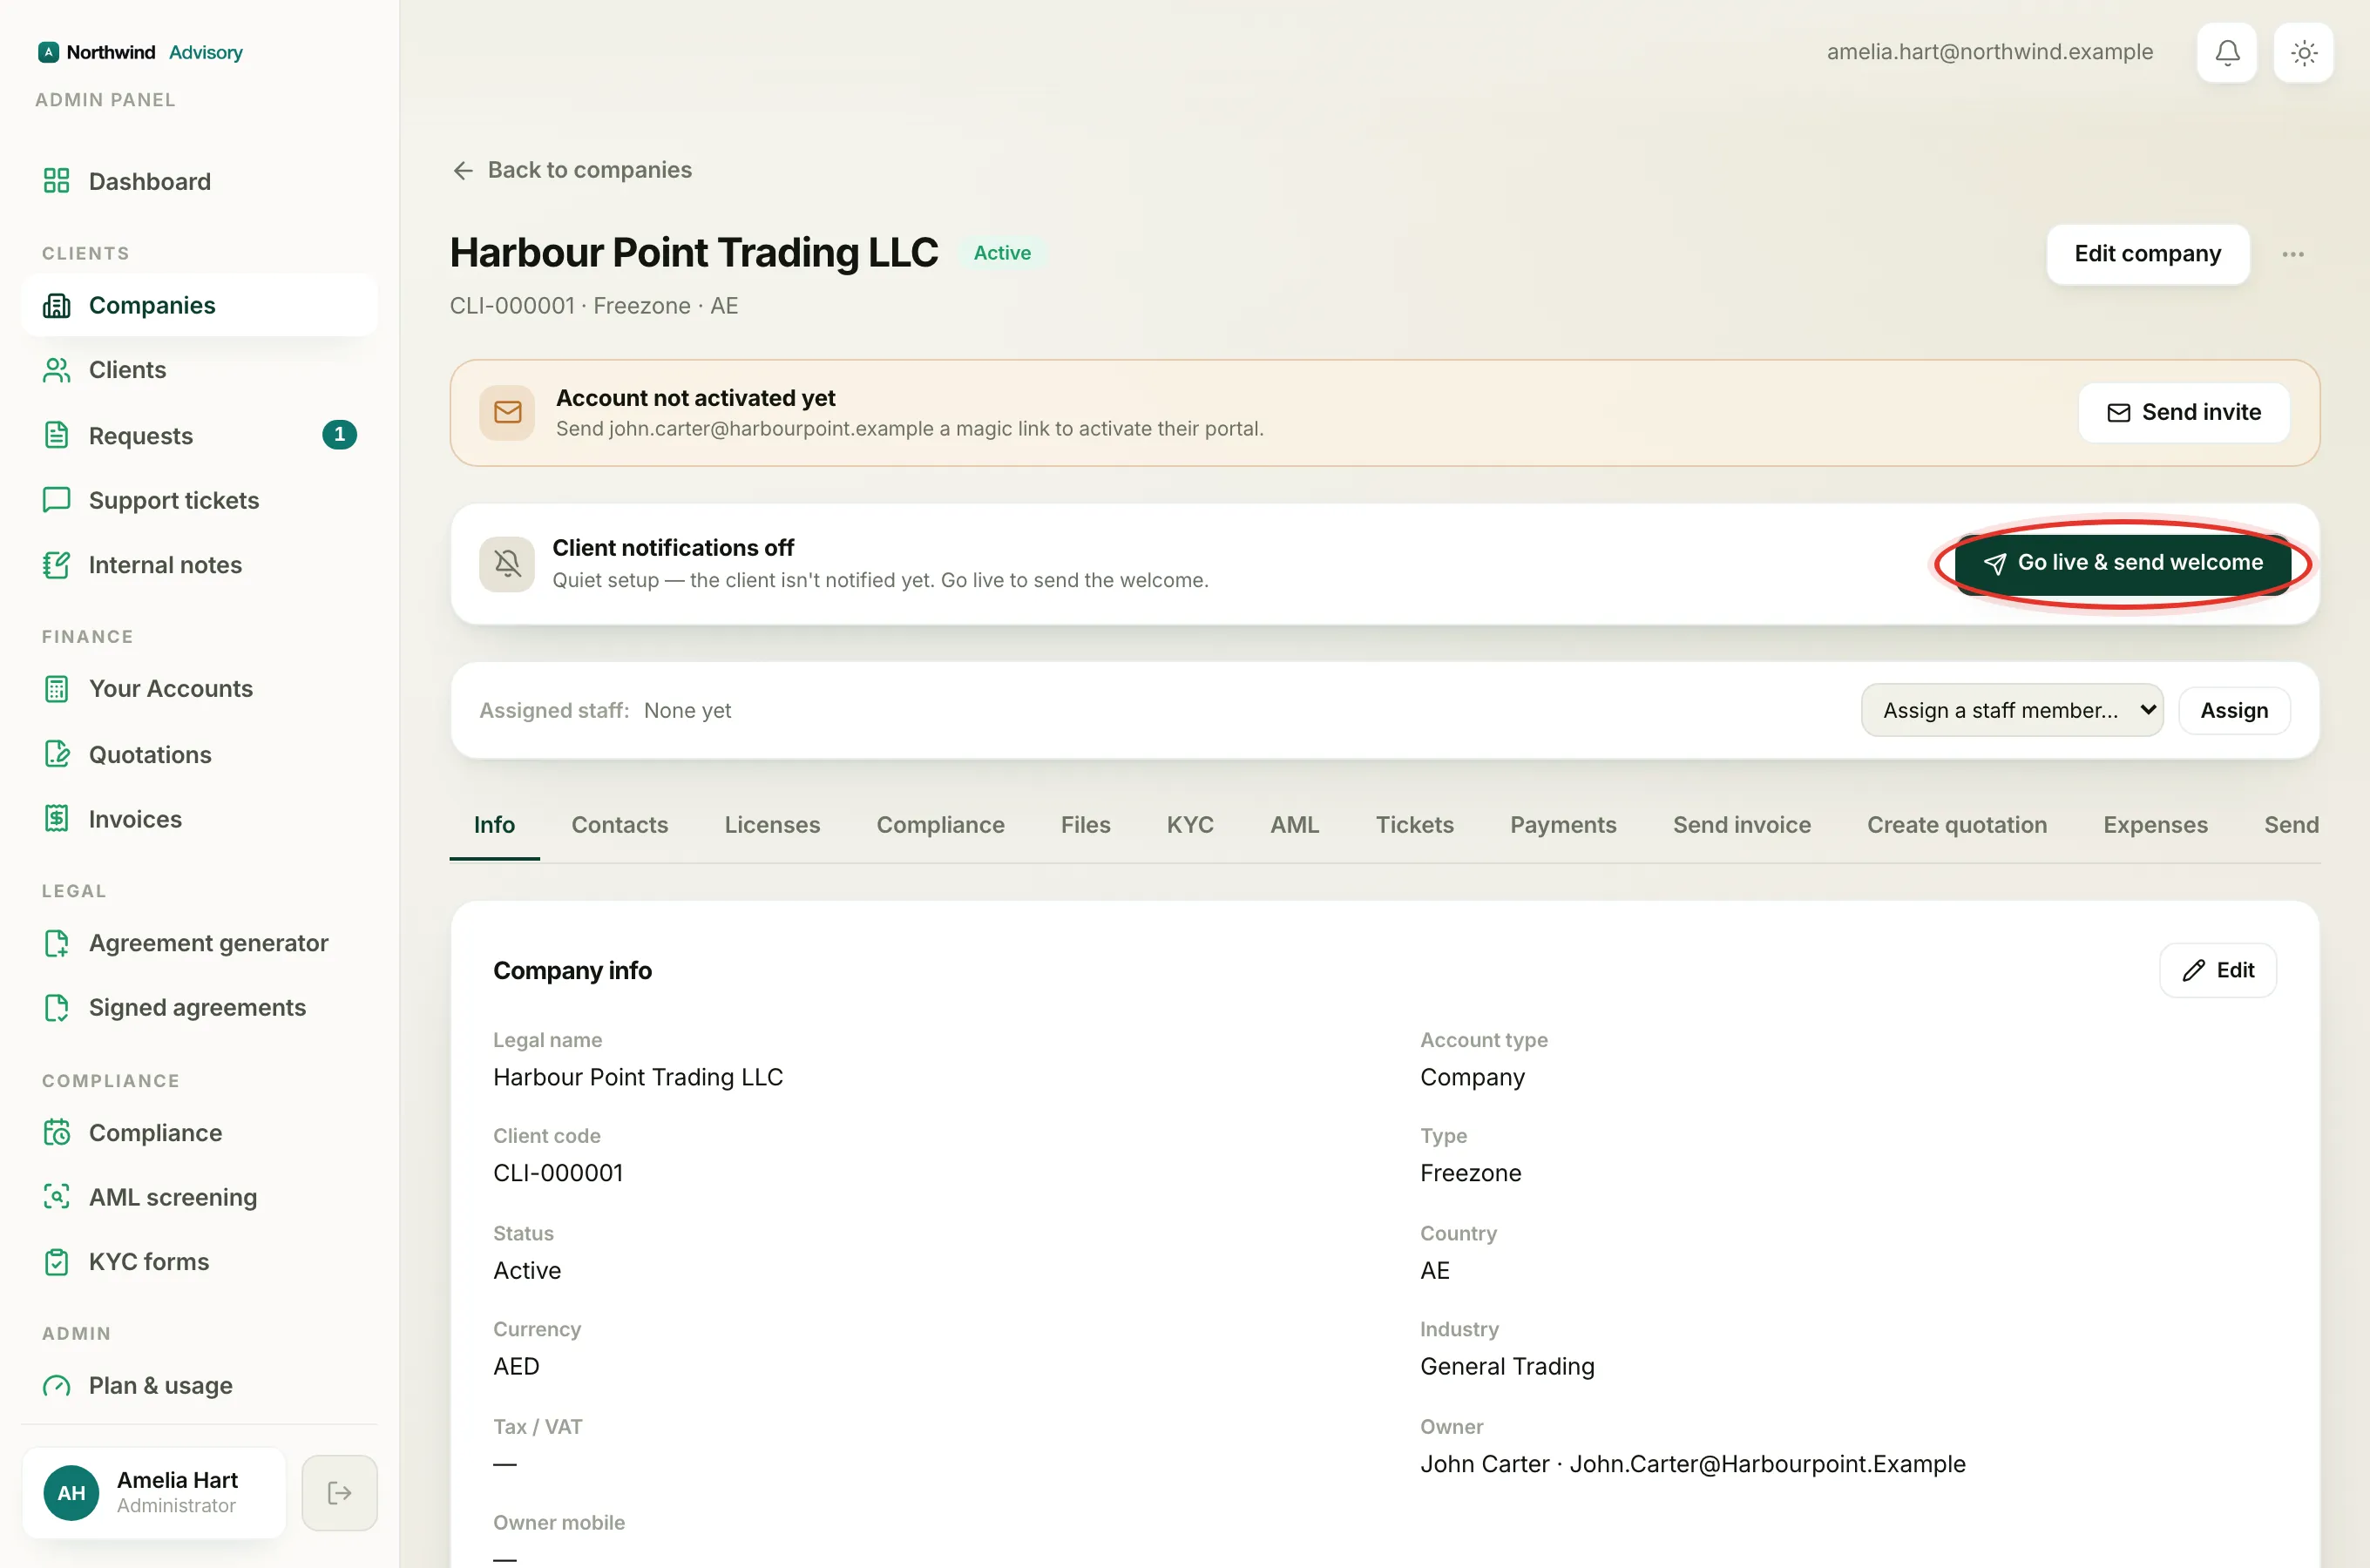
Right below the invite panel is a control called Client notifications. This decides whether the client is emailed about activity and deadline reminders.
When you first set a company up, you may want to work quietly, so notifications start off. When you are ready for the client to be looped in:
- On the company page, find the Client notifications control.
- Click Go live & send welcome (or Go live if a welcome was already sent).
This turns notifications on and sends the client a welcome. You can turn notifications off again later with the Turn off button.
Tip
Sending the invite and going live are two separate things. The invite lets the client log in. Going live starts the emails and reminders. You can do them in either order.
What happens next
Once the client activates, they can log in any time and see everything you do for them. To understand their side of the screen, read What your client sees in their portal.