What this does
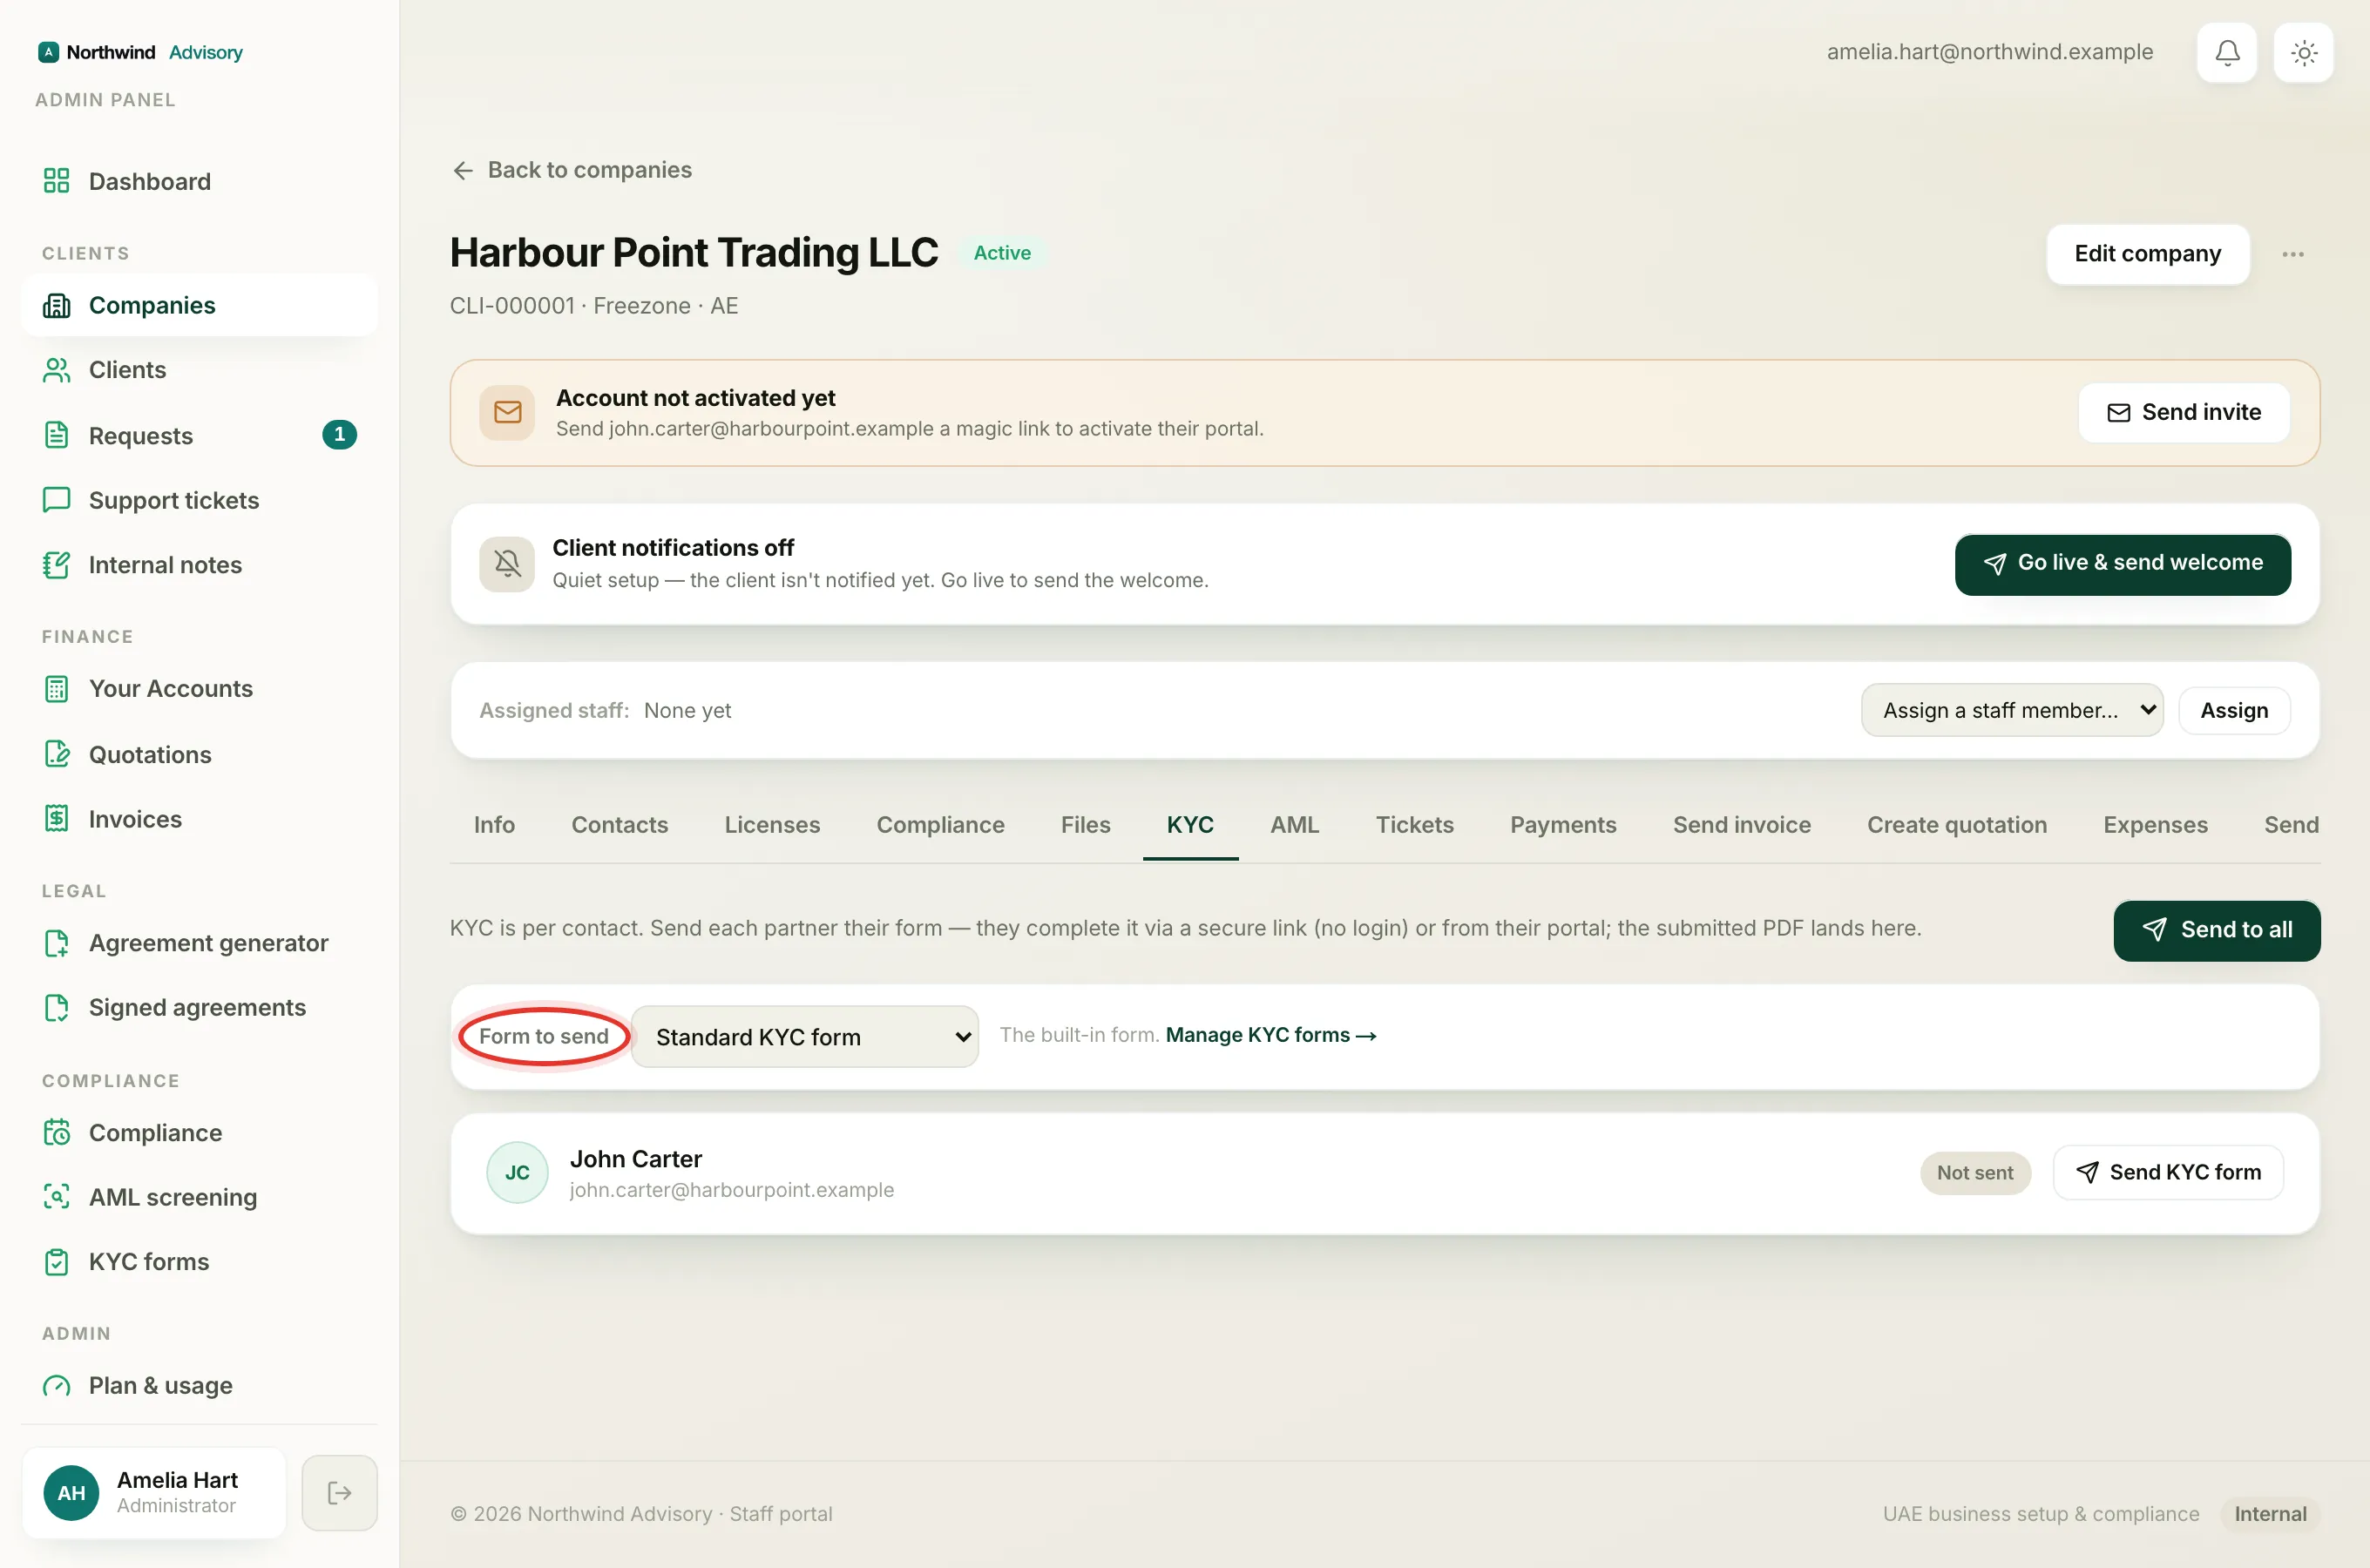
Before you send KYC to a contact, you choose which of your own forms they will fill in. IzzyTap does not ship a one-size-fits-all form, because KYC rules differ by country and by firm. You build the forms you need, and you pick the one to send with the Form to send selector on a company's KYC tab.
Where to find the selector
- Log in to your workspace.
- In the left menu, under Clients, click Companies.
- Click the company you are working on.
- On the company page, click the KYC tab.
- Near the top you will see a box labelled Form to send.
Pick the form
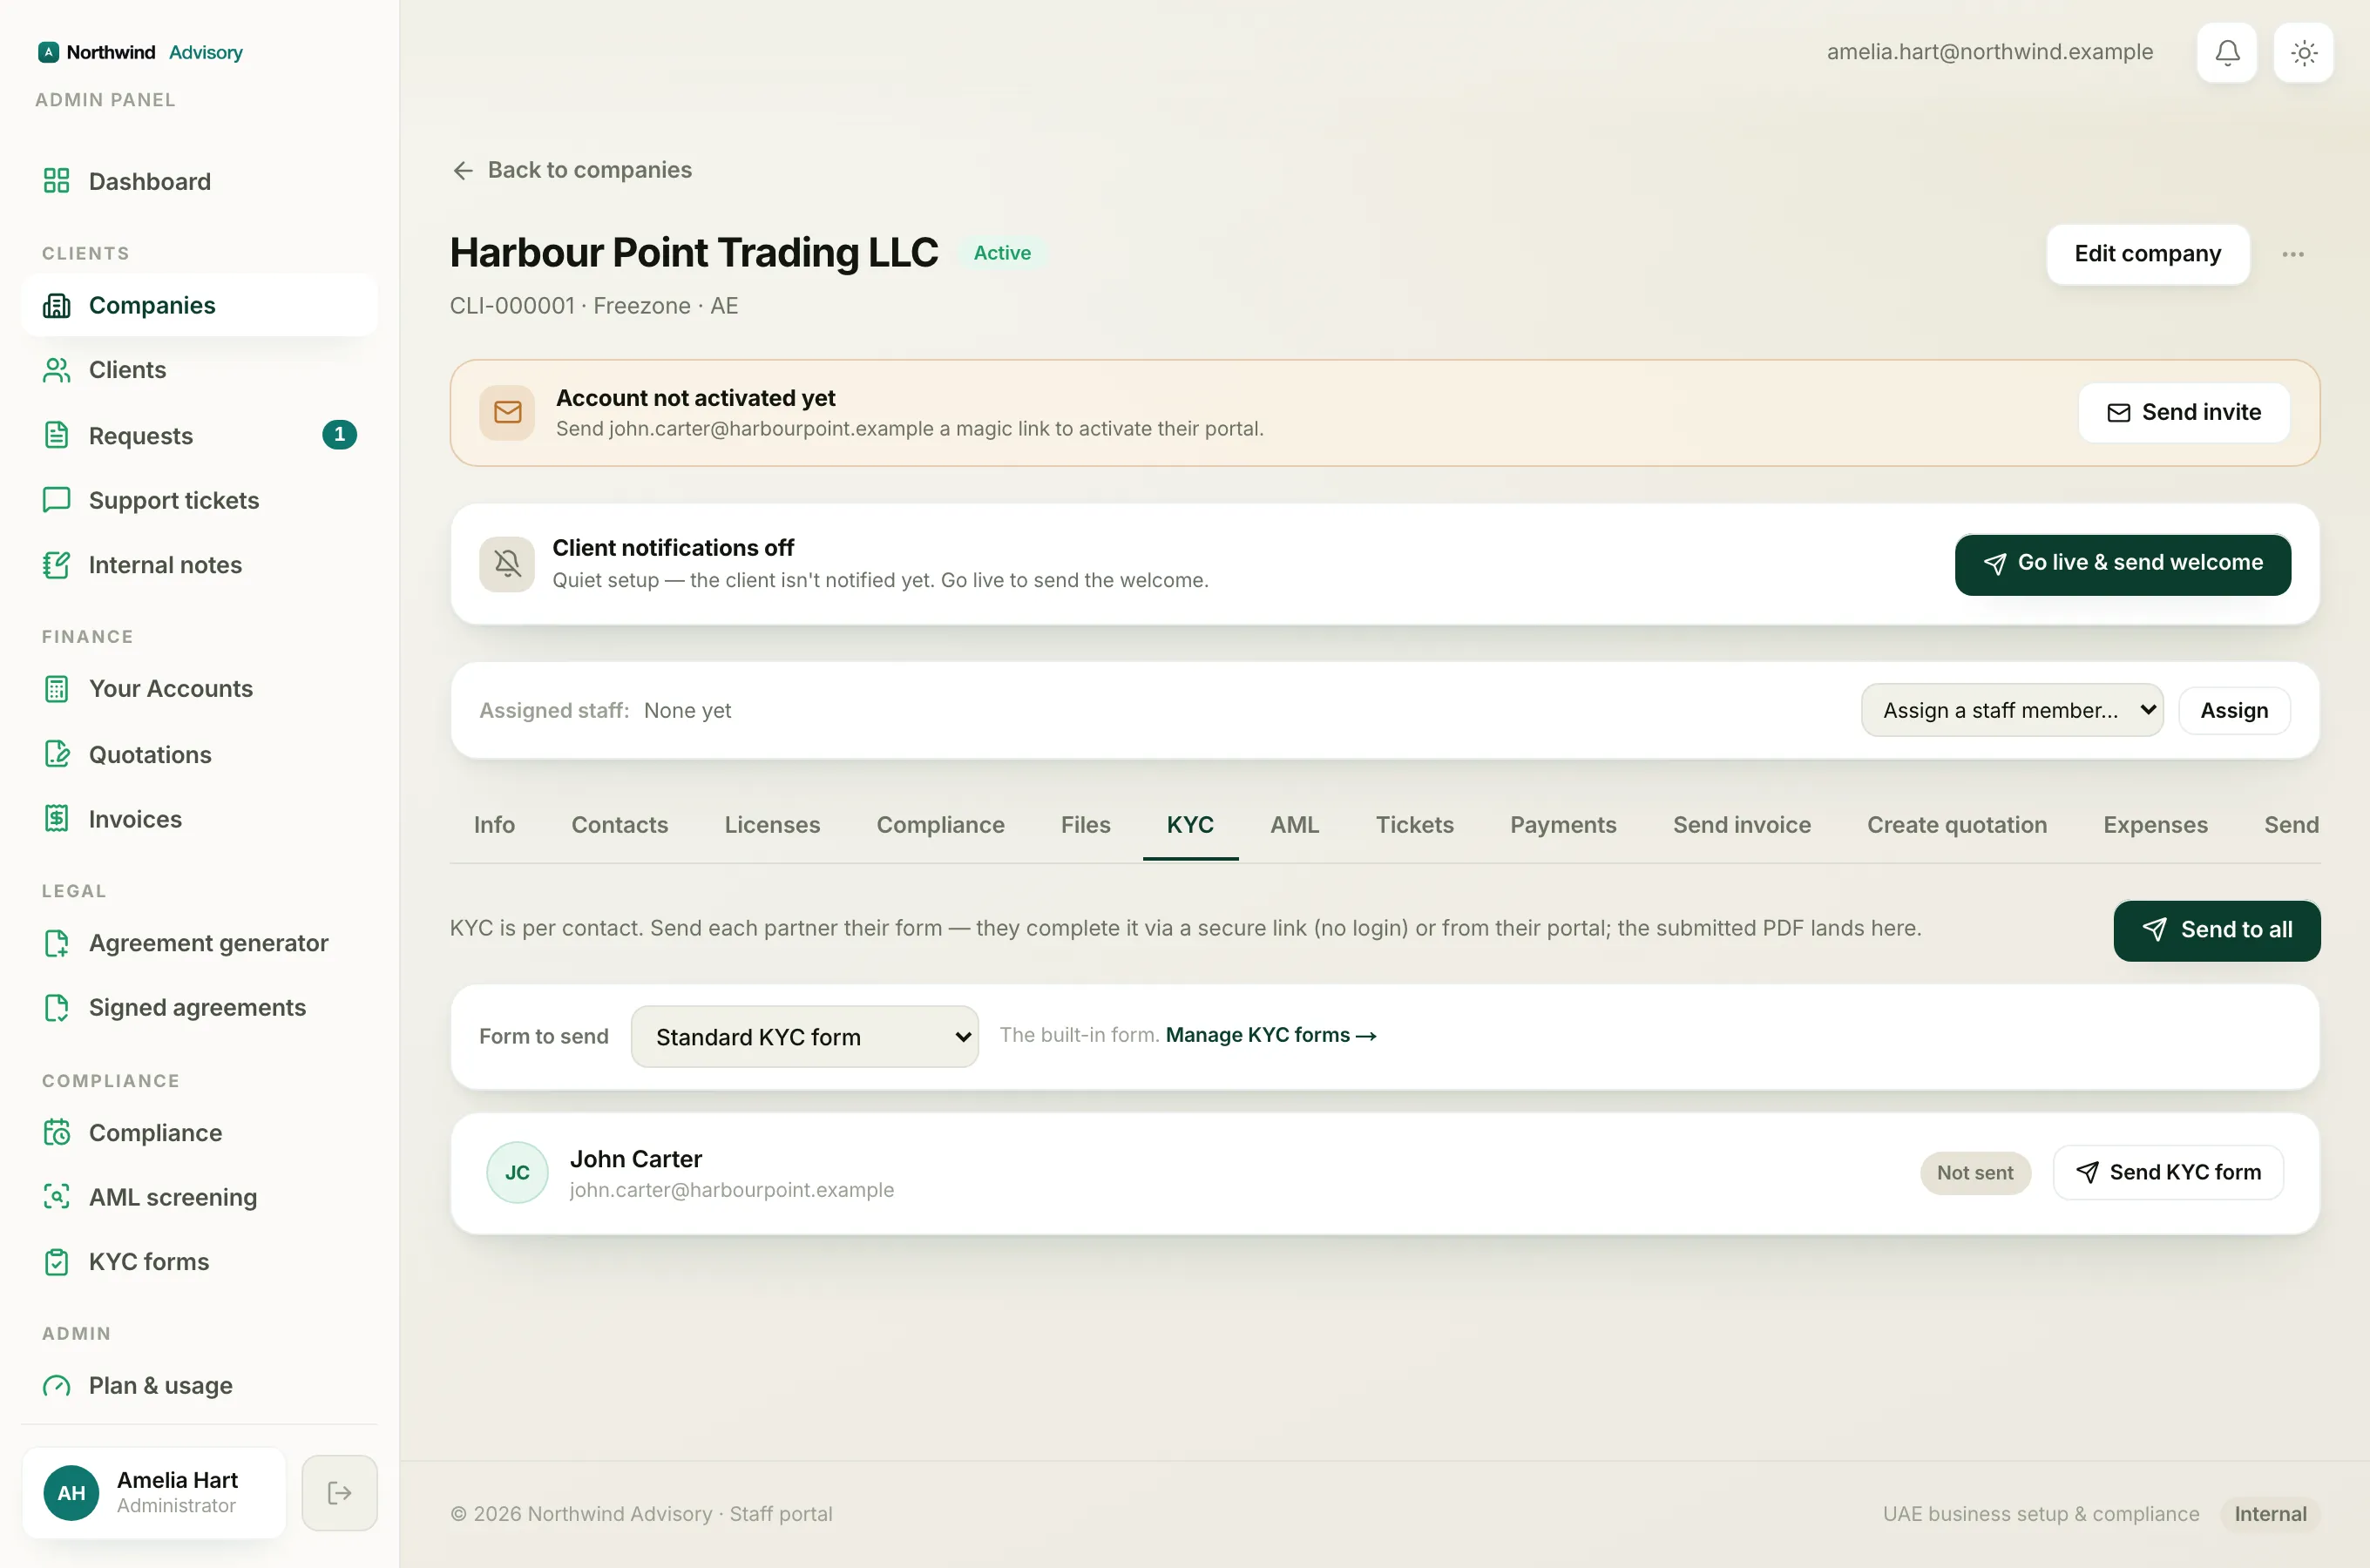
Click the dropdown in the Form to send box. Every KYC form you have built and saved appears in the list by its name. Pick the one you want to send.
Your most recent saved form is chosen for you by default, so your usual form is ready without extra clicks. Under the selector a note reads "Your saved template, frozen onto each request when sent." That means the exact version you send is locked onto that request, so editing the form later never changes a form someone has already been sent.
Important
The form you pick here is used for every send on that tab. It applies whether you click Send KYC form next to one person or Send to all at the top. Choose the right form first, then send.
If you have no forms yet
If you have not built any KYC forms, there is nothing to send yet, so the selector is replaced by a Create your KYC form first panel. The Send KYC form and Send to all buttons stay switched off until you have a form to send.
Click Build your first KYC form in that panel to open your KYC forms page and make one. For the full walkthrough, see build your own KYC form. Once you have saved a form, come back to this tab and the Form to send selector appears.
Building or managing your forms
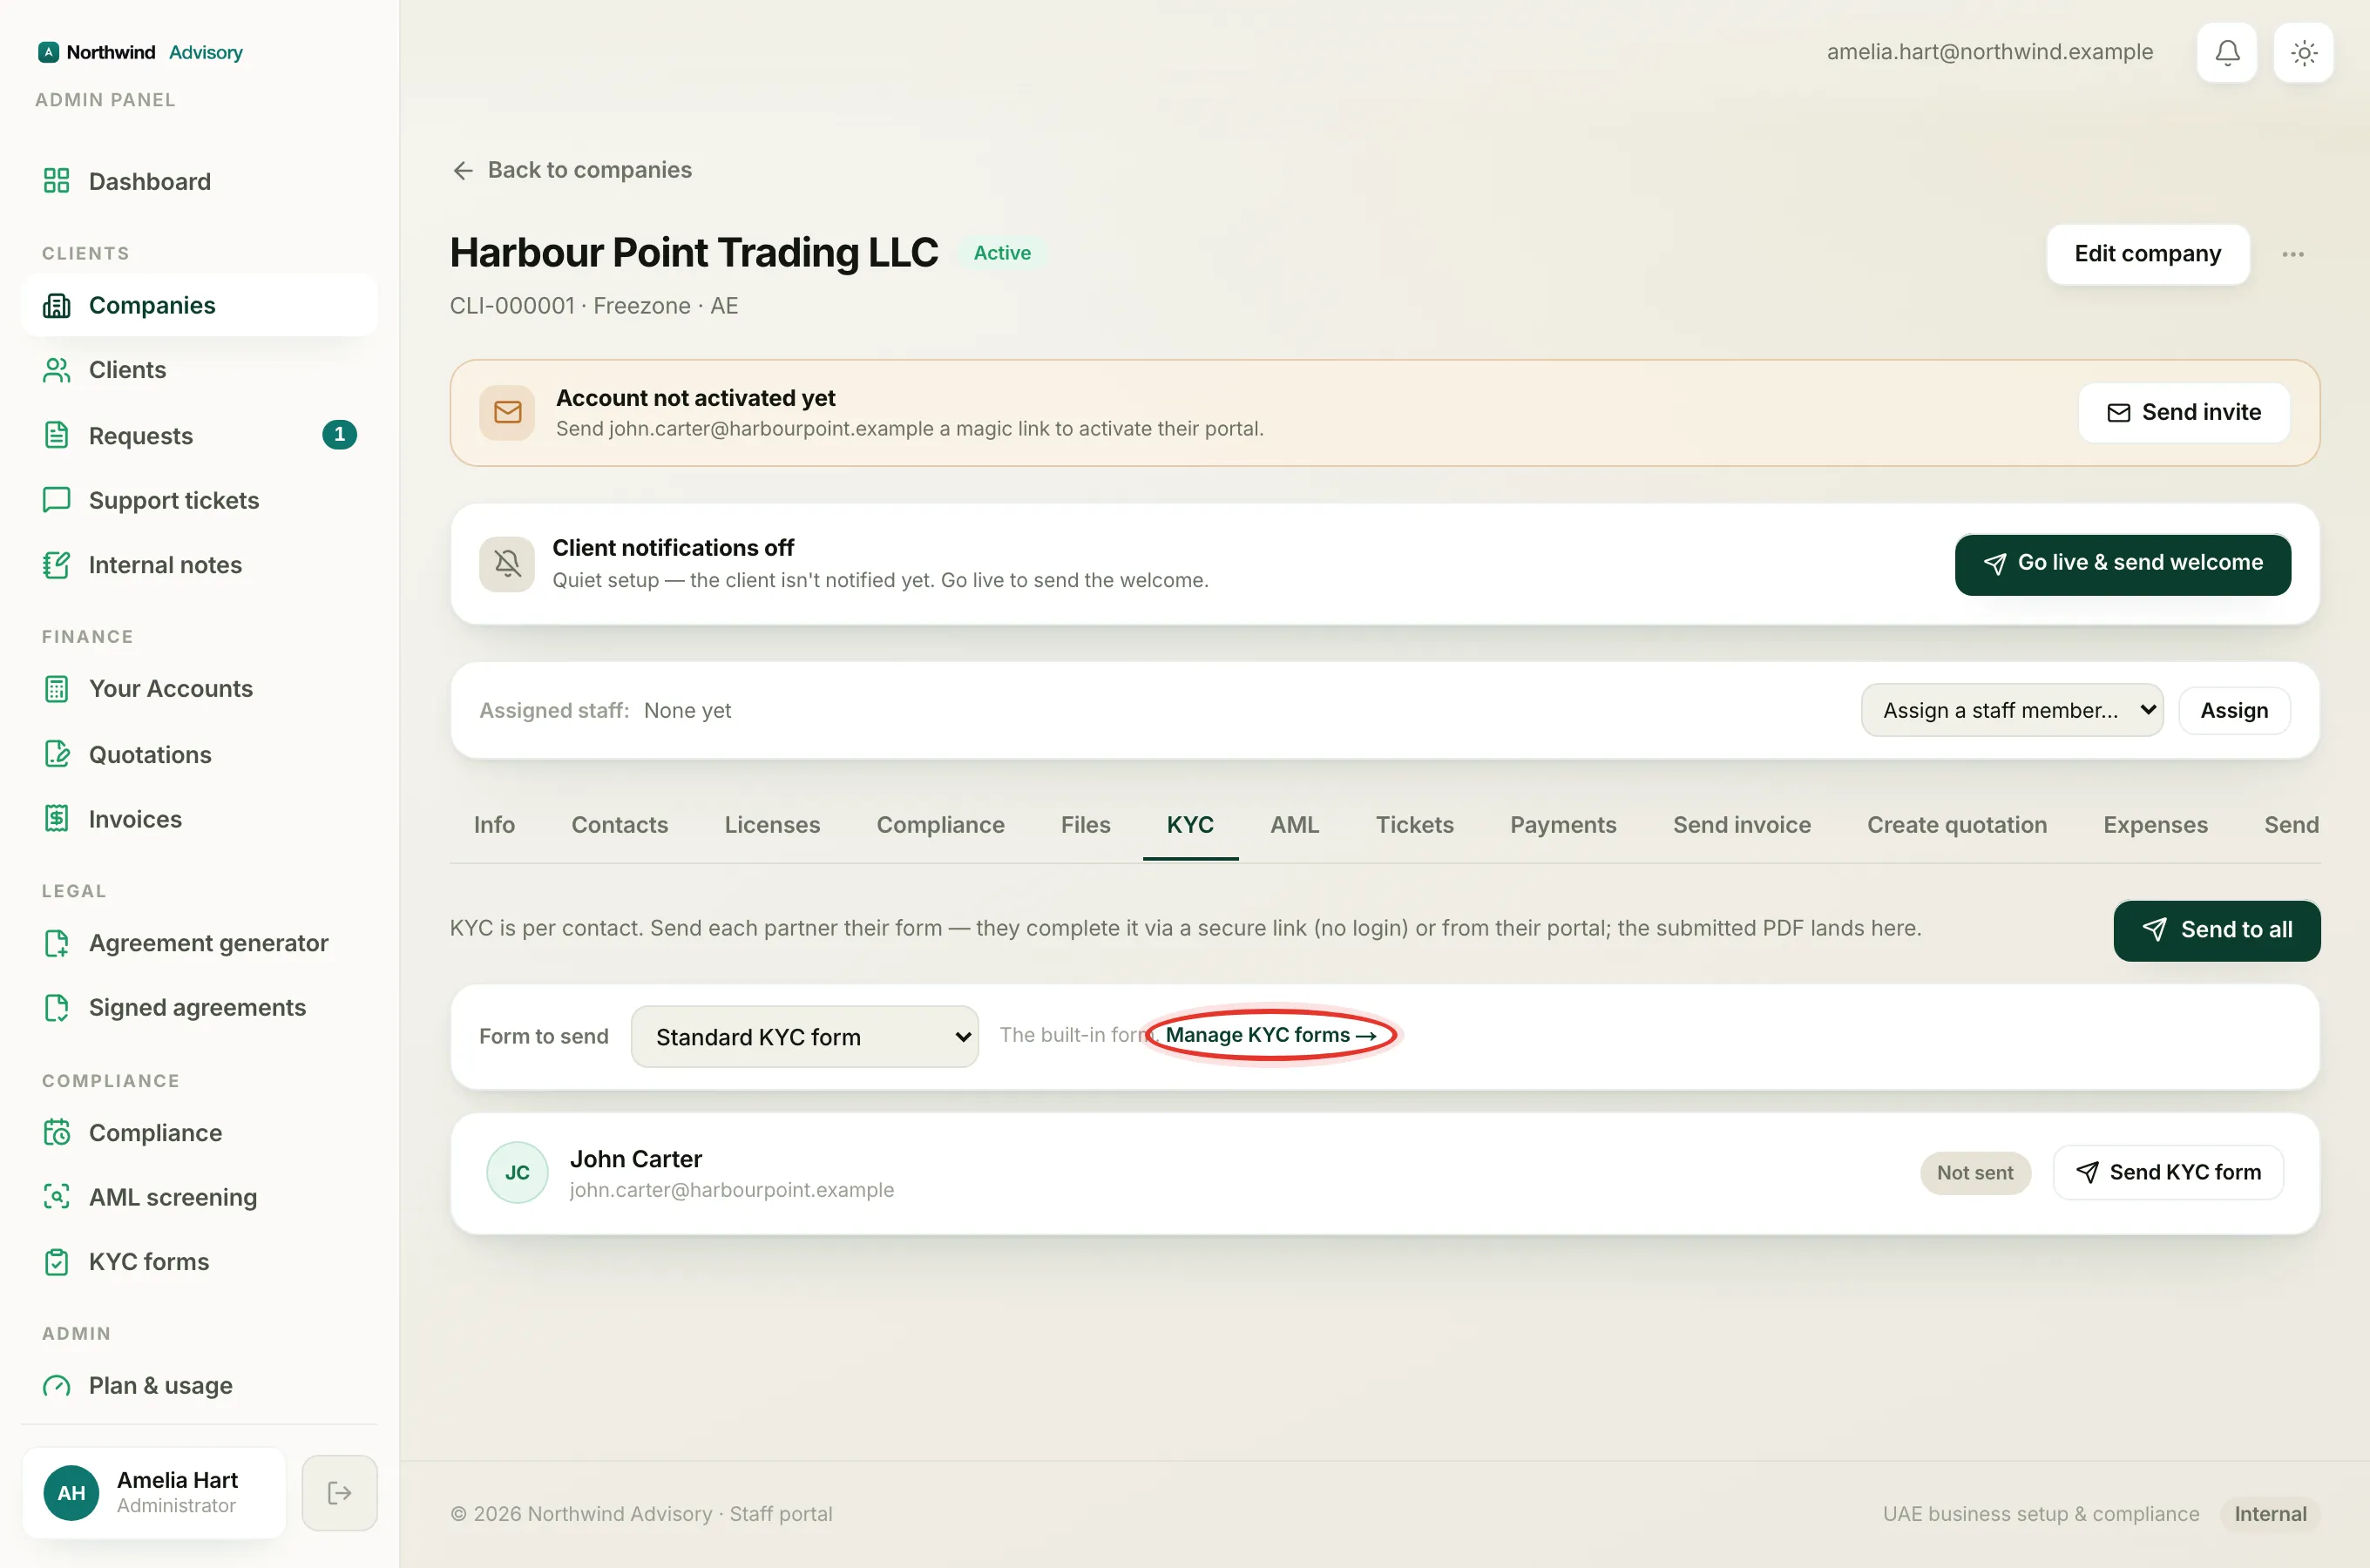
Next to the selector is a Manage KYC forms link. It opens your KYC forms page, where you build, save, edit and delete your own forms. To make one, see build your own KYC form. To change one, see edit a saved KYC template.
Switching a contact onto a different form
If you sent a contact one form earlier and now want them on a different one, pick the other form in the Form to send selector and send to that contact again. The new form is used for the resend, so you can move a contact from one template to another without any extra setup.
What the contact receives
Whichever form you choose, the contact gets a secure link, fills the form in step by step with no login, signs it, and the PDF comes back to you. For the full send flow, see send a KYC form to a company.