When to use filters
Once you have more than a handful of requests, the inbox is easier to work through if you narrow it down. The Requests inbox has a single Filters panel that lets you search, filter by status and assignee, and change the sort order, all at once.
Open the filters
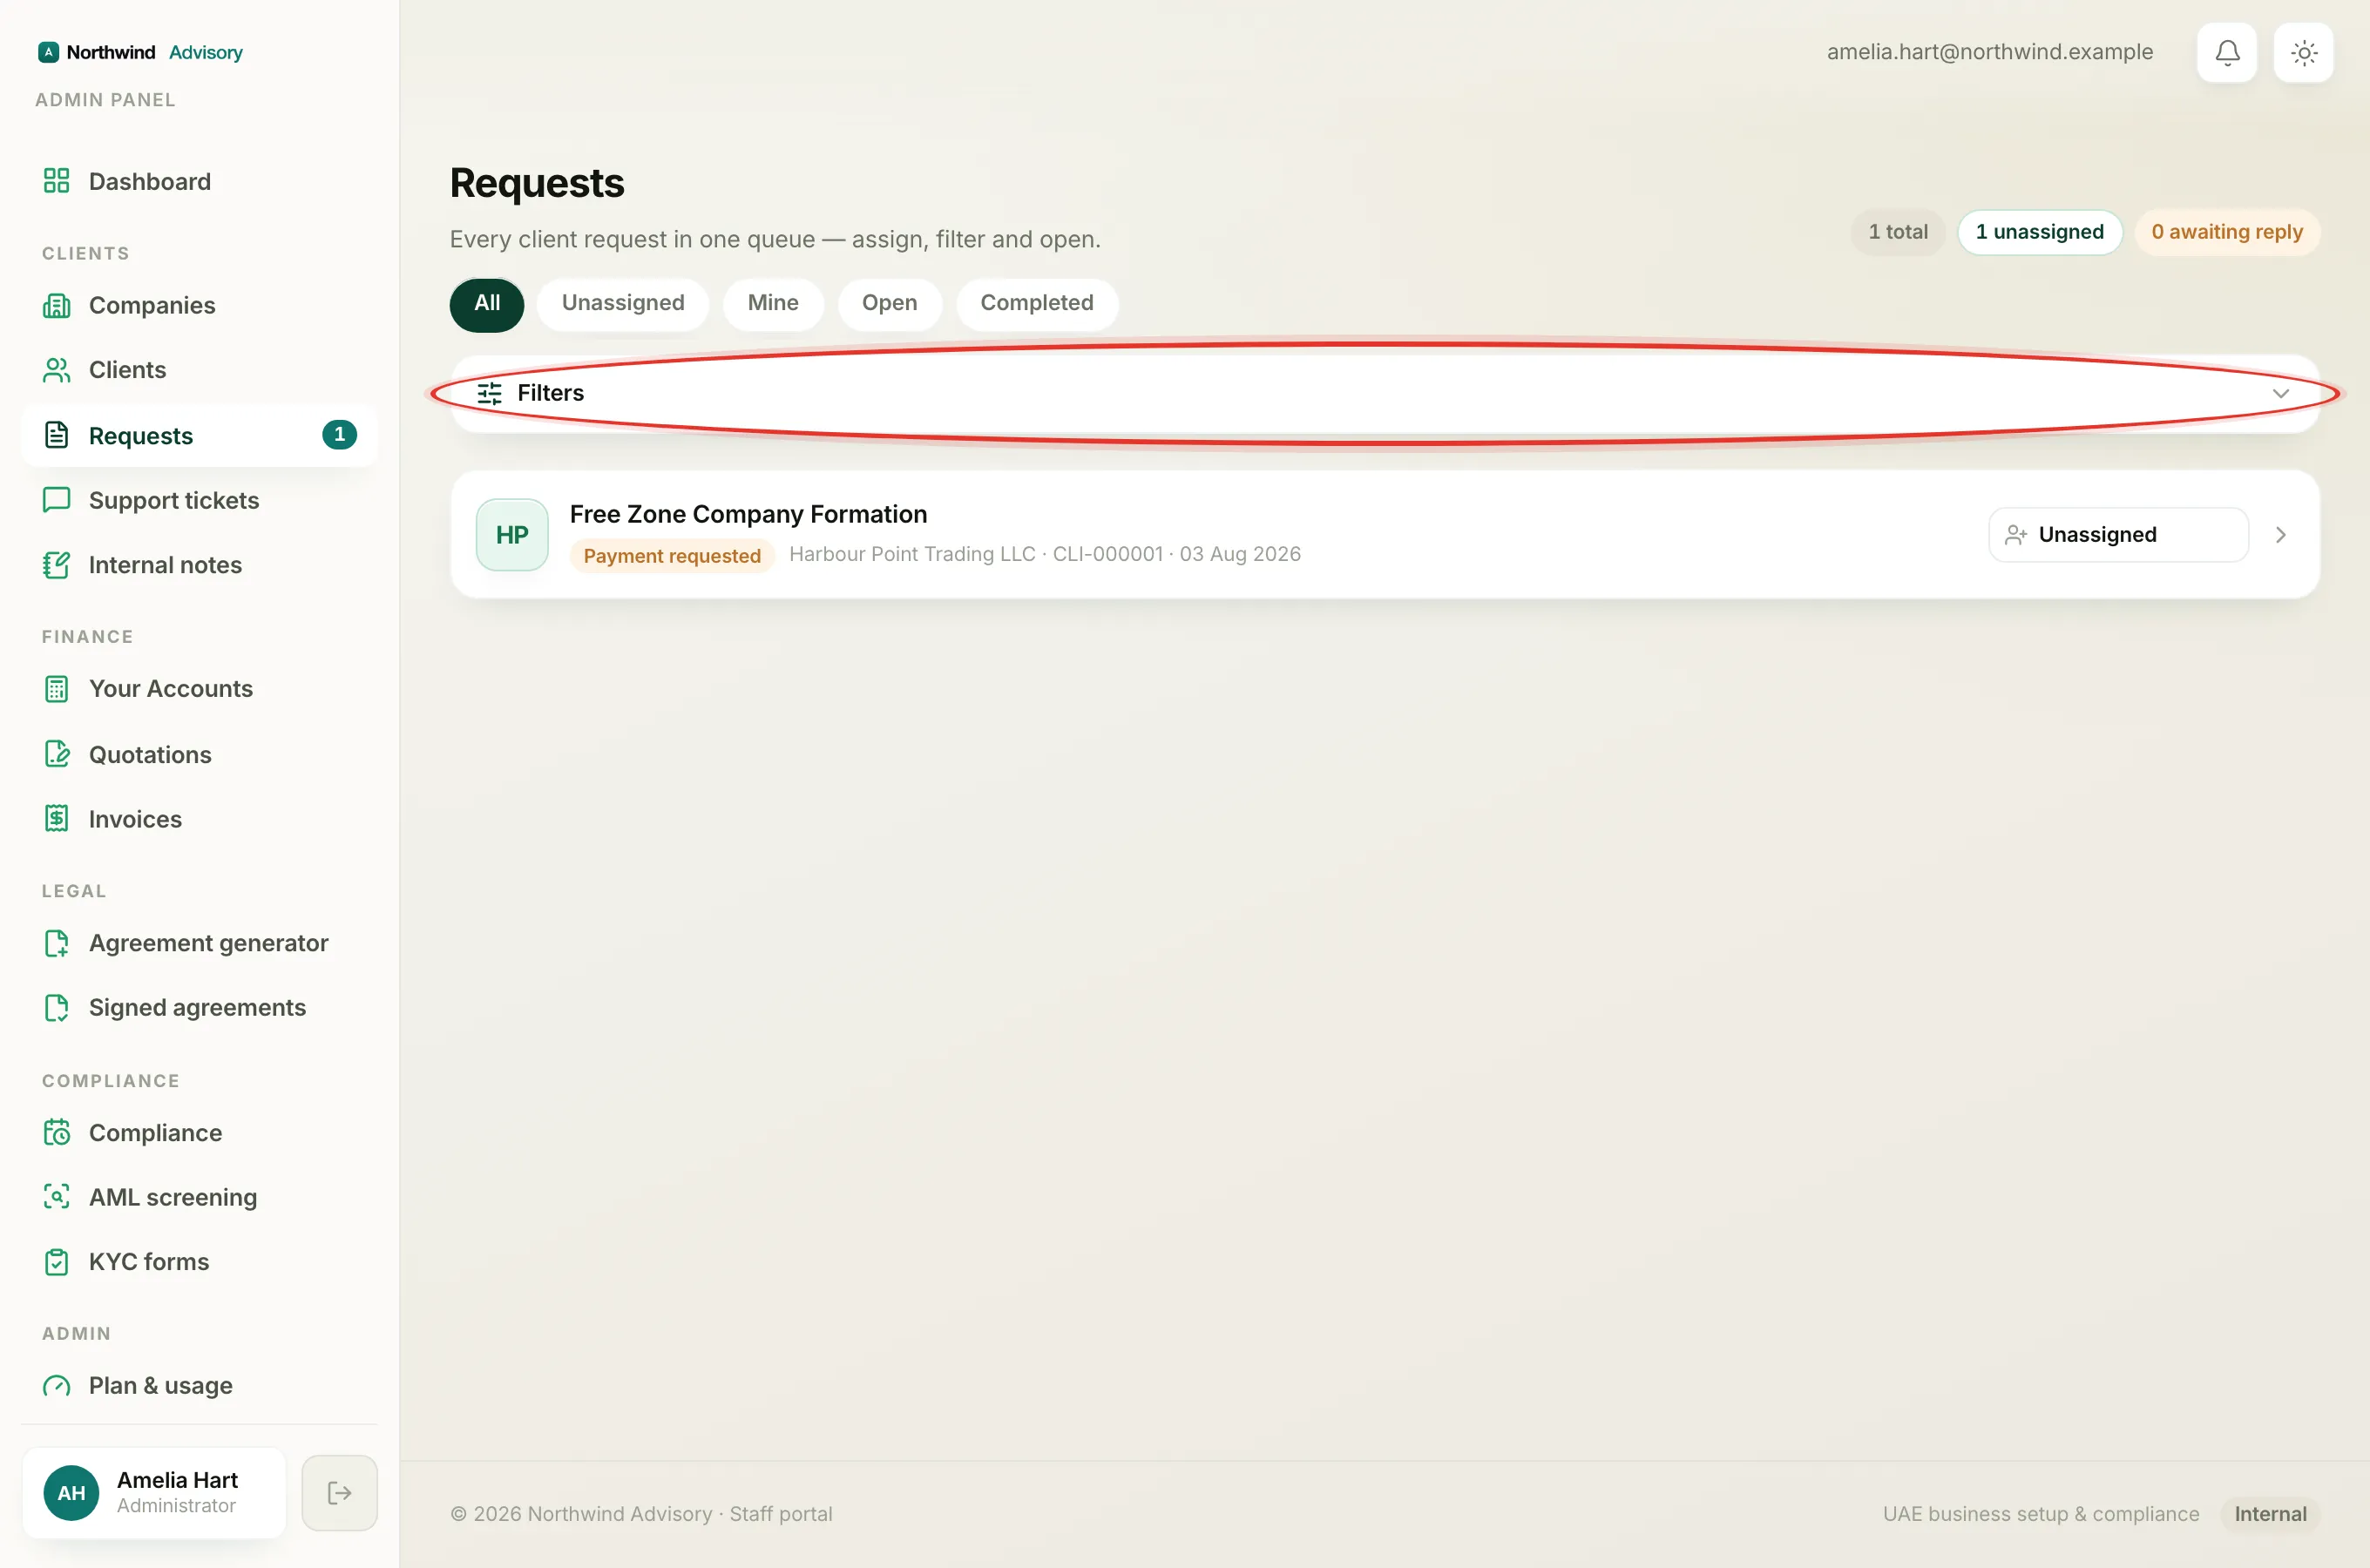
- Log in to your workspace.
- In the left menu, under Clients, click Requests.
- Click Filters to open the panel.
Tip
The Filters panel opens itself whenever a filter is already in play, and it shows a small count of how many filters are active. So a narrowed list is never a mystery, you can always see why it looks the way it does.
The filter fields
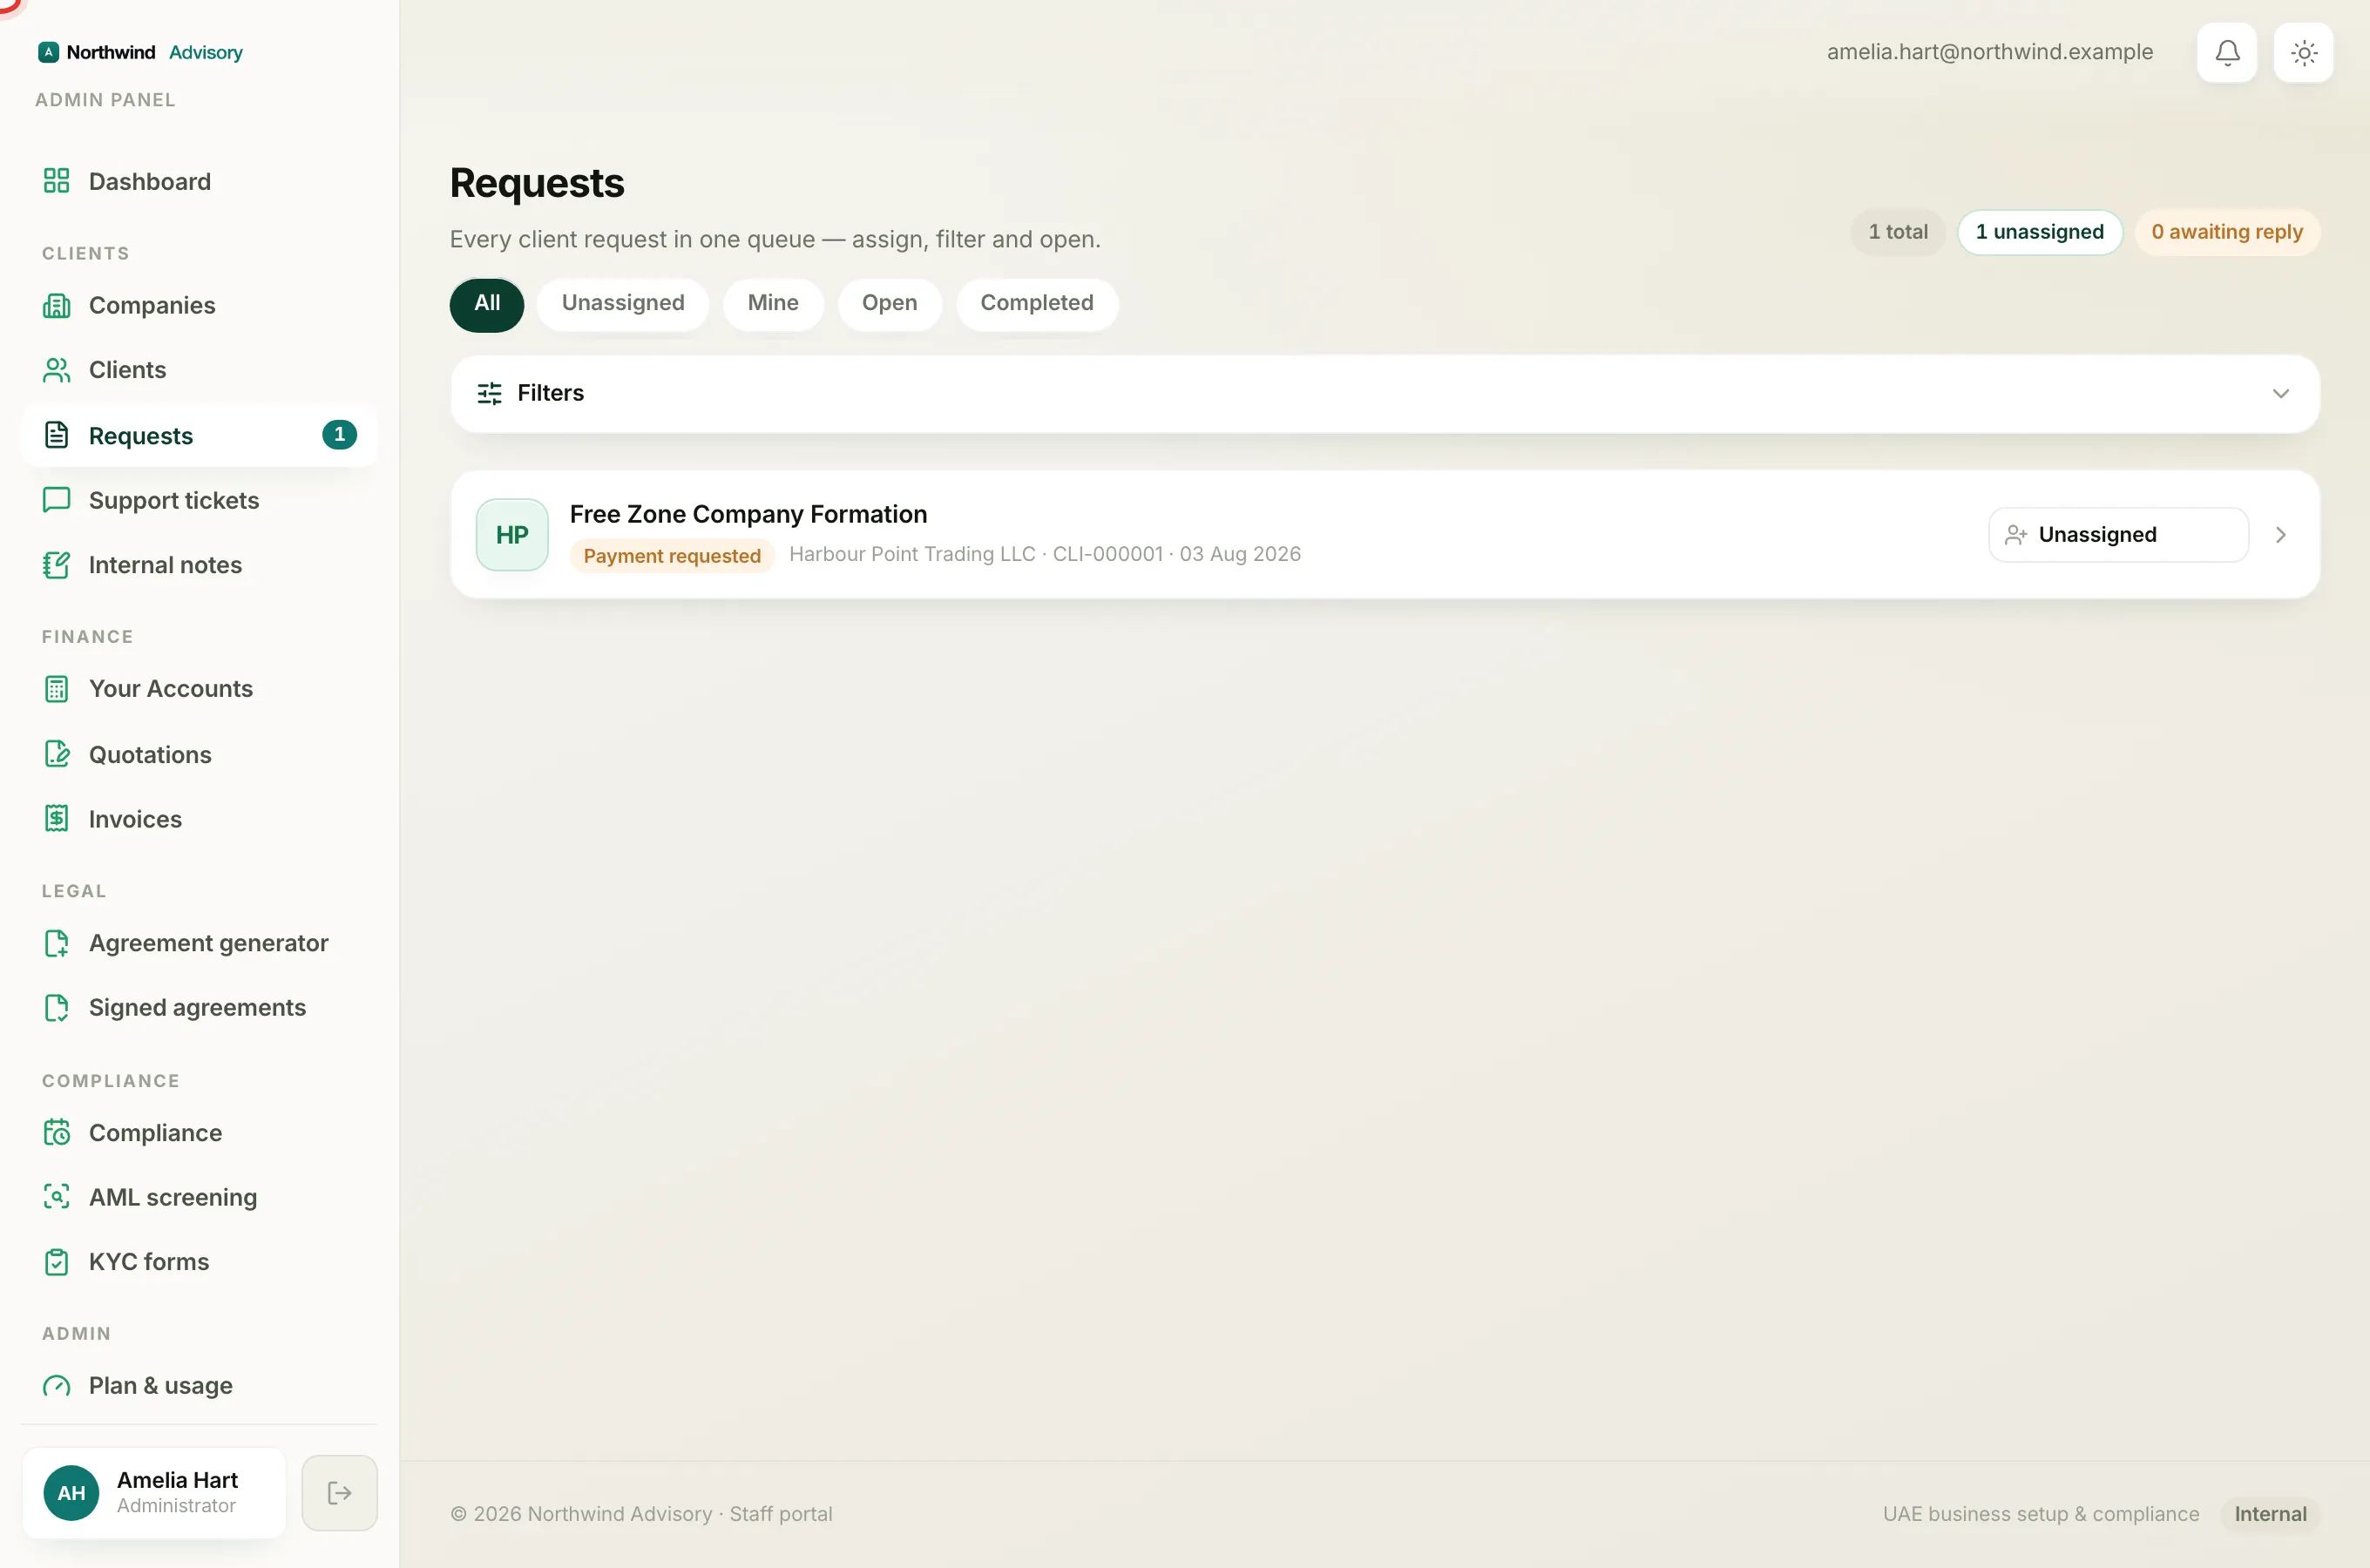
Inside the panel you will find:
- Search lets you type a company name, a client code or a service. The list narrows to rows that match.
- Status narrows to one stage of the workflow. Leave it on Any status, or pick Document requested, Payment requested, Review or Completed.
- Assignee narrows to who is handling the request. Choose Any assignee, Unassigned, Me, or a specific teammate by name. This field only appears for staff who can see the whole firm's queue.
- Sort order changes the order of the list. Most recent puts the latest activity first. Oldest waiting puts requests where a client has been waiting longest at the top, so nothing goes stale.
After setting what you want, click Apply.
Filters and segments work together
The filters stack on top of the segment you are in. For example, staying on the Mine segment and choosing Oldest waiting shows your own requests with the longest-waiting client at the top. Switching segments keeps your filters in place.
Clearing filters when the list looks empty
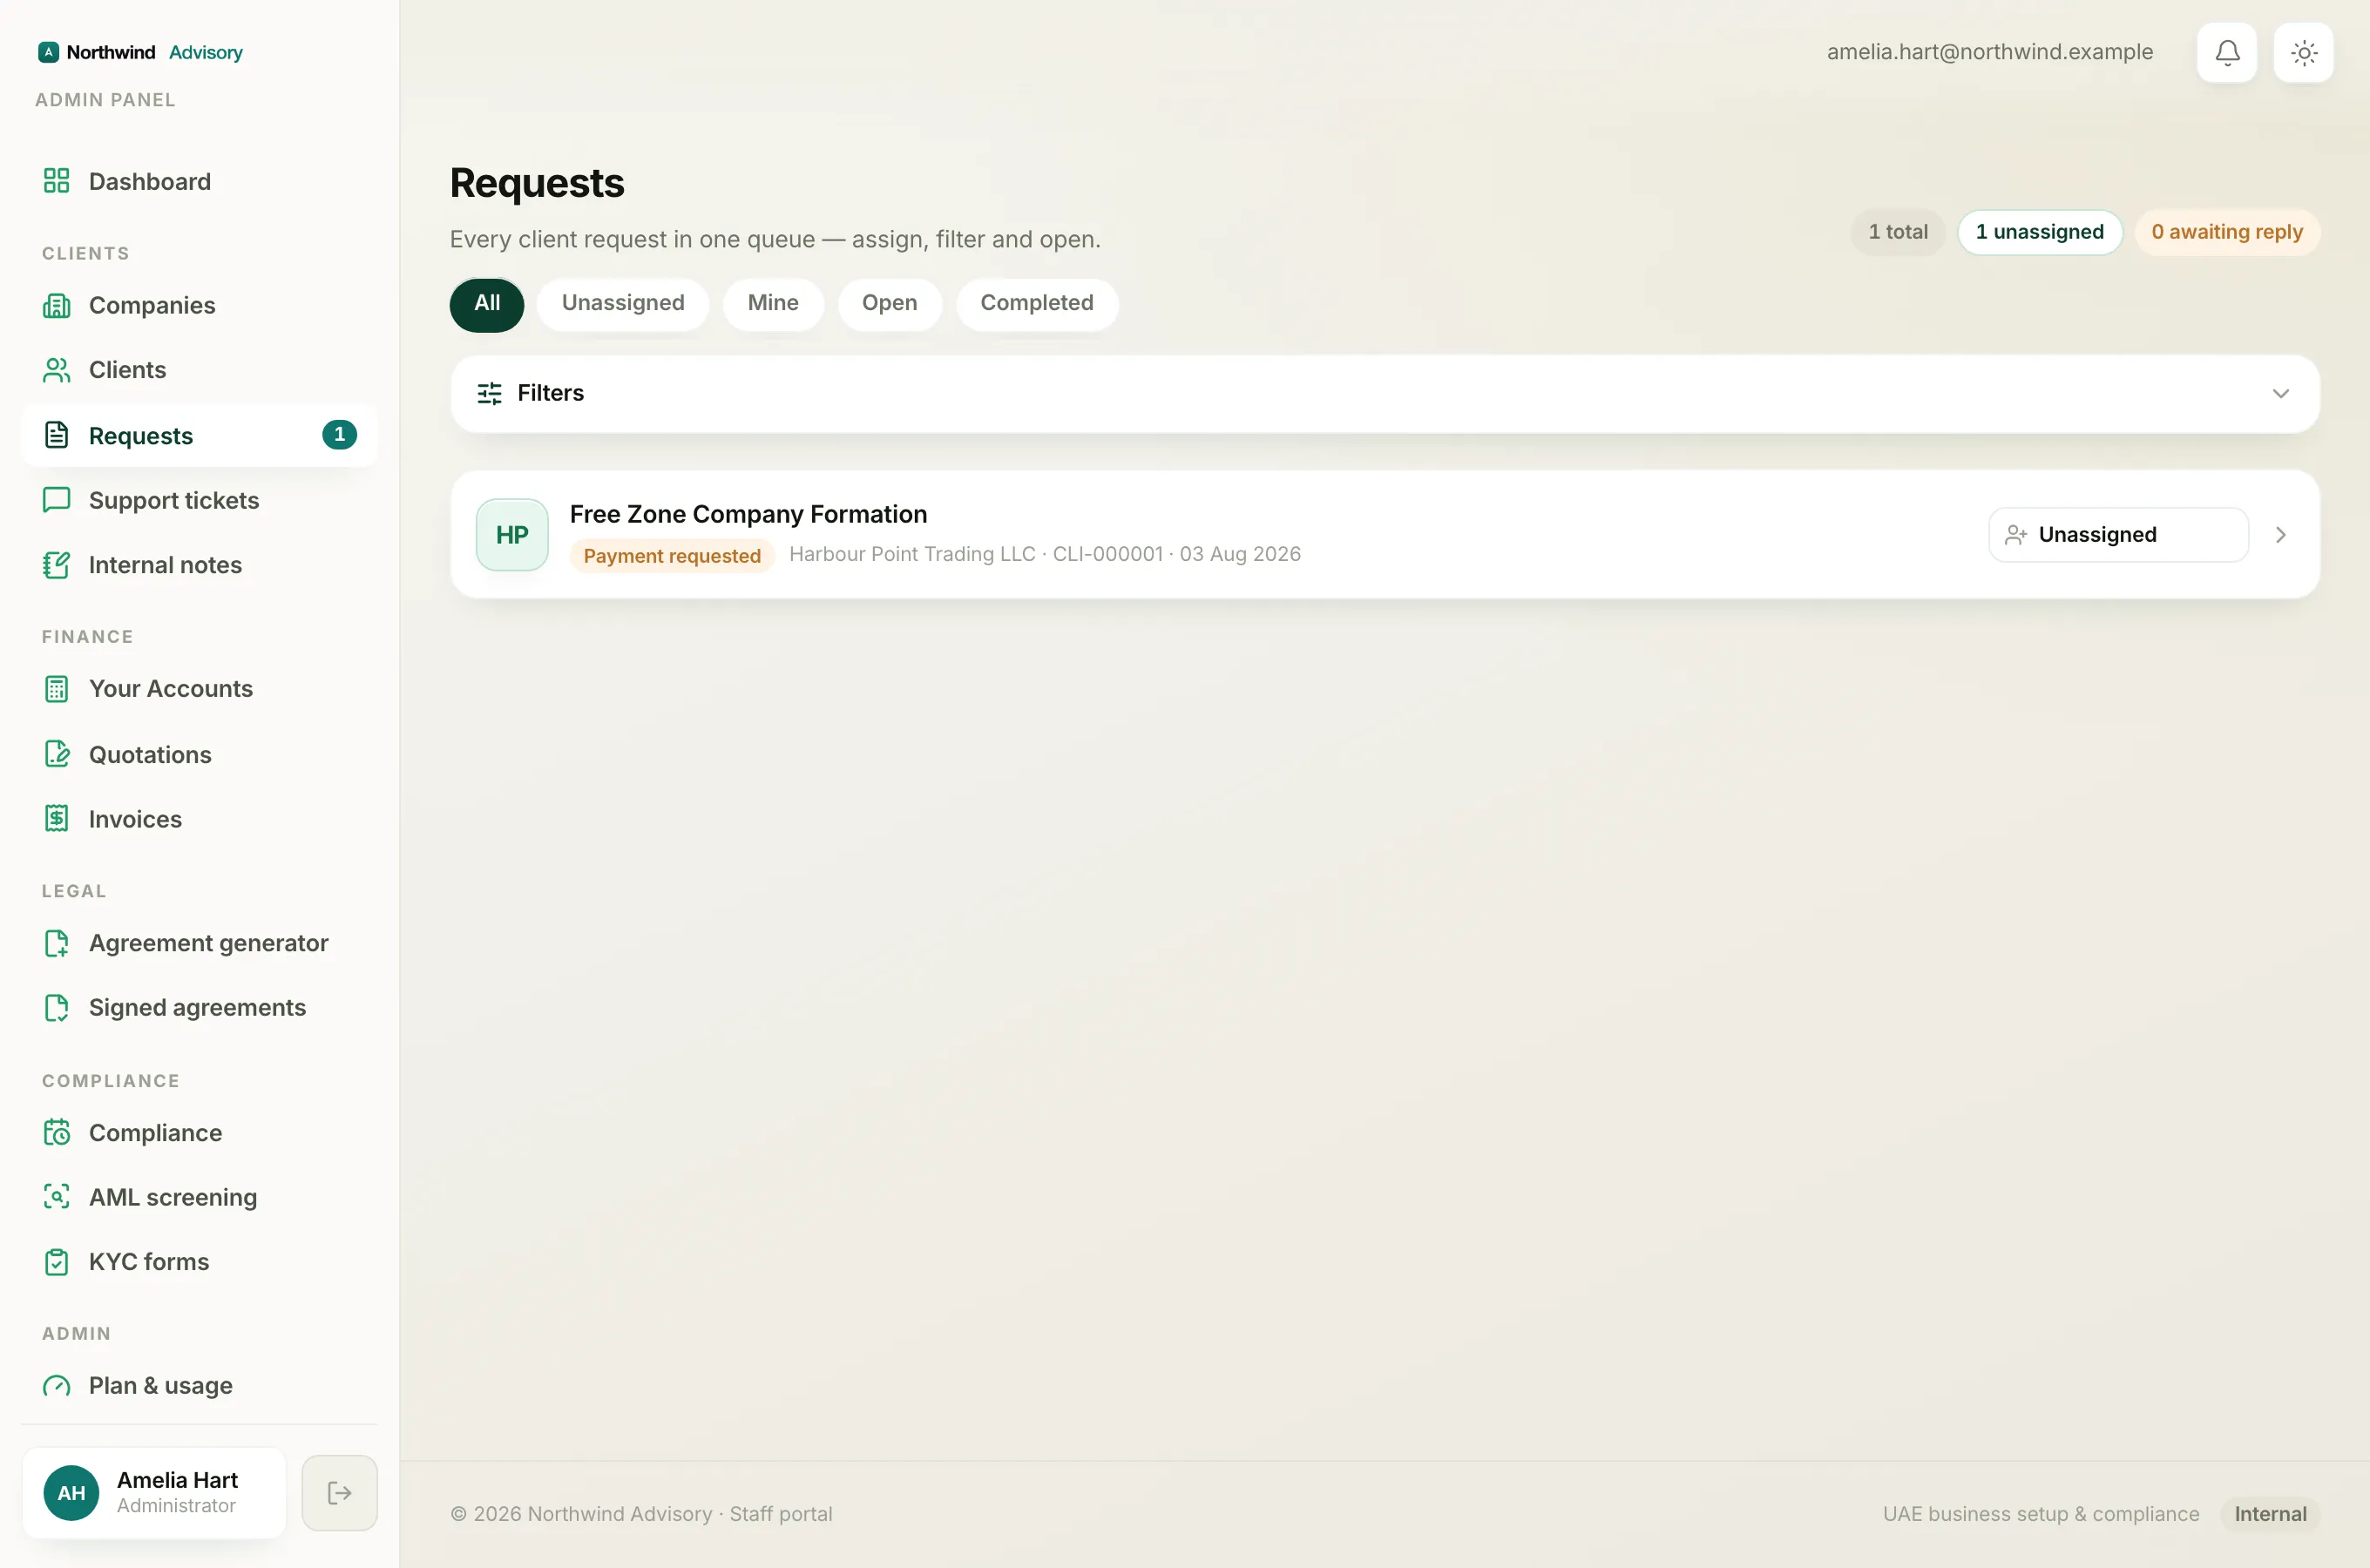
If you have filtered so tightly that nothing matches, the inbox shows No requests match with a Clear filters button. There is also a Clear button next to Apply whenever a filter is active.
Note
An empty list is almost always a filter, not a fault. If you expected to see requests and the queue looks bare, click Clear first and check the segment you are on before assuming something is missing.