Start from a ready-made KYC form
You do not have to build a KYC form from a blank page. IzzyTap gives you three ready-made forms that already have the right sections in the right order. You pick one, and the form builder opens with everything filled in. From there you can add, remove or reorder sections, then save it as your own template.
Where to find the ready-made forms
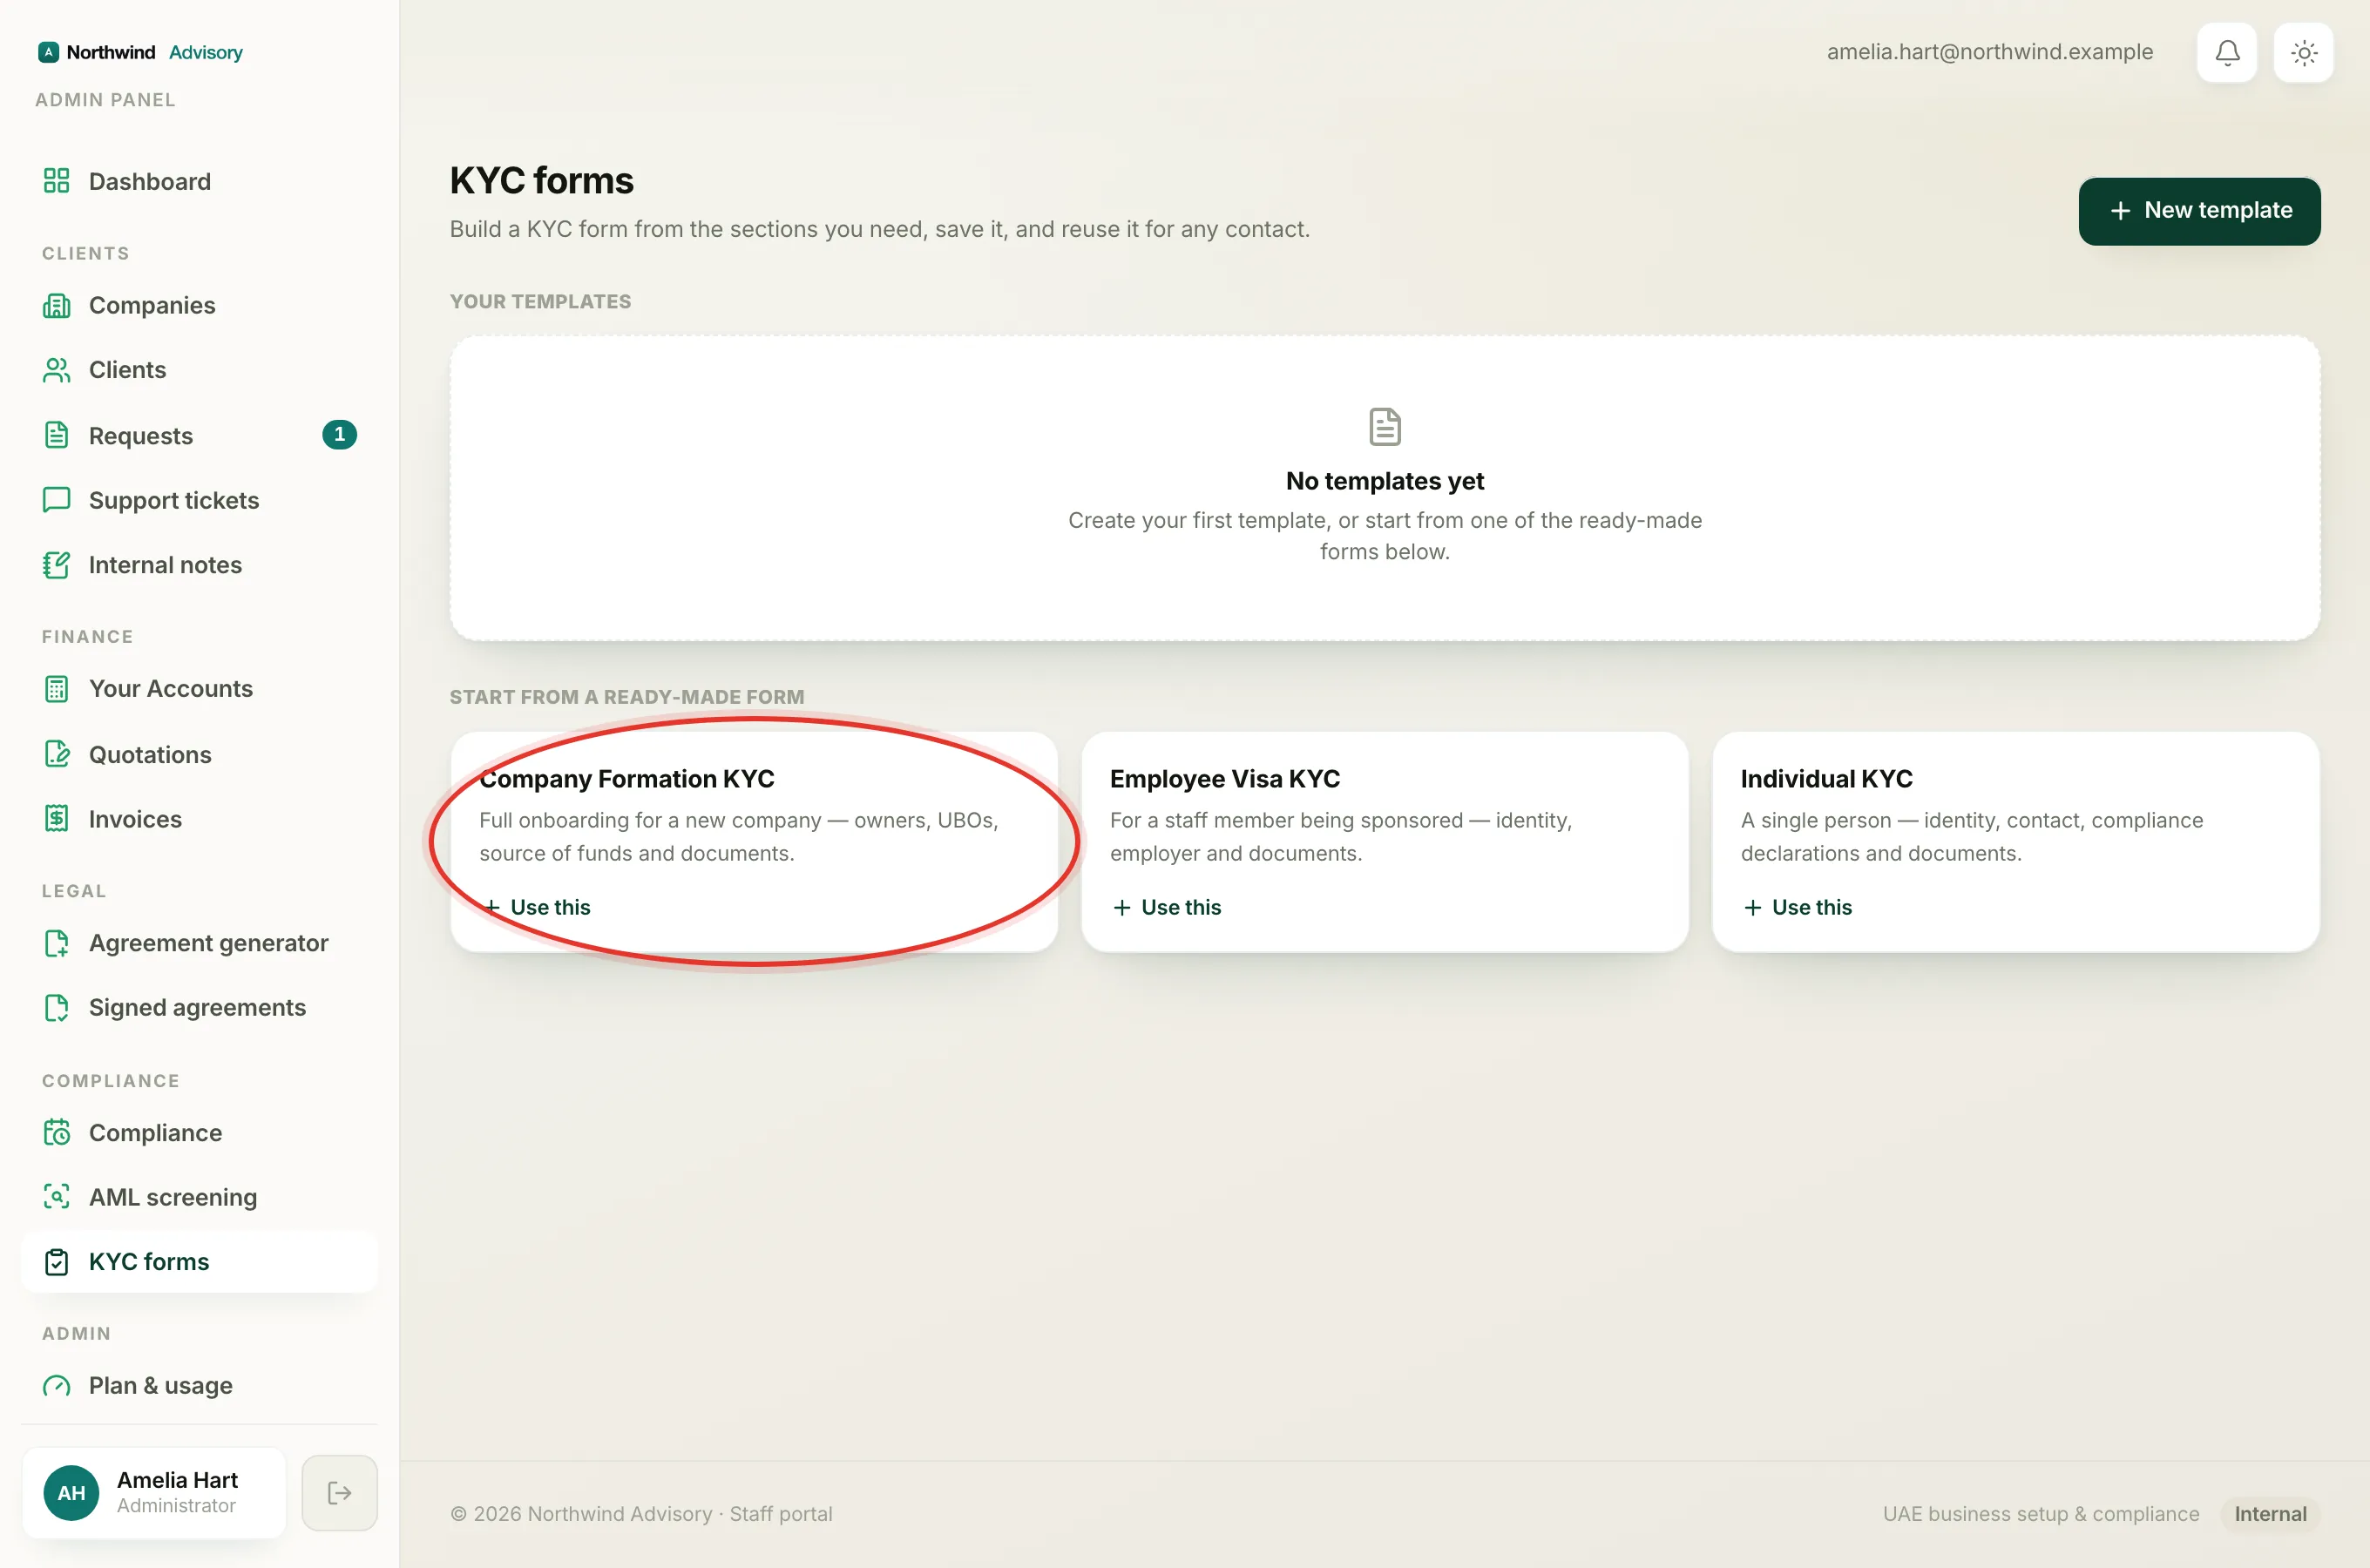
- Log in to your workspace.
- In the left menu, under Compliance, click KYC forms.
- Scroll down to the Start from a ready-made form section.
You will see three cards. Each card has a name, a short line about when to use it, and a Use this link.
The three ready-made forms
Company Formation KYC is the fullest form. It is built for onboarding a brand-new company. It includes the company details, the owner's personal and identity details, contact, employment and source of funds, business profile, shareholders, ultimate beneficial owners (UBOs), the AML and PEP declarations, and document uploads.
Employee Visa KYC is a shorter form for a staff member who is being sponsored for a visa. It collects the person's personal and identity details, contact, employer or sponsor details, and document uploads.
Individual KYC is for onboarding a single person rather than a company. It collects personal and identity details, contact, the AML and PEP declarations, and document uploads.
Note
Every form, ready-made or built from scratch, always ends with the locked declaration and signature. You cannot remove it. See The locked declaration and signature on every KYC form.
Use one as a starting point
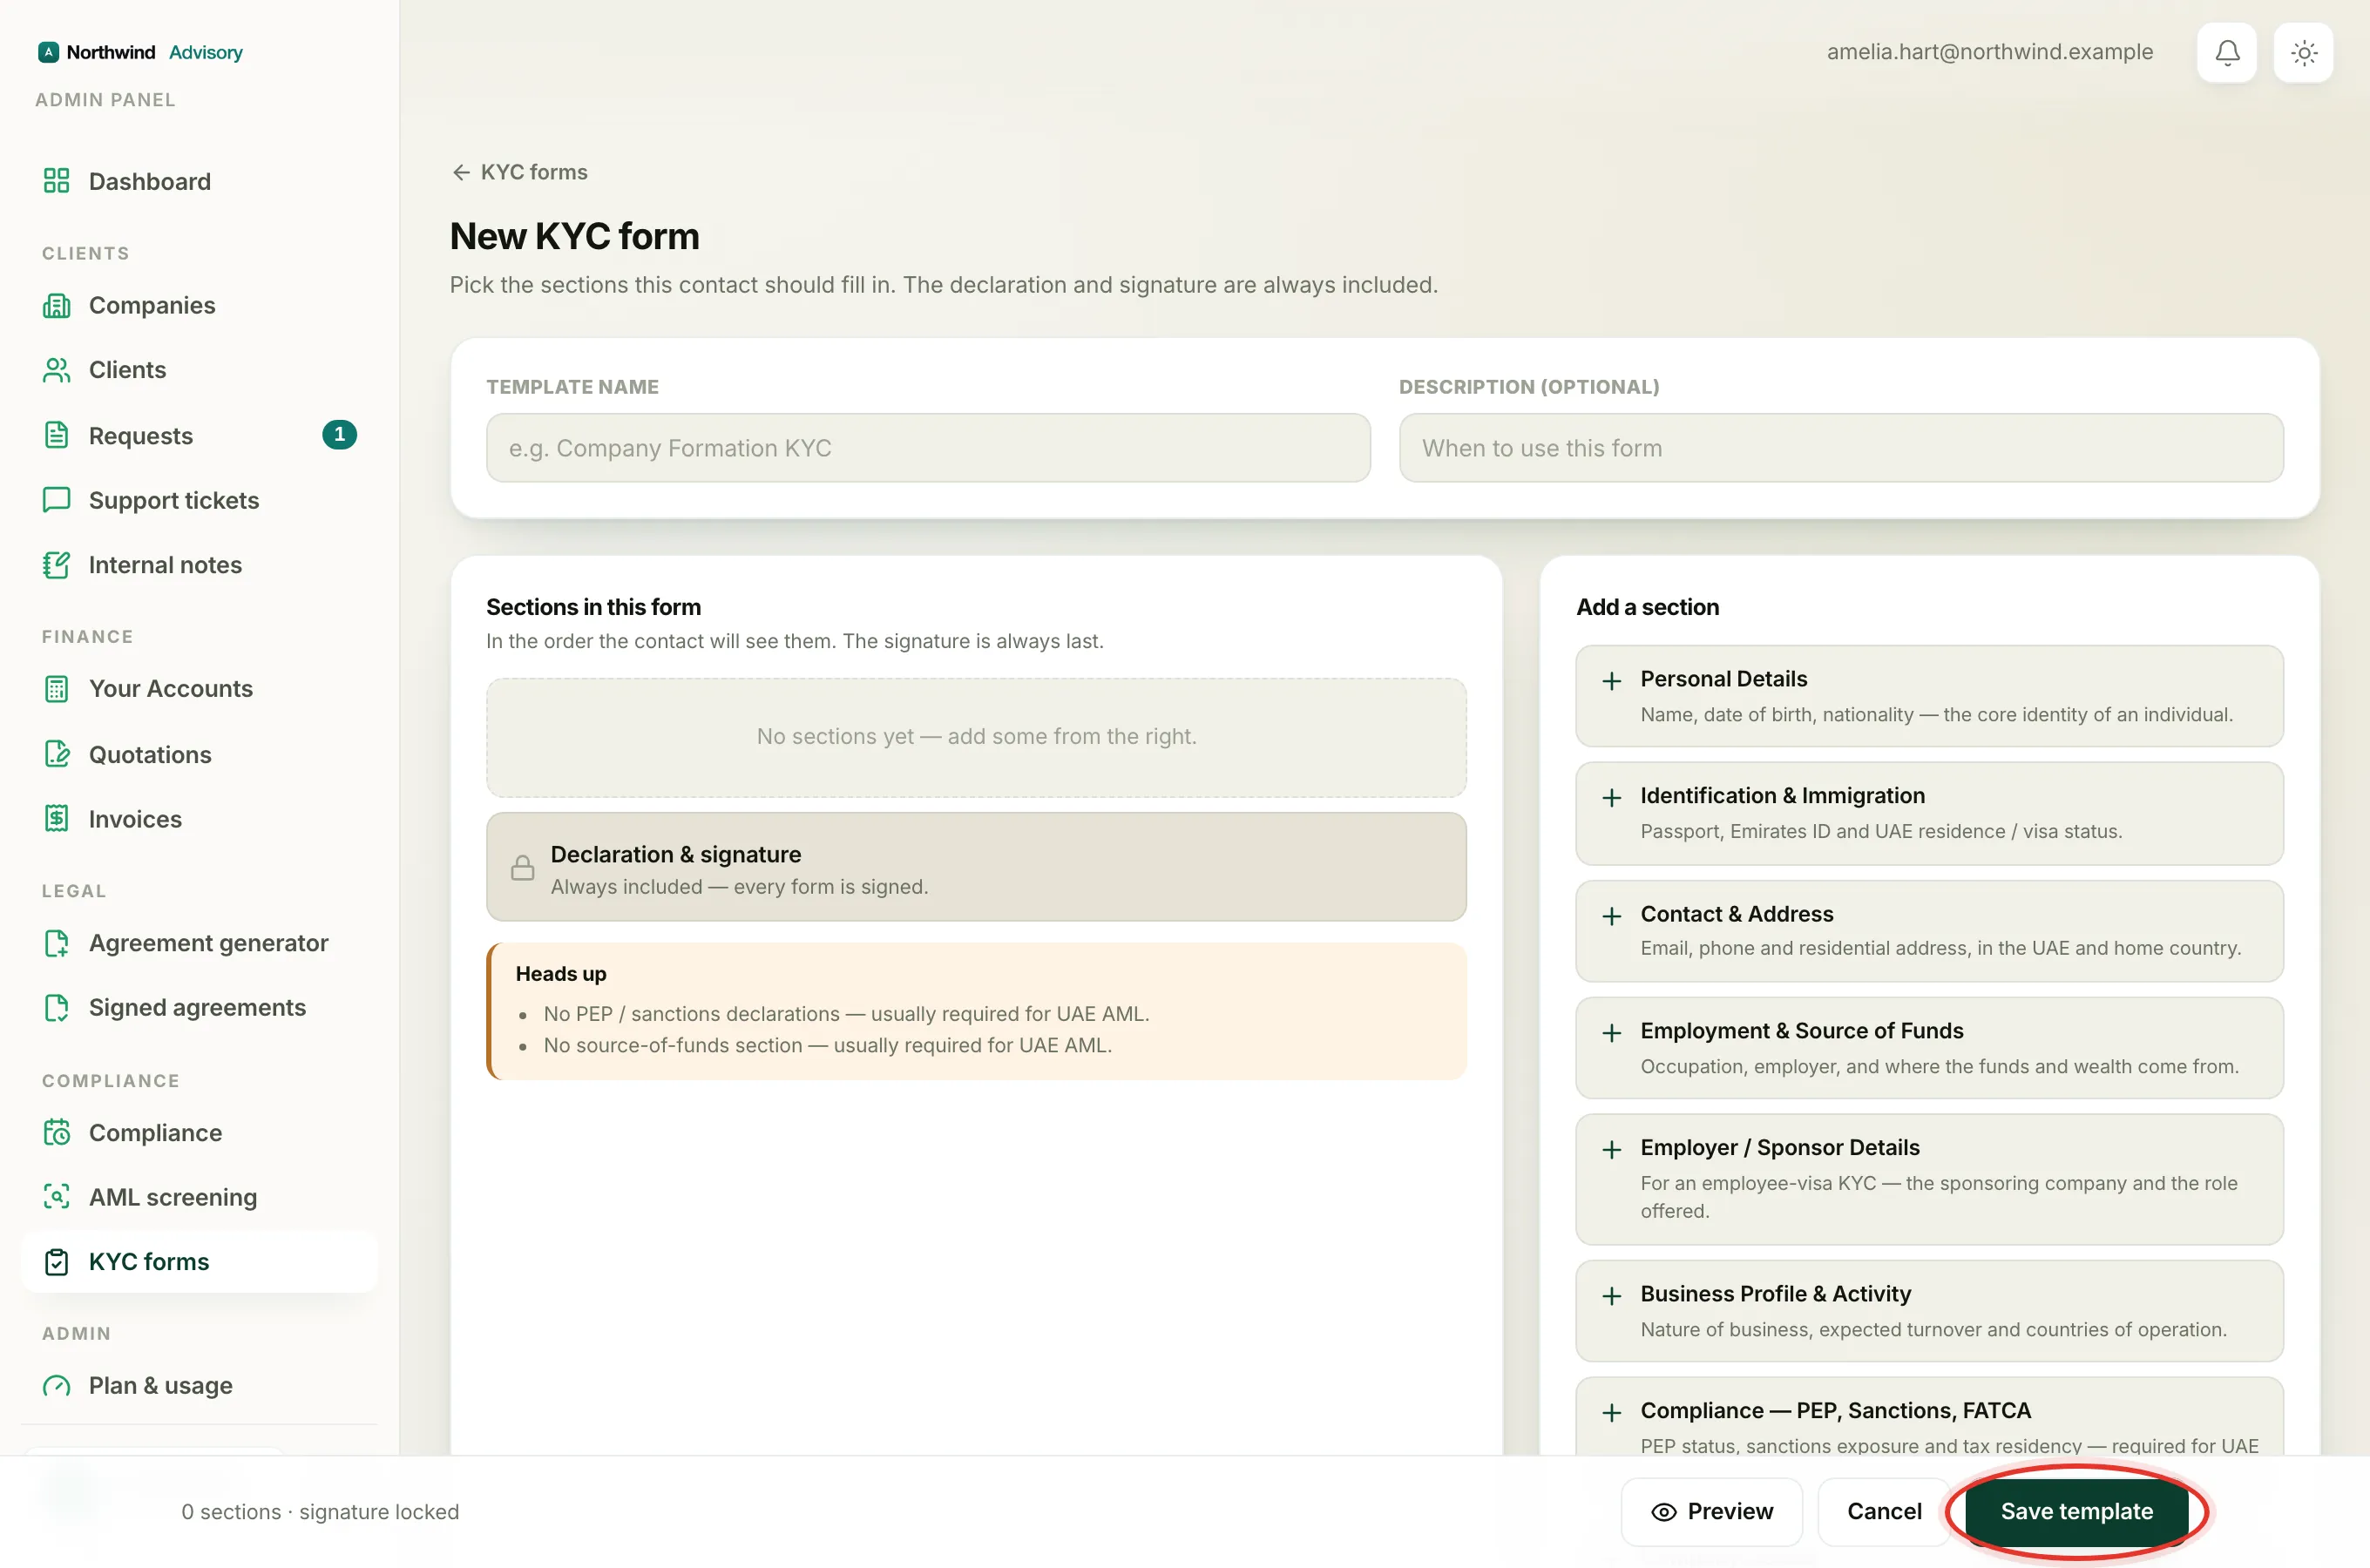
- On the ready-made form card you want, click Use this.
- The form builder opens. The Template name and Description are already filled with that form's name, and all of its sections are listed under Sections in this form in the order the contact will see them.
- Now make it yours. You can rename it, change the description, add a section, remove one you do not need, reorder them, or add a custom field.
- When it looks right, click Save template at the bottom.
Your edited form is saved under Your templates at the top of the KYC forms page, ready to send to any contact. The ready-made forms are never changed by your edits, so they are always there as a fresh starting point next time.