When you build an agreement, the first section is 1. Details. These fields feed the agreement text: as you fill them in, the matching highlighted spots in the document turn from green to filled. This article covers every field and how the green markers work.
Open the builder
- Log in to your workspace.
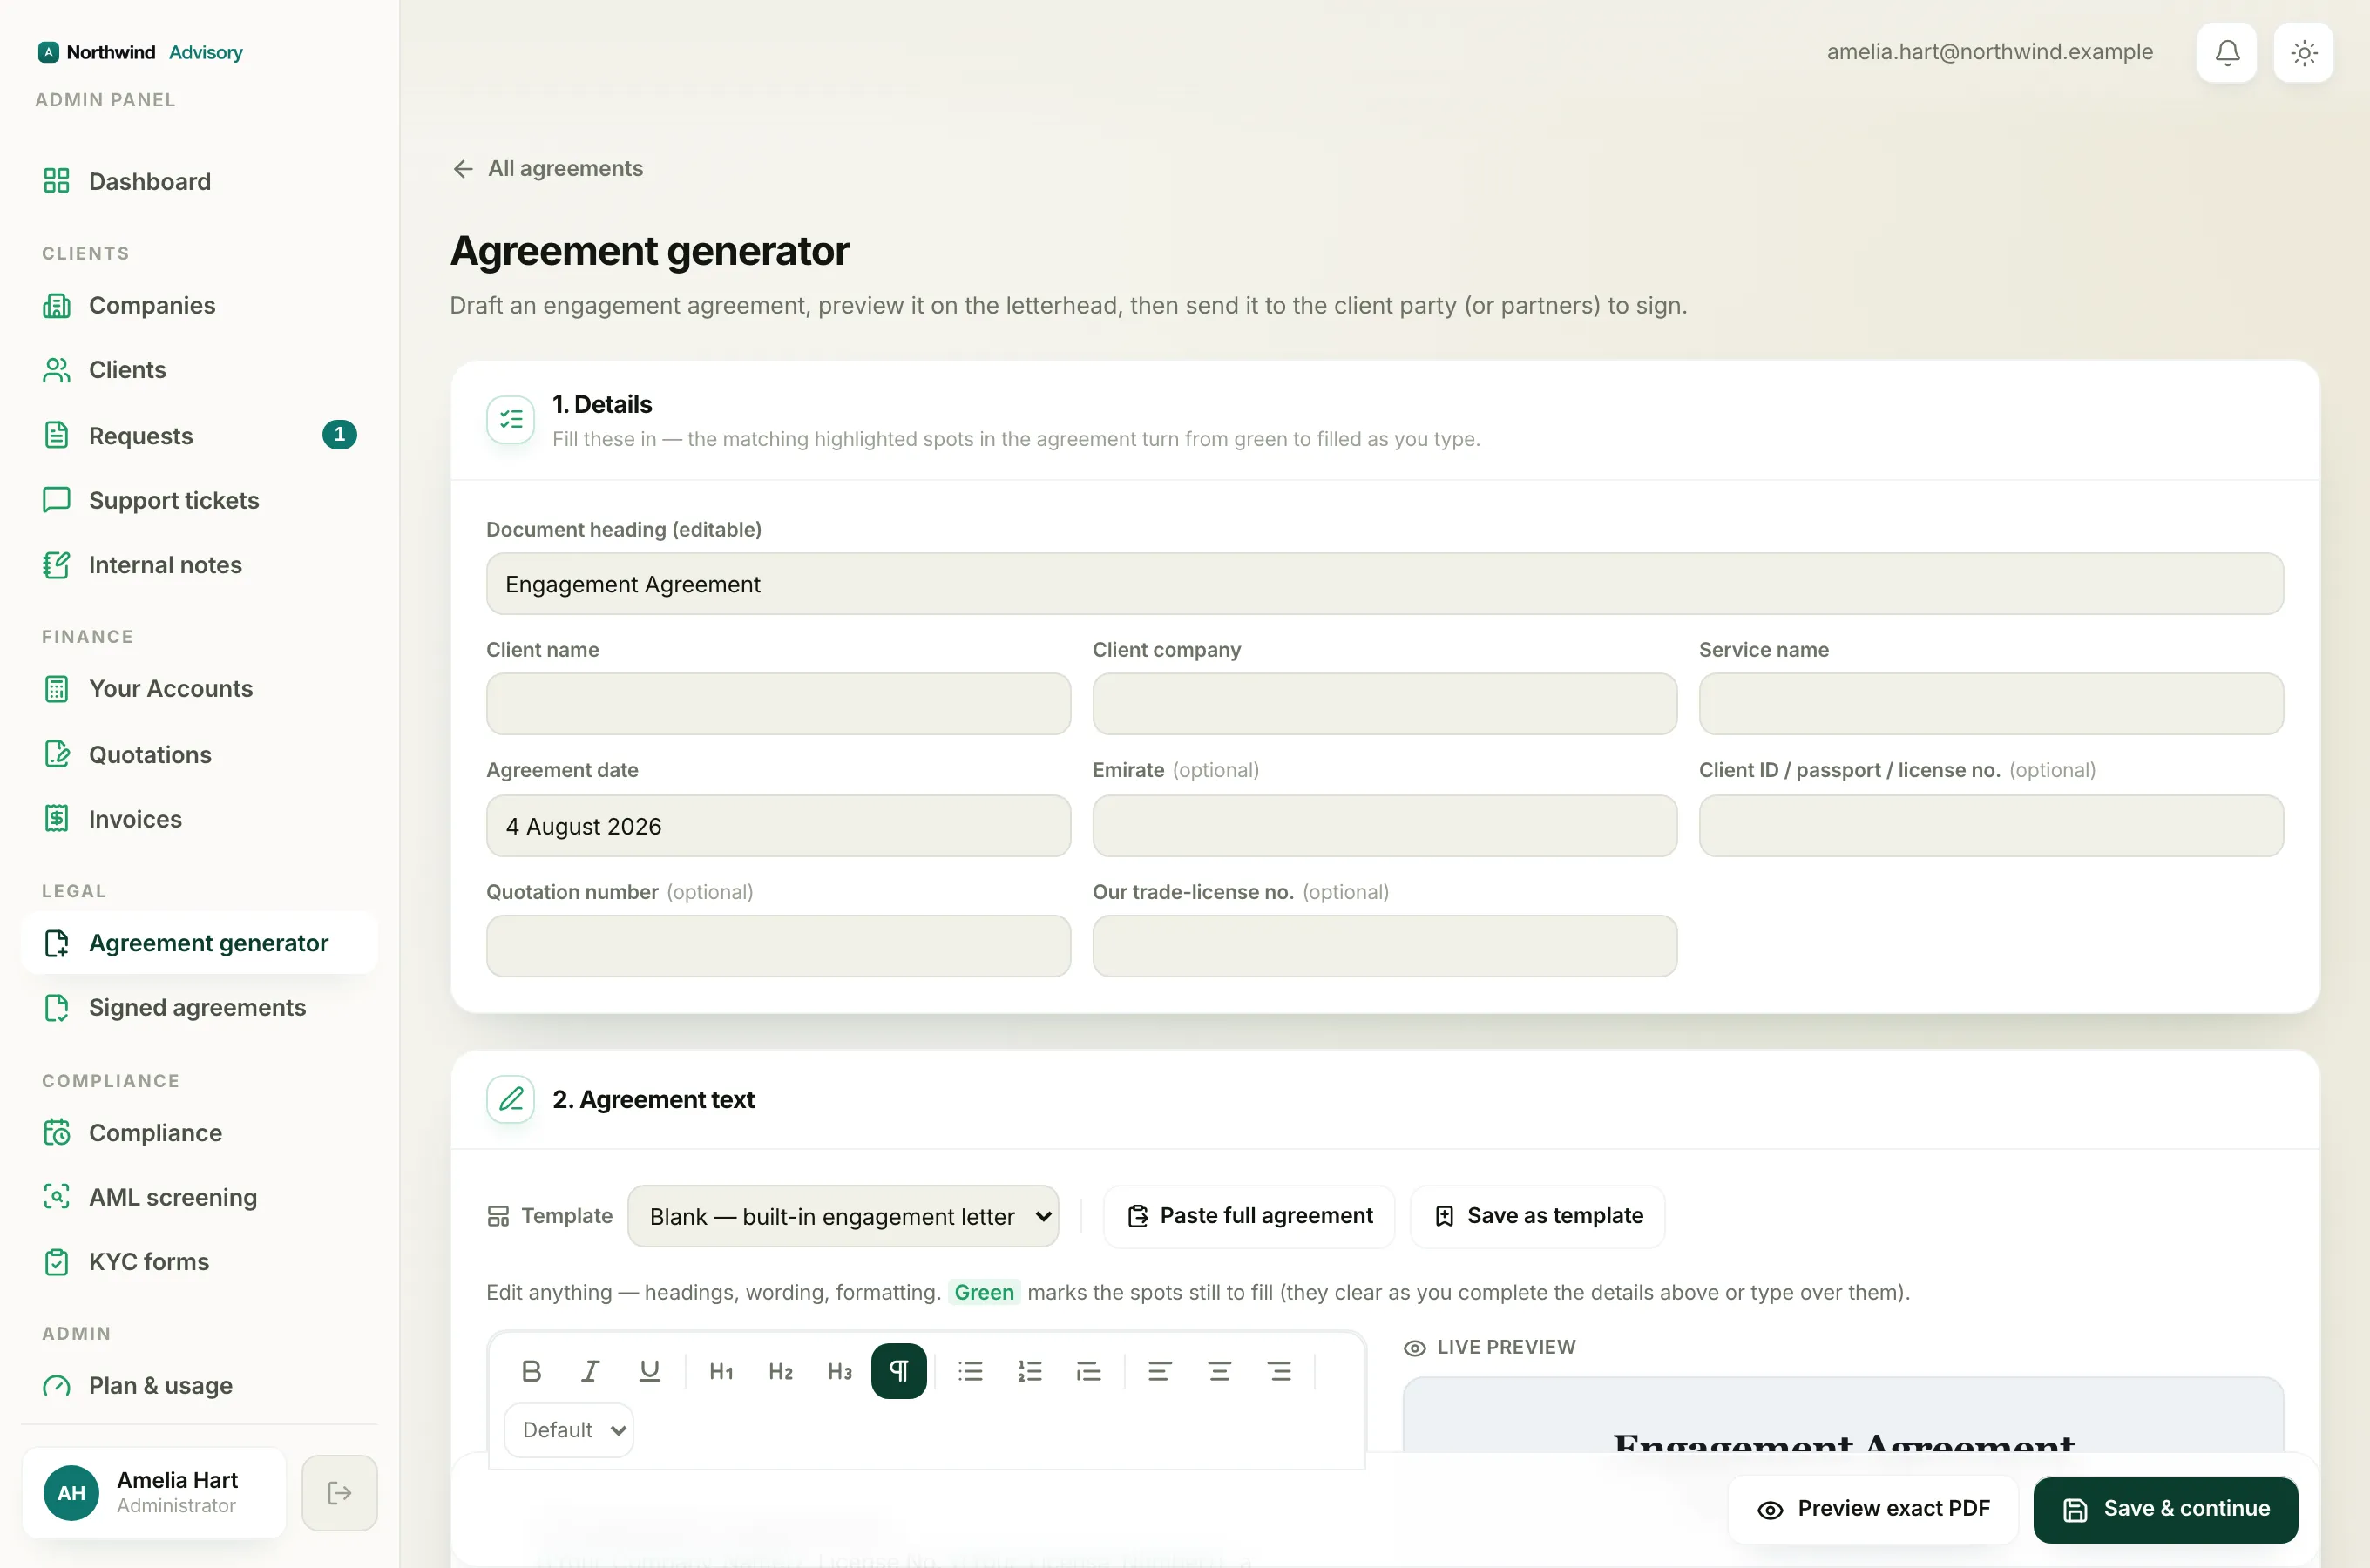
- In the left menu, under Legal, click Agreement generator.
- Choose your starting point. If you have saved templates you can Choose a template, or Start blank to begin from the built-in engagement letter. Either way you land in the builder.
The builder is three numbered sections. The first is 1. Details.
The document heading
At the very top of the Details section is Document heading (editable). This is the title printed on the agreement, for example Engagement Agreement. Change it to whatever suits the document.
The detail fields
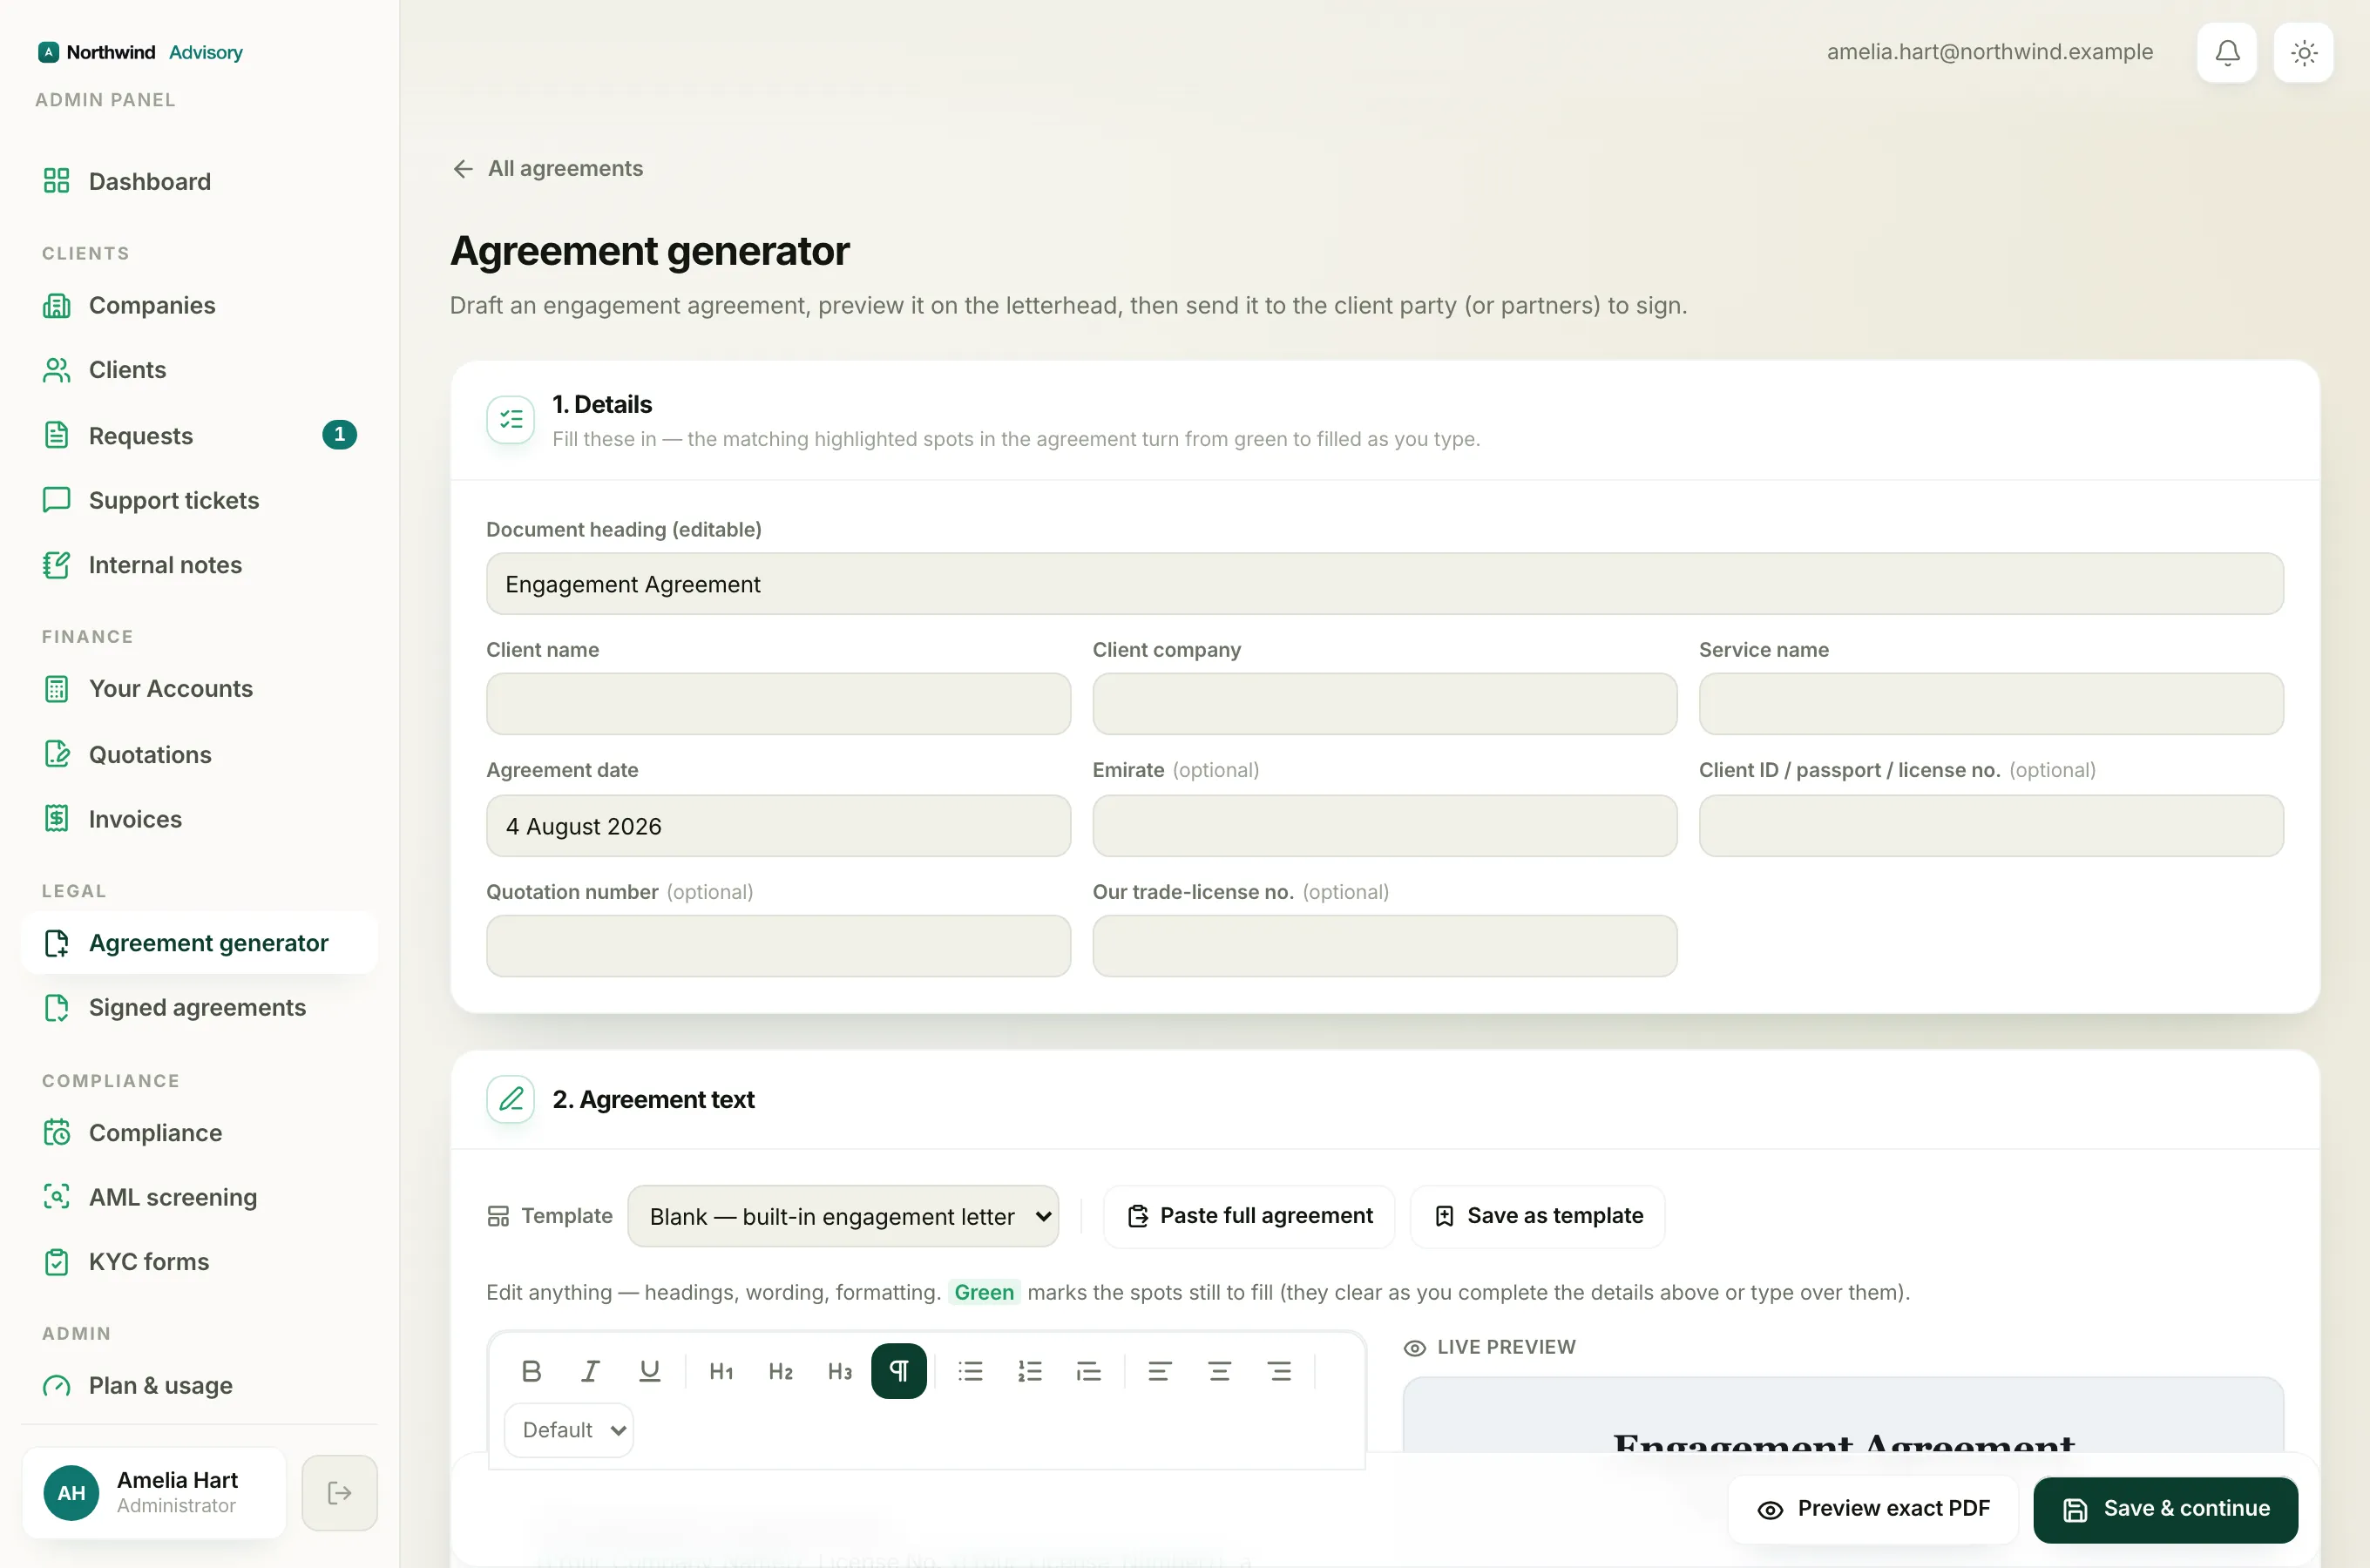
Below the heading is a grid of fields. Some are required, some are marked (optional).
- Client name: the person you are contracting with.
- Client company: the client's company name.
- Service name: the service this agreement covers.
- Agreement date: the date on the agreement. This is filled in with today's date for you; change it if you need to.
- Emirate (optional), the emirate, if your text refers to it.
- Client ID / passport / license no. (optional), the client's Emirates ID, passport, or licence number.
- Quotation number (optional), the number of a quotation this agreement follows on from.
- Our trade-license no. (optional), your firm's own trade licence number.
Your own company name and authorised signatory are not typed here. They come from your firm's brand and letterhead, and are applied to the agreement for you.
The green fill-to-complete markers
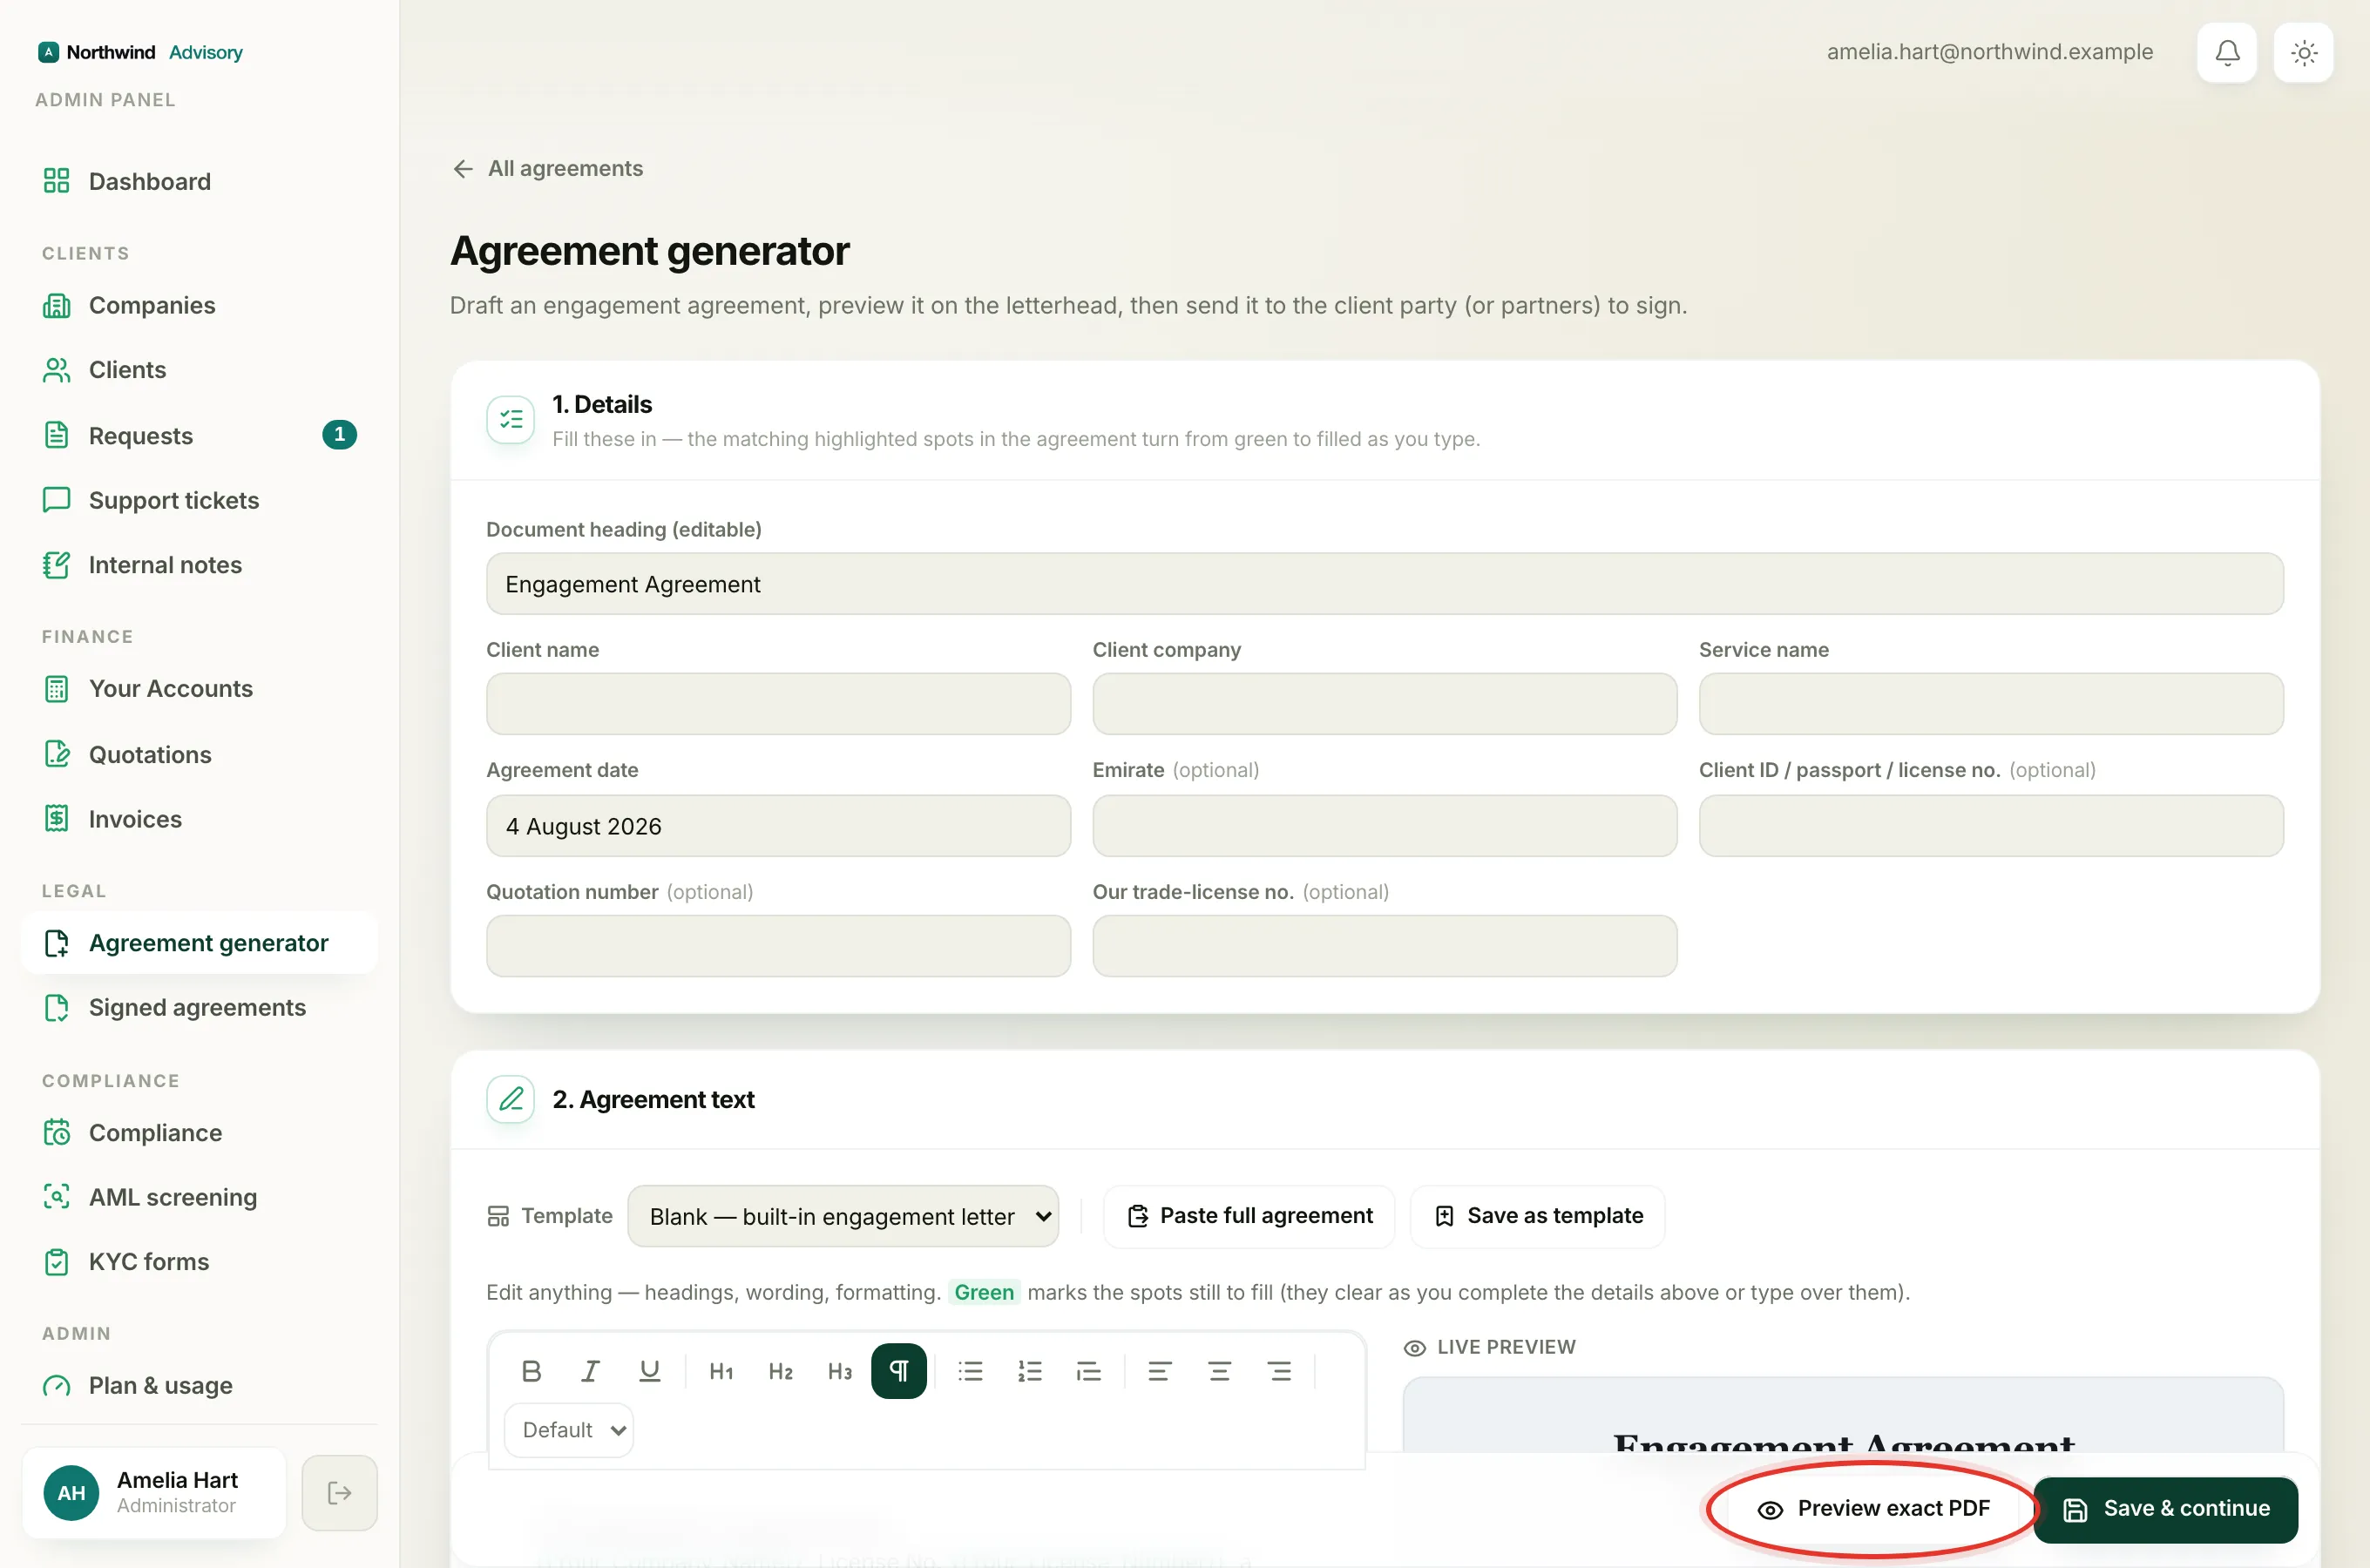
Inside the agreement text (section 2. Agreement text), any spot that still needs a value is highlighted in green. As you type into the Details fields above, the matching green spots fill in and the highlight clears. You can also type directly over a green spot in the text itself, which clears it the same way.
Think of green as a checklist built into the document. When there is no green left, every placeholder has a value.
Tip
Watch the Live preview on the right of the agreement text section as you fill in the Details. It updates as you type, so you can see the finished document take shape and catch any spot you missed.
What happens next
Once the Details are complete, move on to editing the agreement wording and adding the people who need to sign. When everything looks right, use Preview exact PDF to check it, then Save & continue.